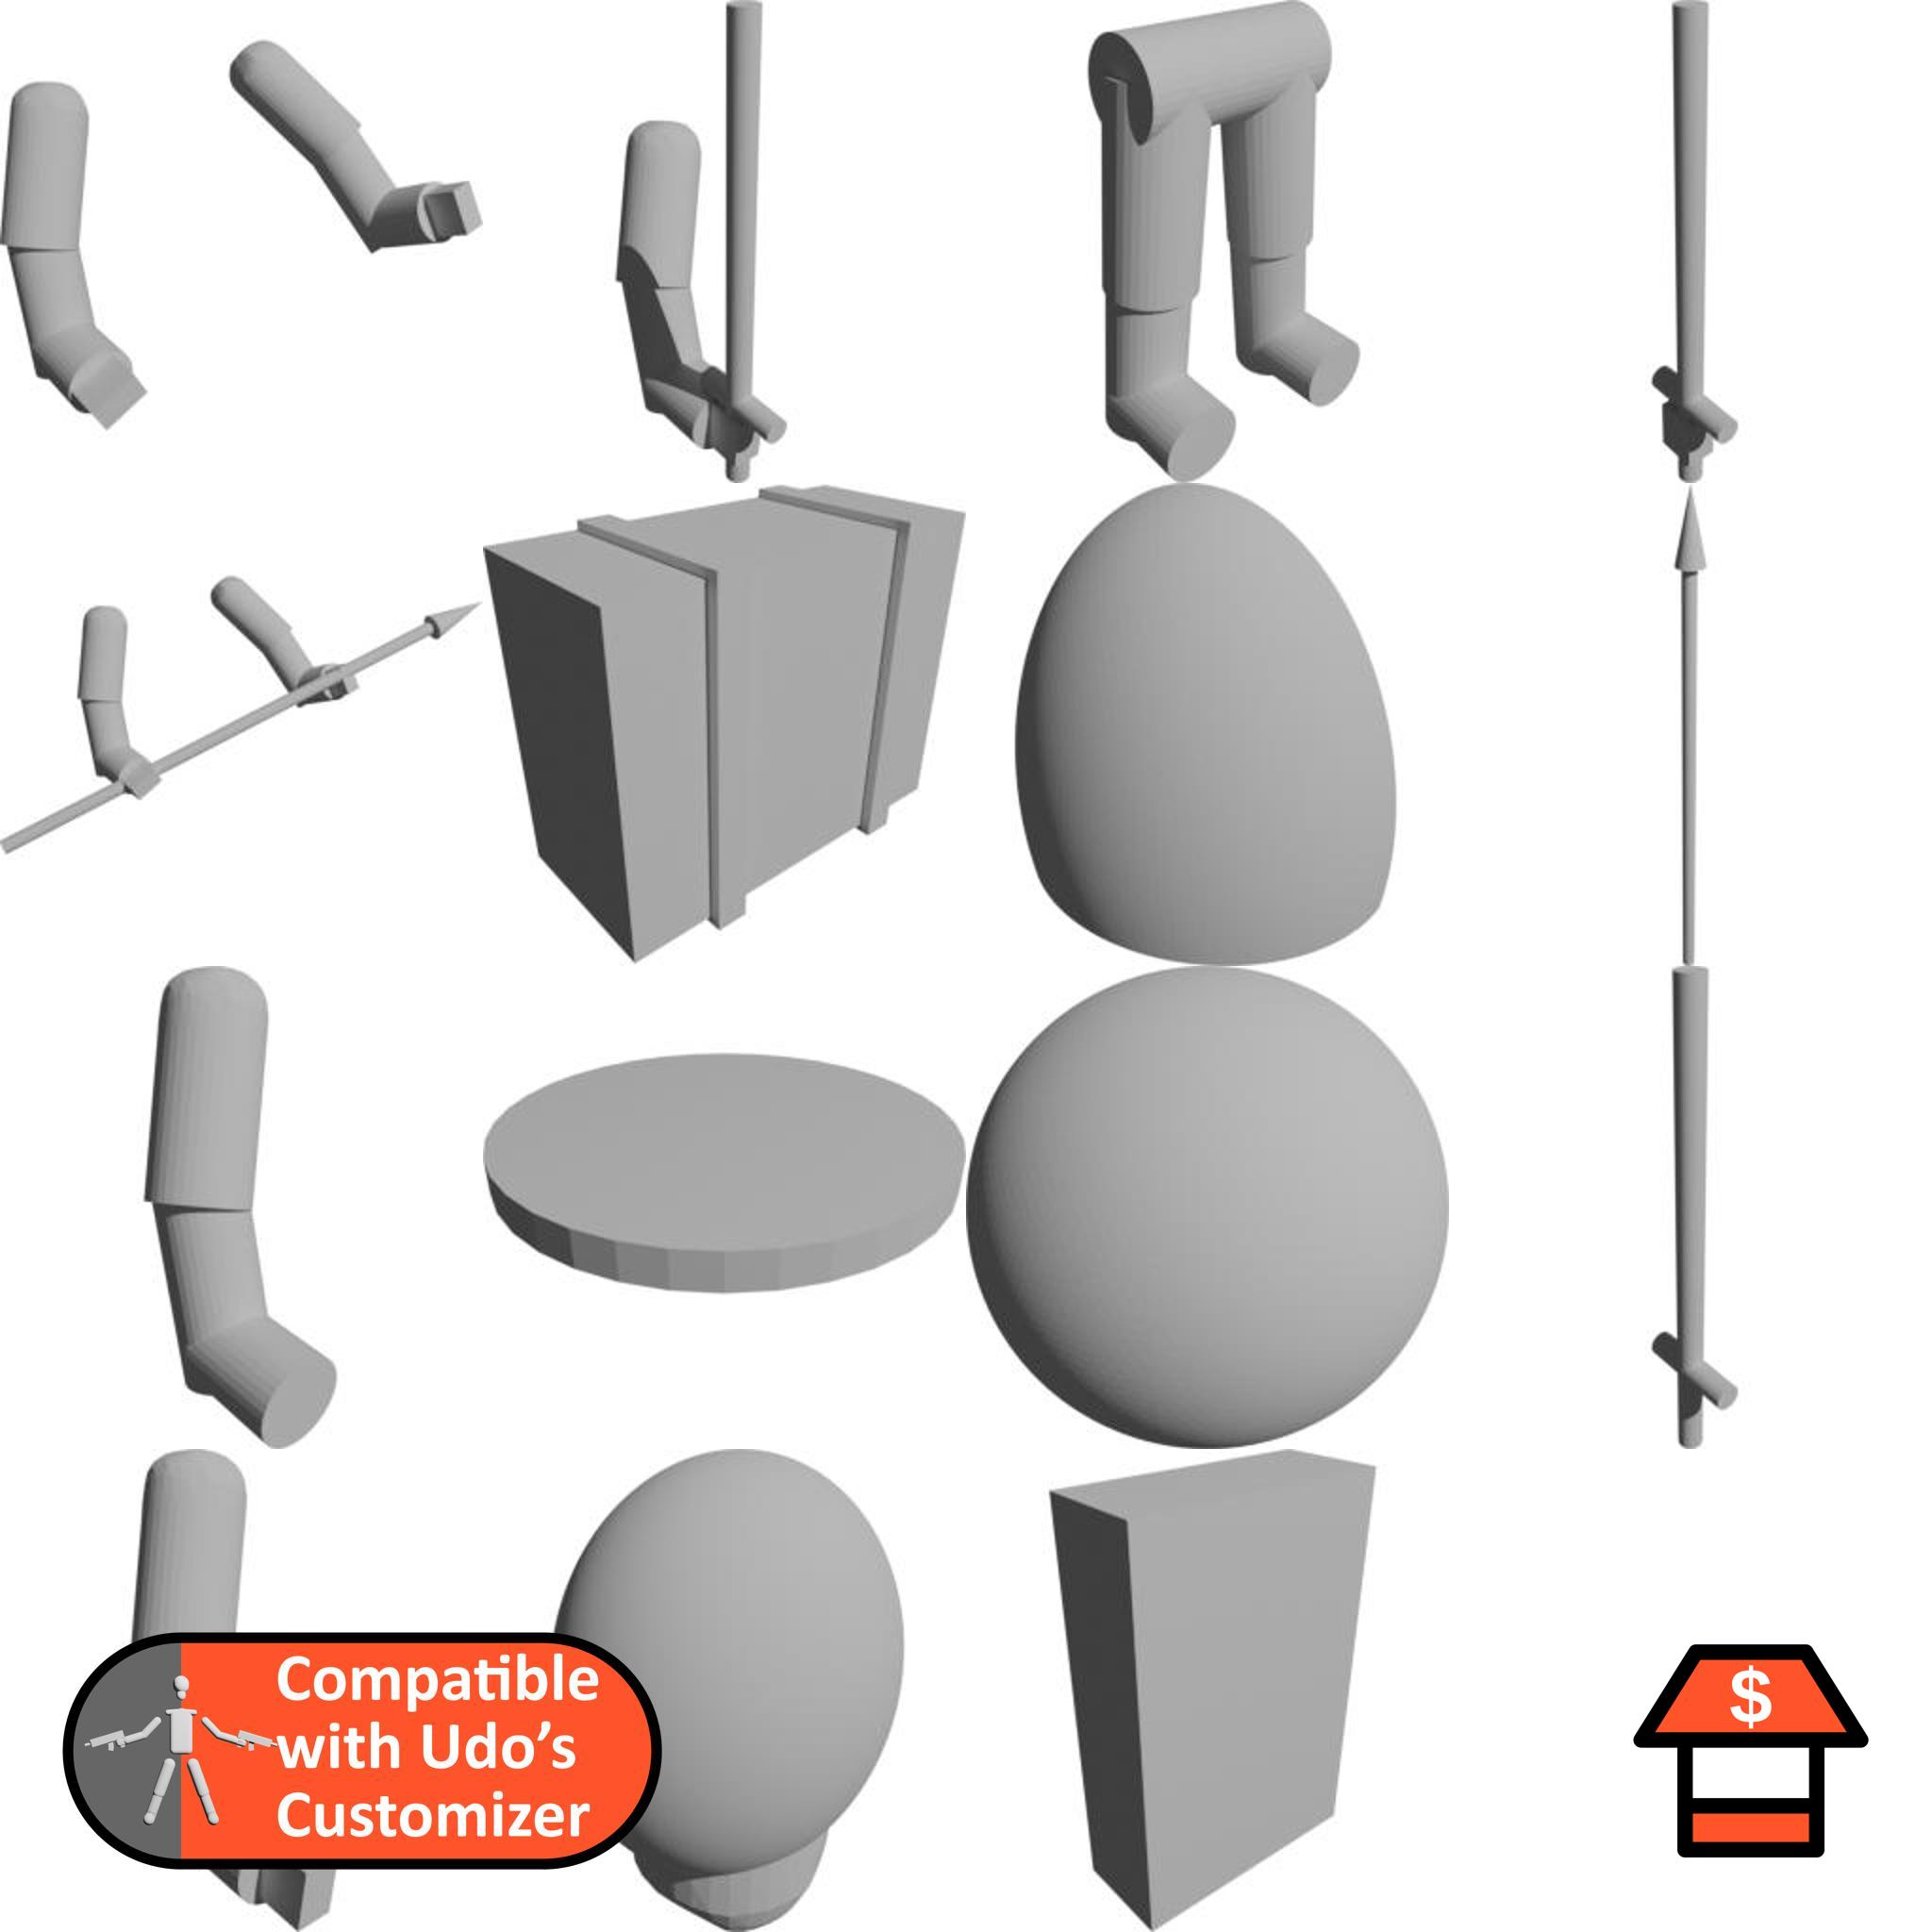
Did you ever dream of creating your own models? With a clear picture in mind of how
it should look like? This tool is your solution - select each body part from thousands
of options from an ever growing range of different races and styles and with just one click your model
is generated and available for printing.
Download the customizer from the Patreon post (it's not a link but an attachment at the bottom of the post) and extract it to a folder of your choice.
Start the .exe file and enter the access key from the Patreon post.
Choose libraries from the gallery below and download the files. Be aware that Cults3D limits your download speed if you have too many parallel downloads.
Place the content of the archive (the folder that holds all .stl files) inside the Libraries folder. Make sure that you do not place the .stl files themselves into the Libraries folder. On the other hand, make sure that the .stl files are inside the folder in Libraries, and not in further subfolders, otherwise the tool will not recognize the files.
Start the customizer and start creating your first model! If you are a bit overwhelmed with all the options, try the Select First or Select Random options, followed by Show / re-generate Model.
Youtube Videos
Available Libraries
This list is not complete, but only contains the libraries I actively worked on. Other designers can also create and upload libraries, without even having to involve me at any point. To find more libraries, you could just go to your favourite 3D platform (personally, I'd usually suggest cults3d, but depending on the designer, libraries might also appear on other platforms) and search for "Udos Customizer". You should be able to find quite a lot of libraries.
I collected quite a lot of them in this collection. Be aware that this is only an unfiltered collection of designs on cults, I did not check them individually, so I cannot take any responsibility for their correctness, availability and legality. If any questions arise, please contact the designers. Customizer Libraries on Cults3D
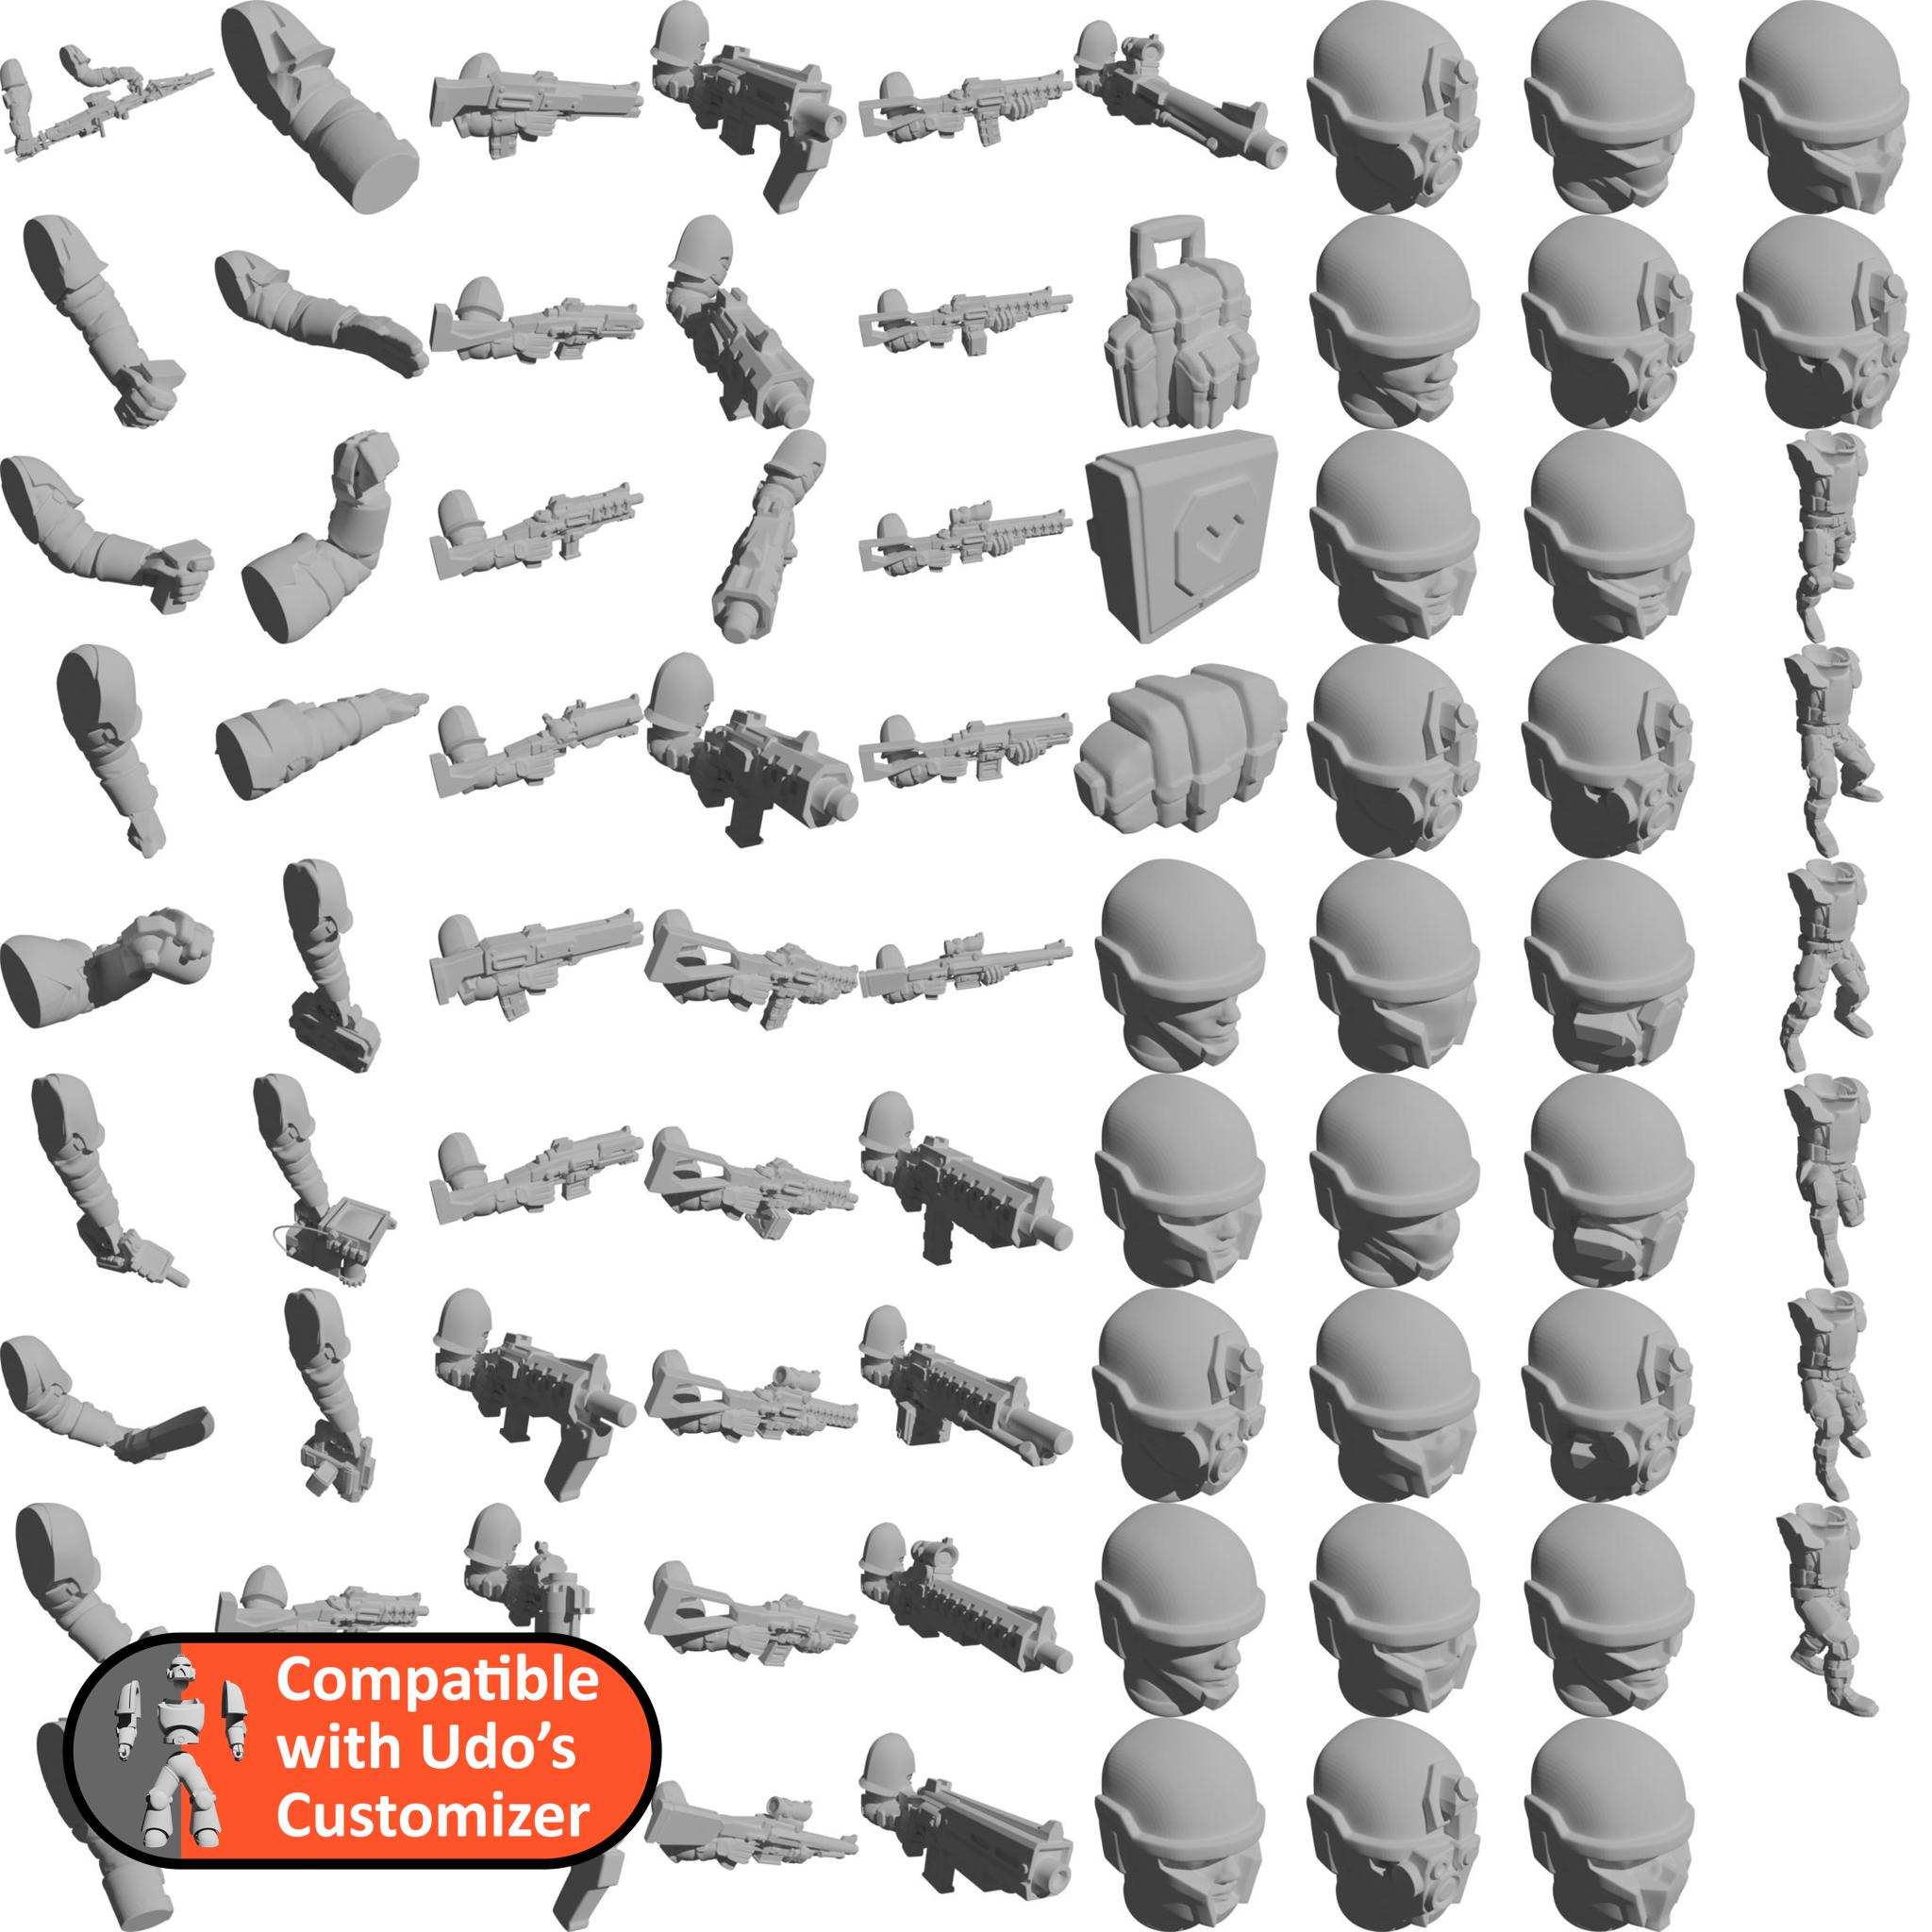
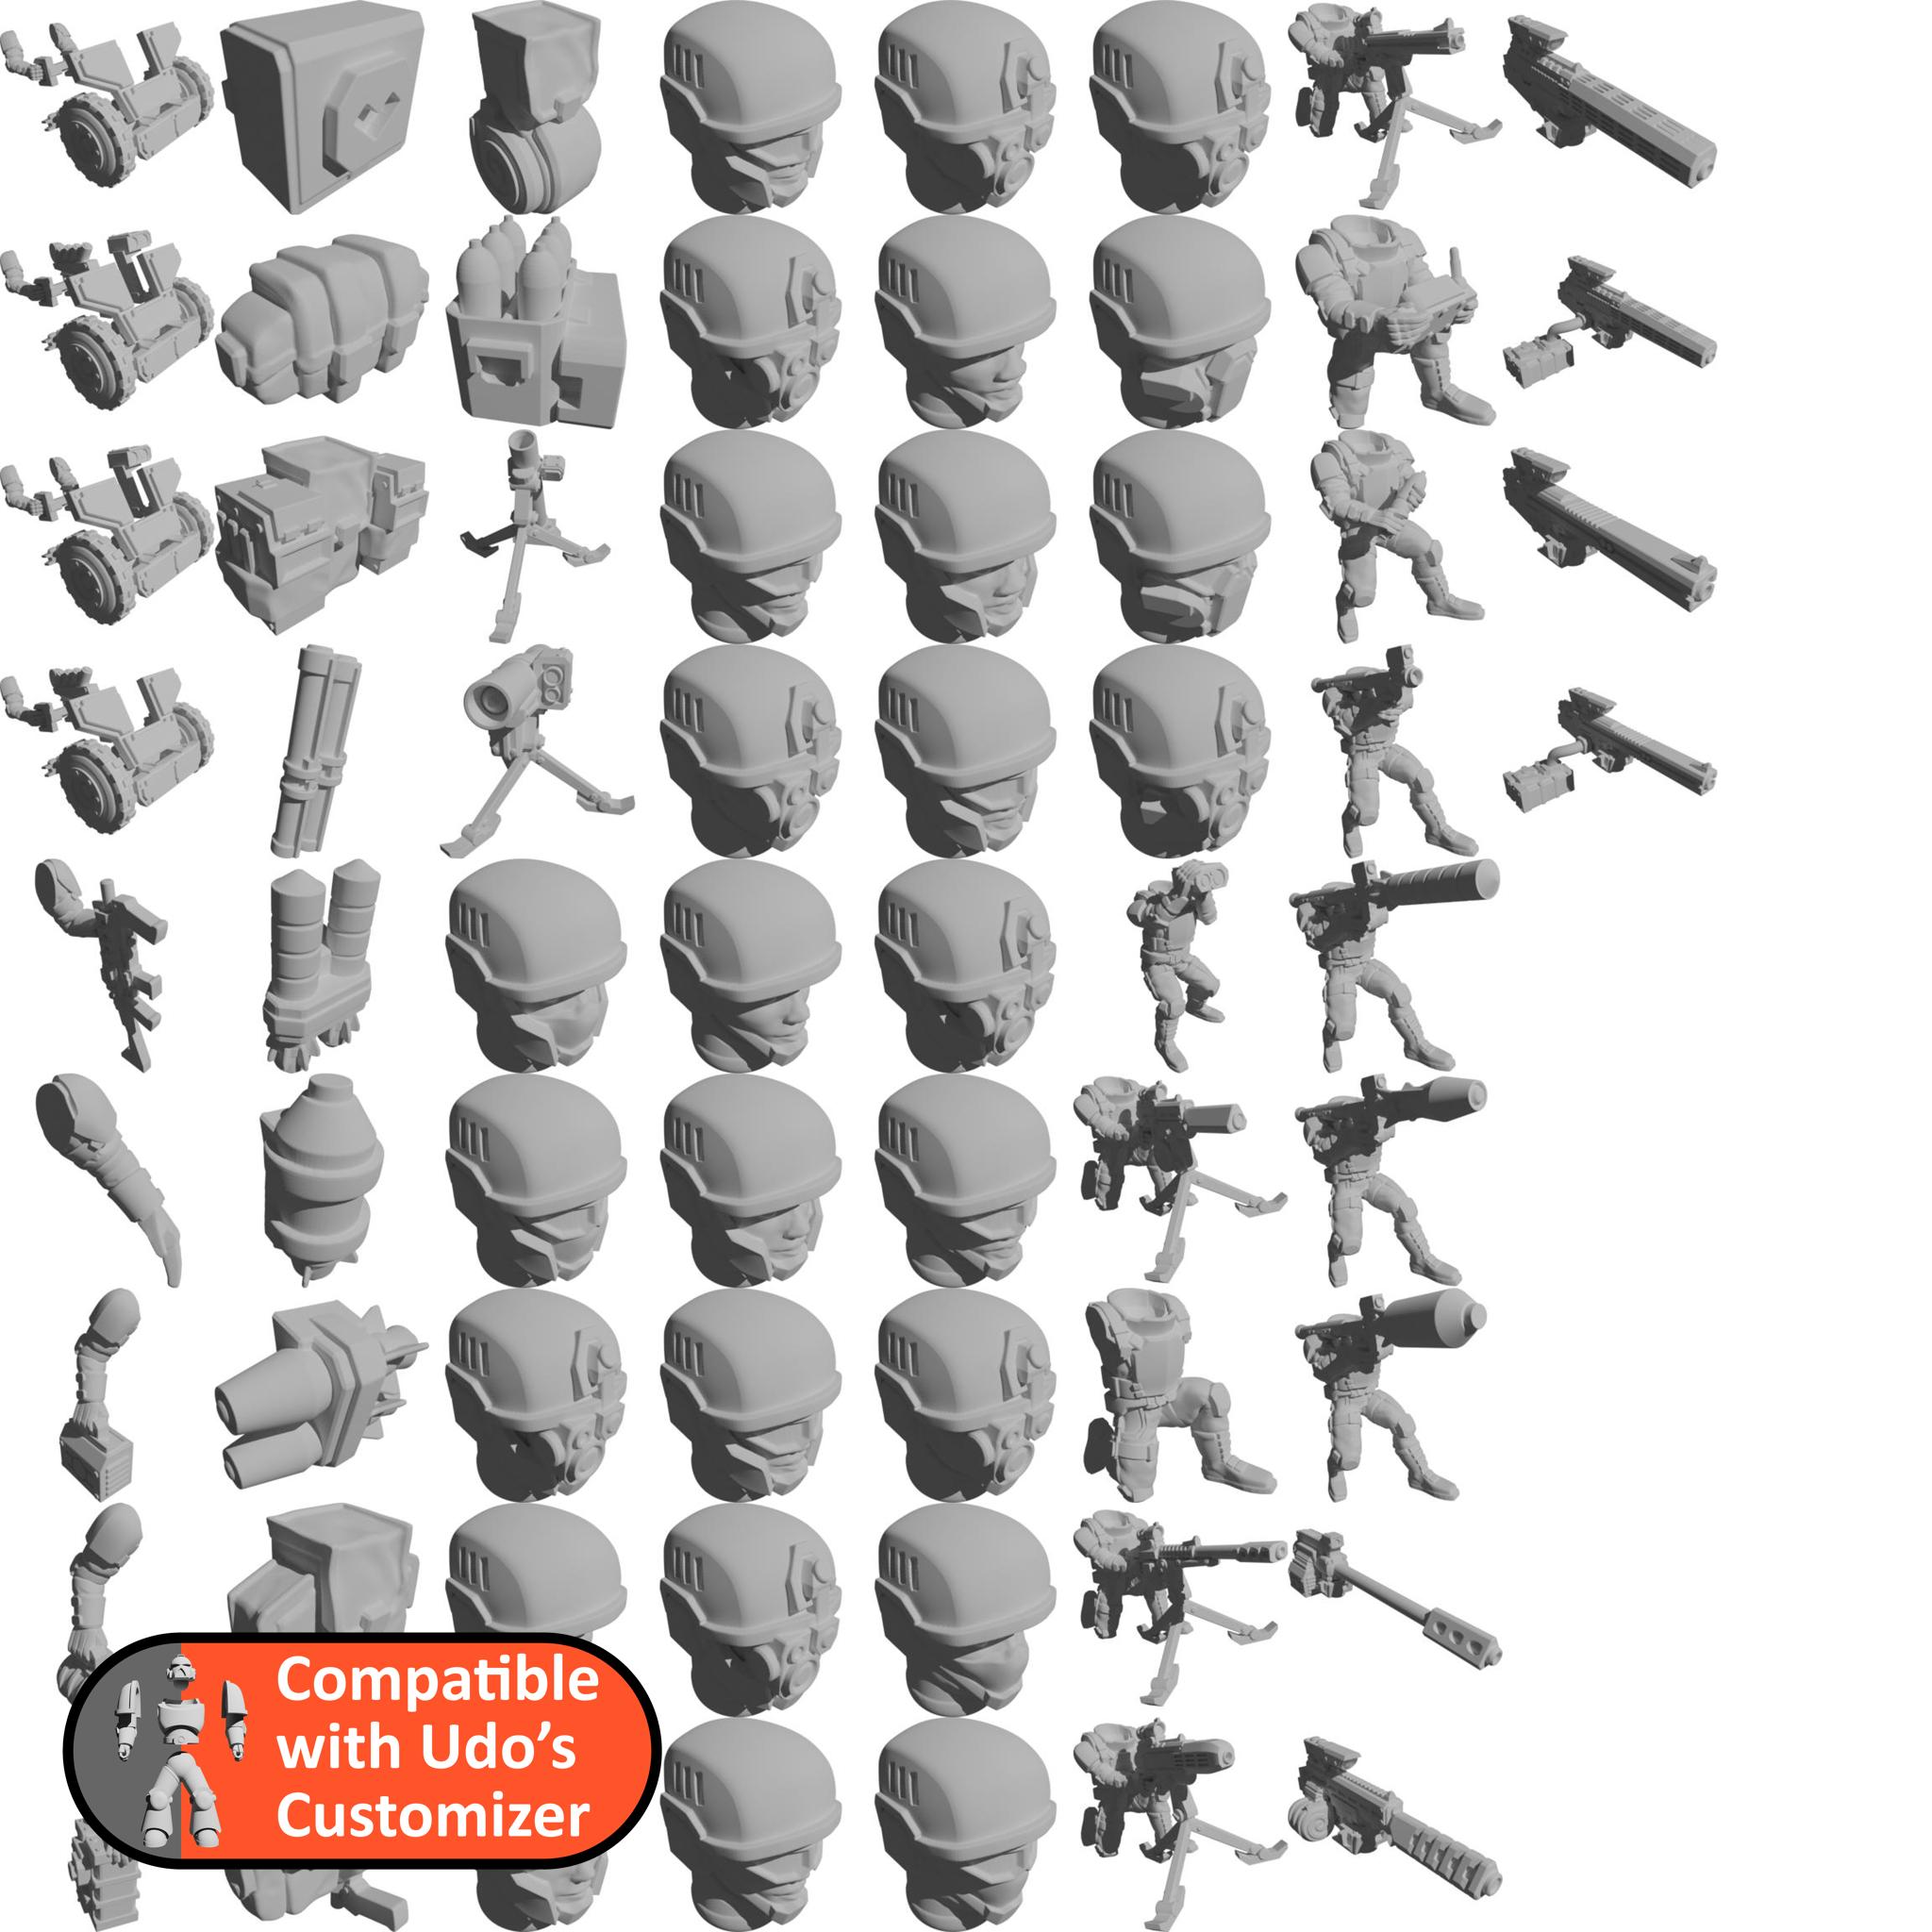
Colony Militia
Colony Militia to defend your colony against evil aliens!
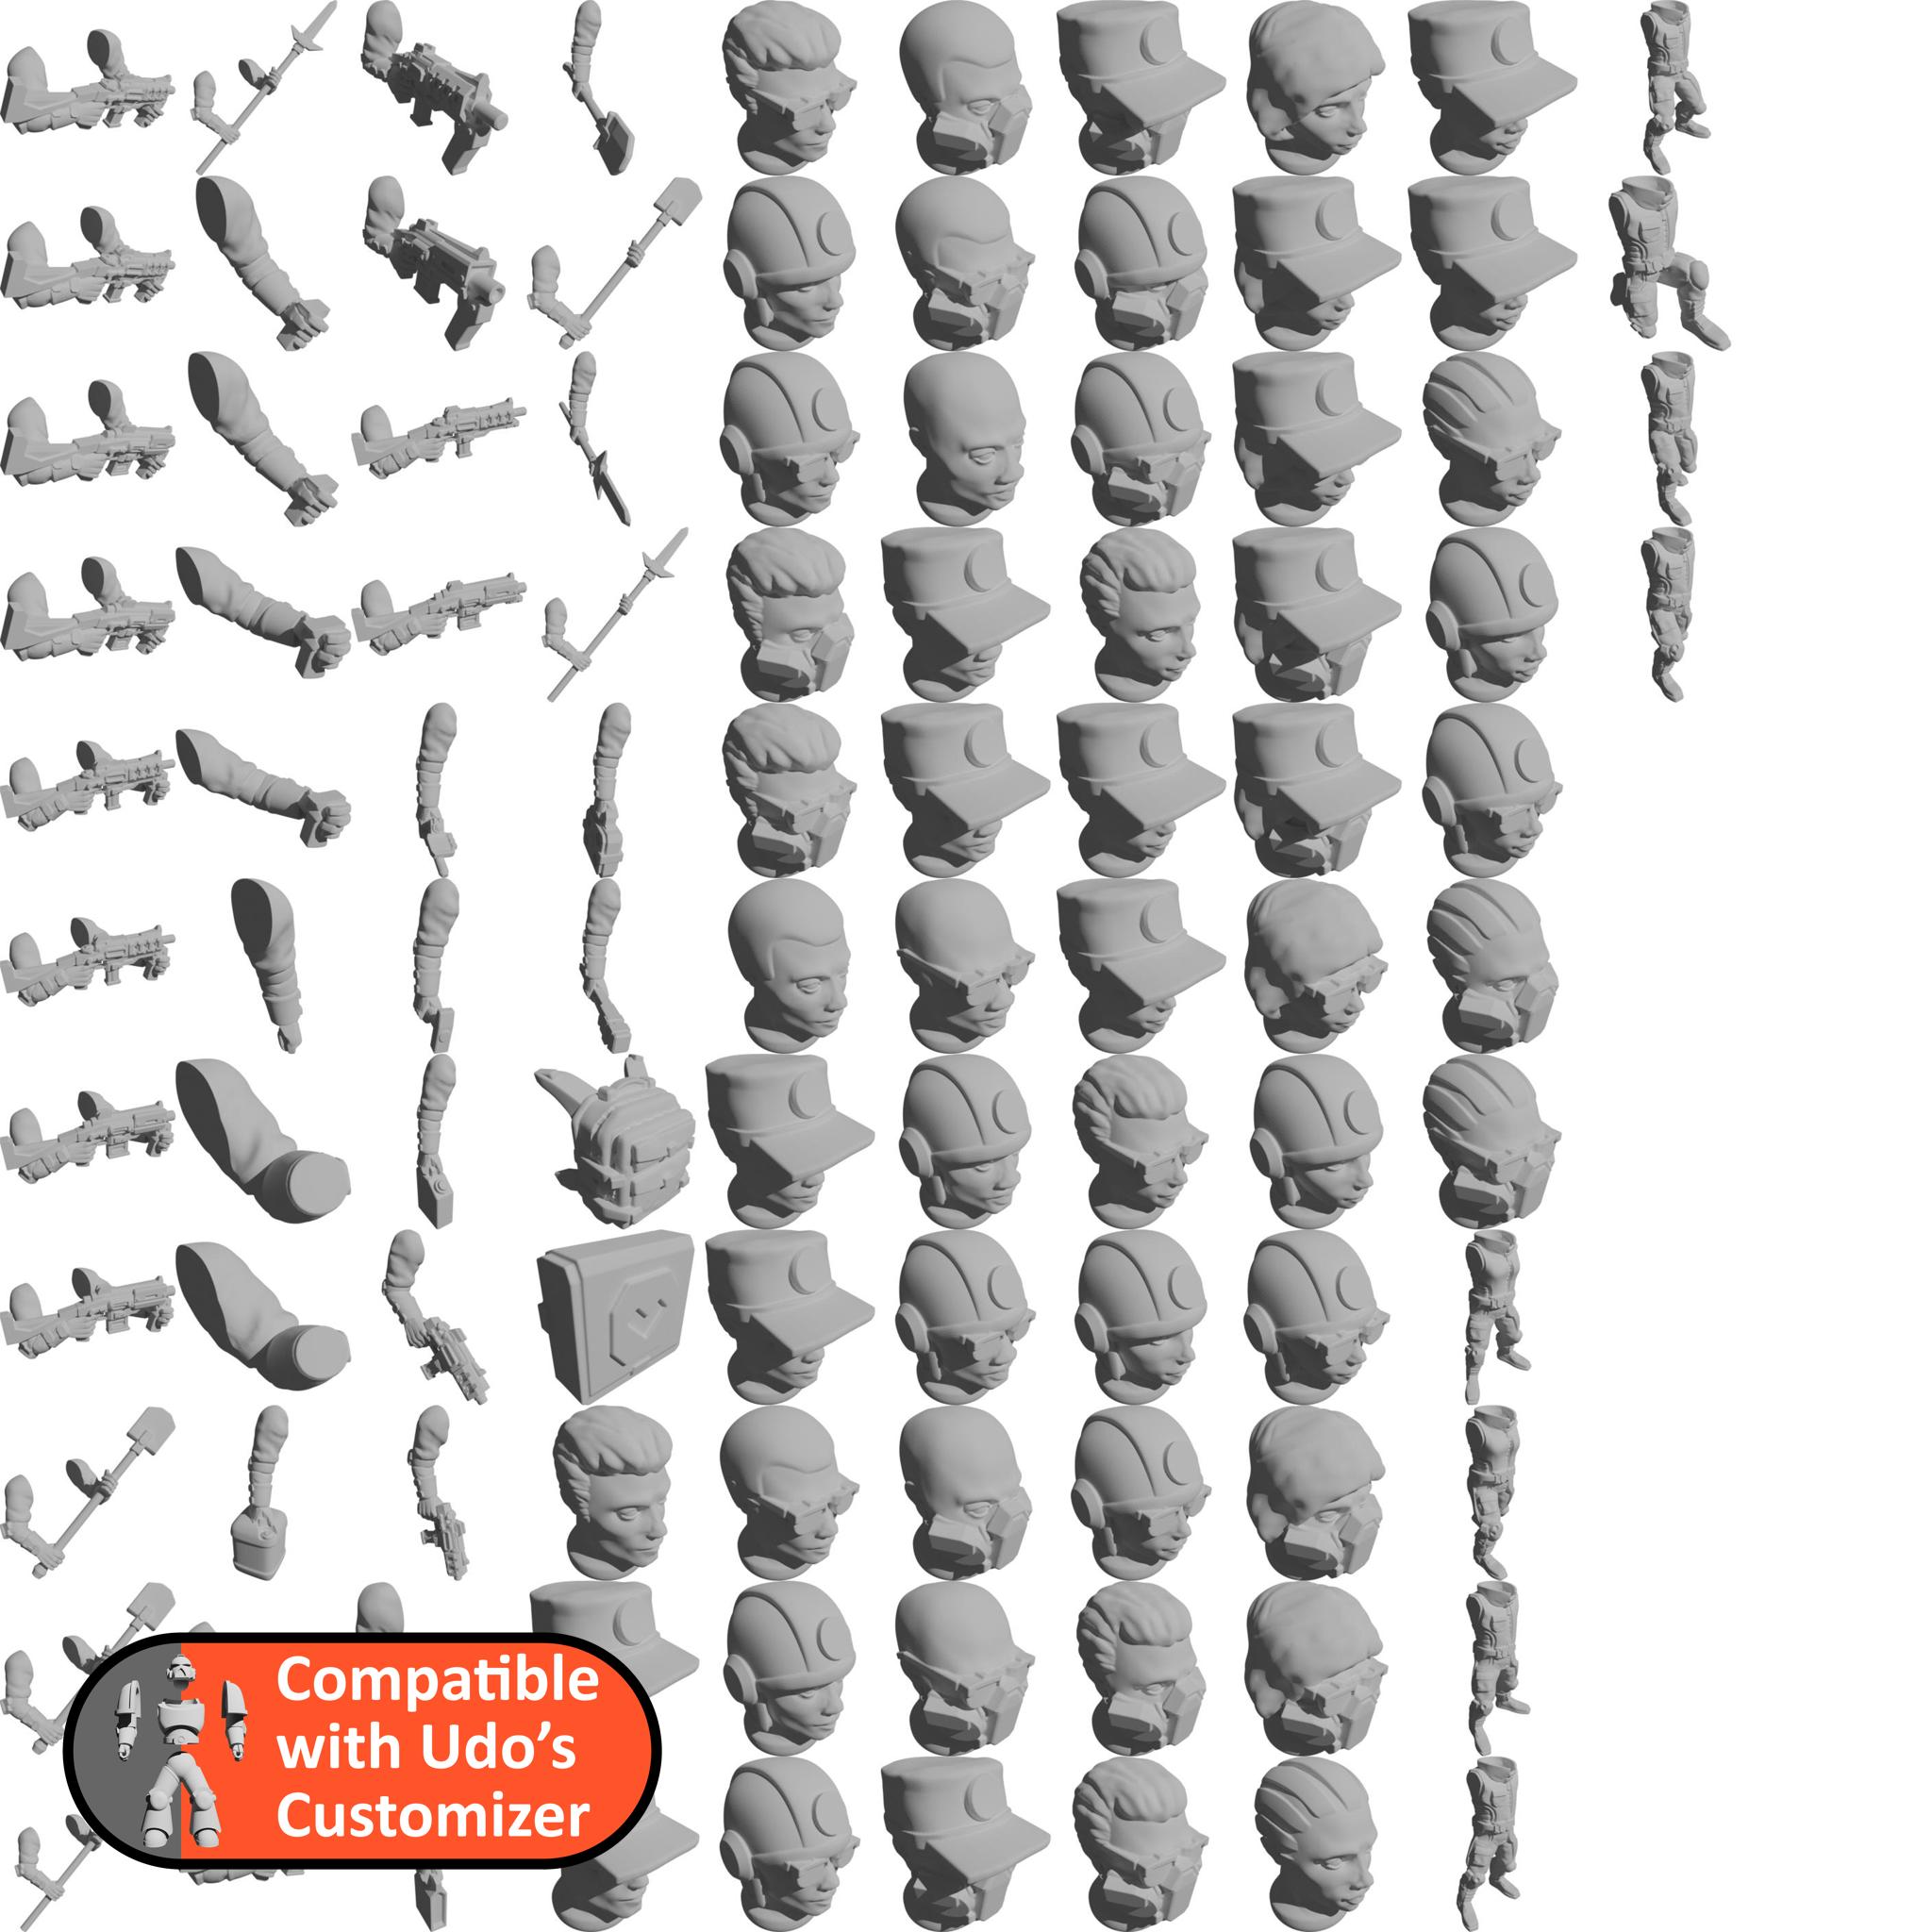
Space Colonists
The colonists on your SciFi outer space base or space ship!
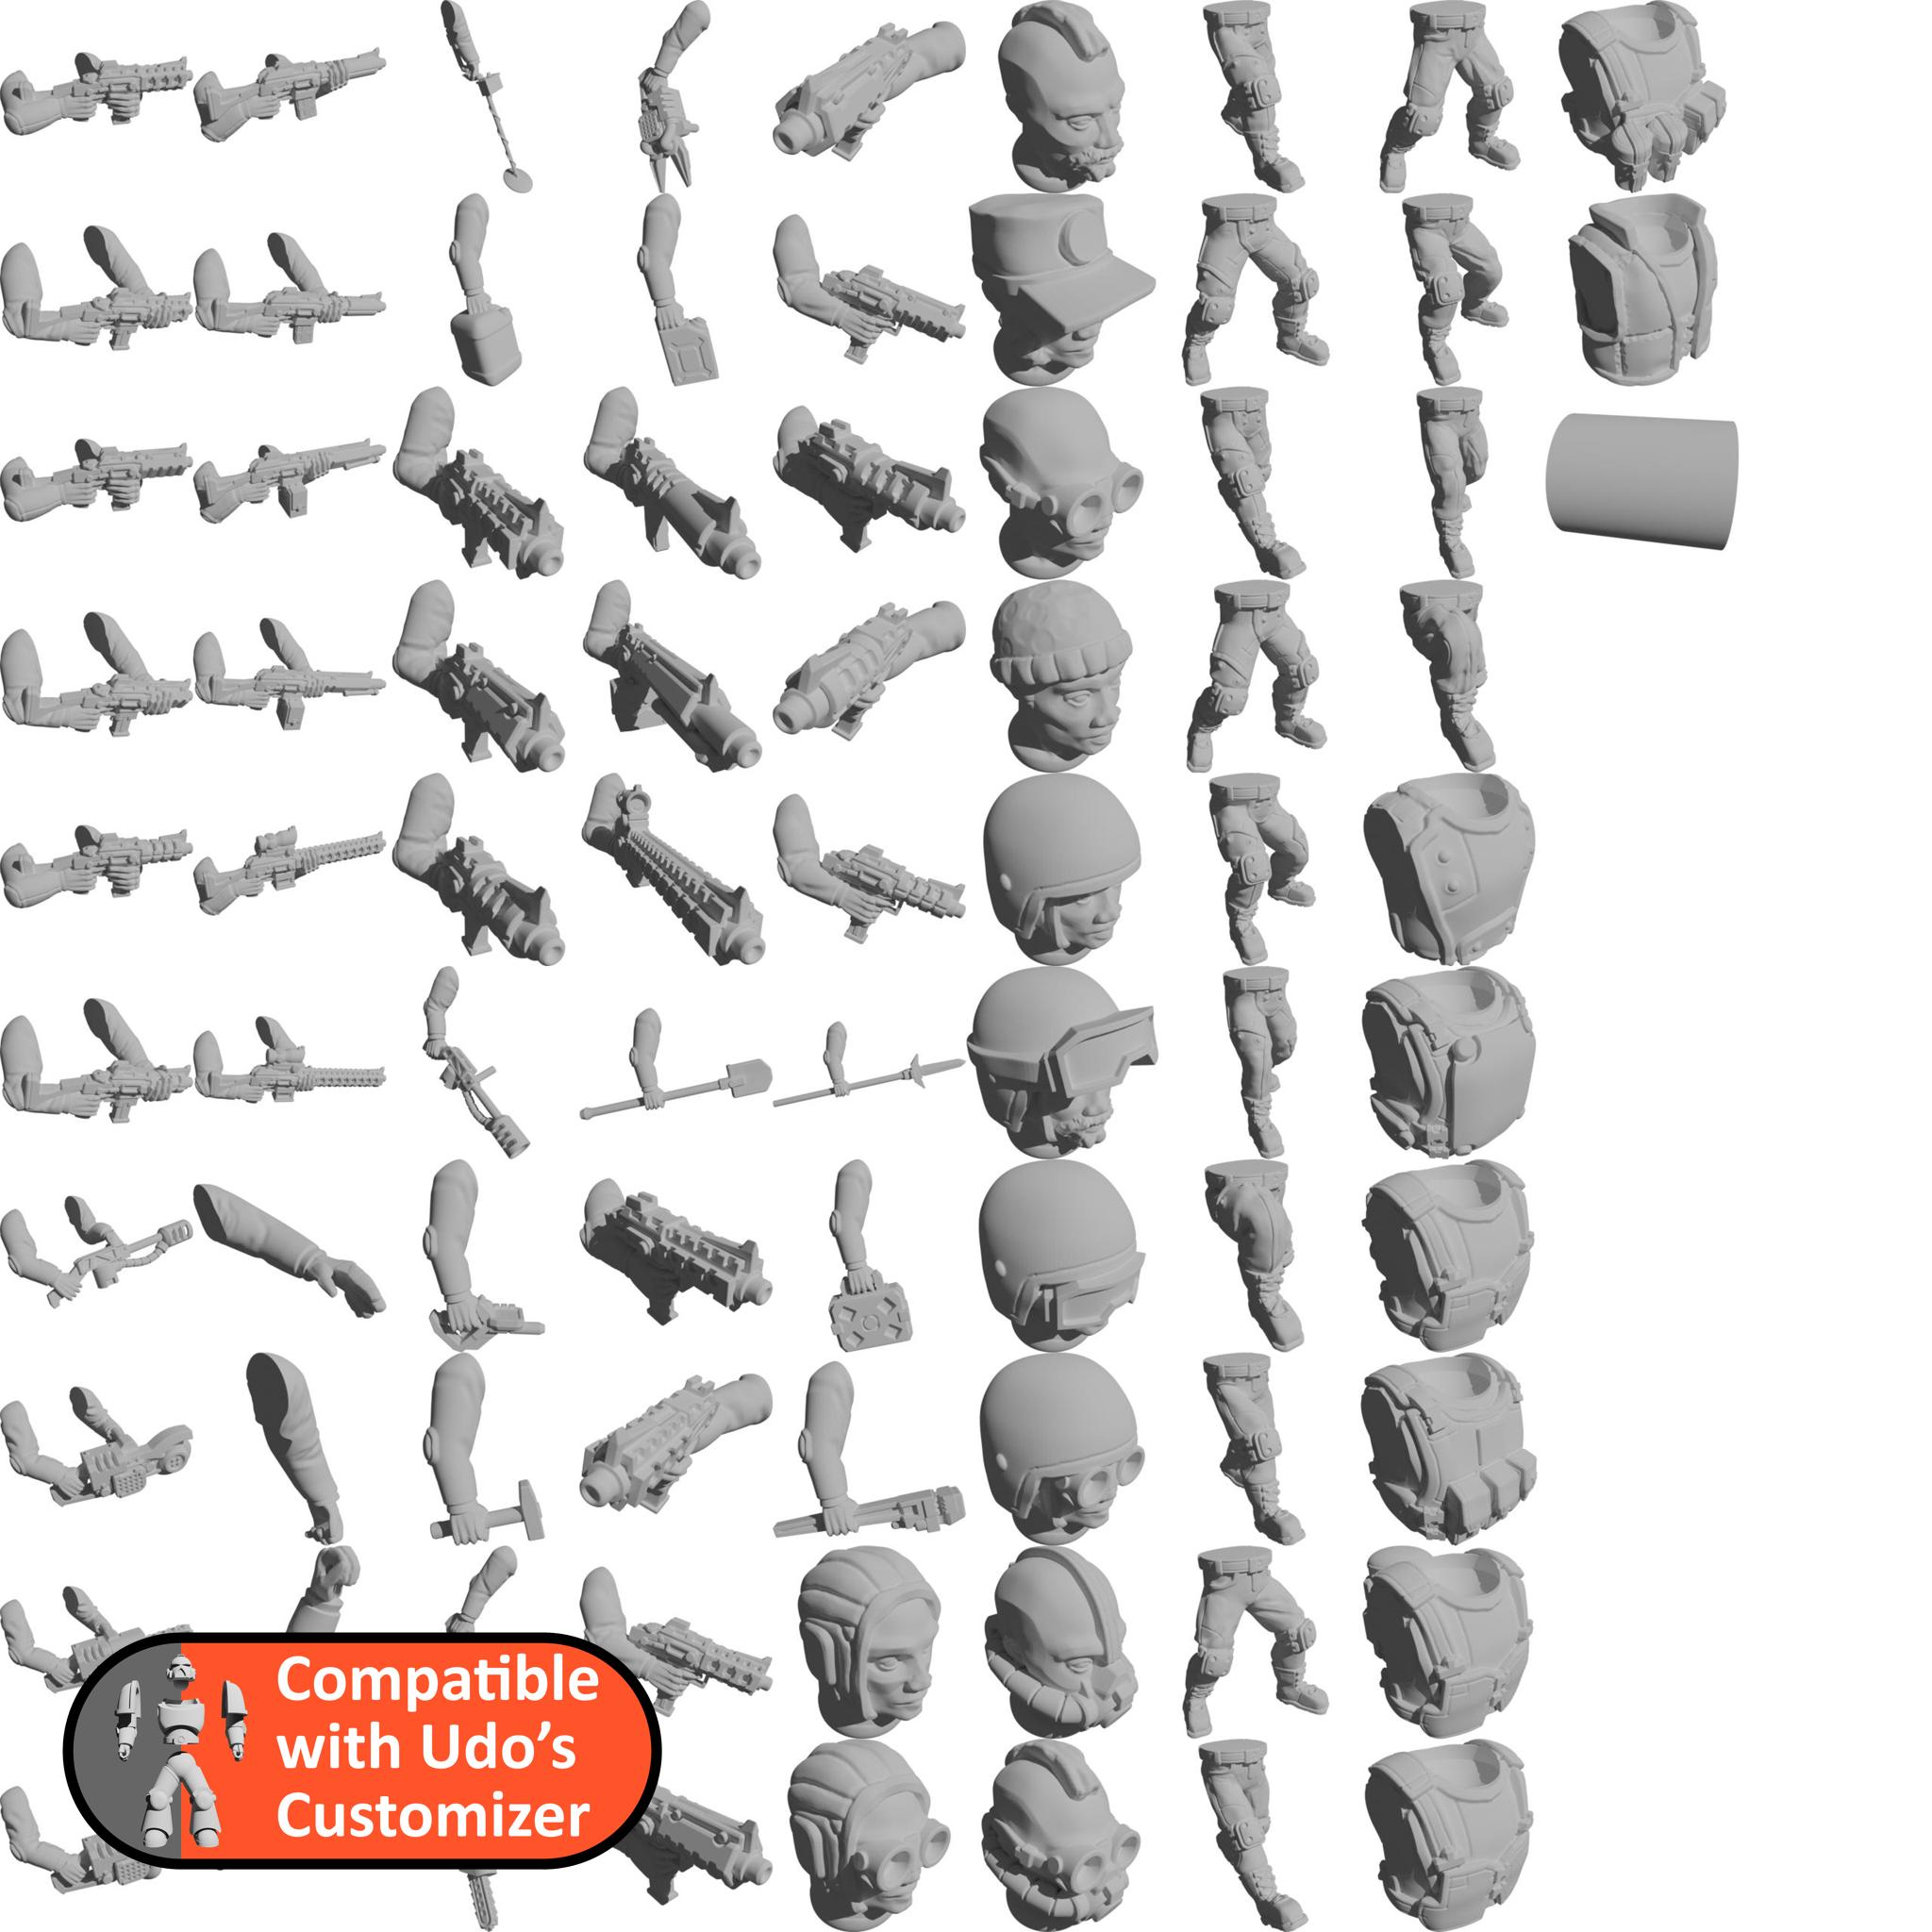
Space Engineers
The engineers from the same location as the colonists in the previous library!
Colonial Raiders
Colonial Raiders to form assault groups for small missions around your SciFi outpost.
Militia Weaponteam
Taking heavy weapons, these militia sure know how to put big holes into their enemies!
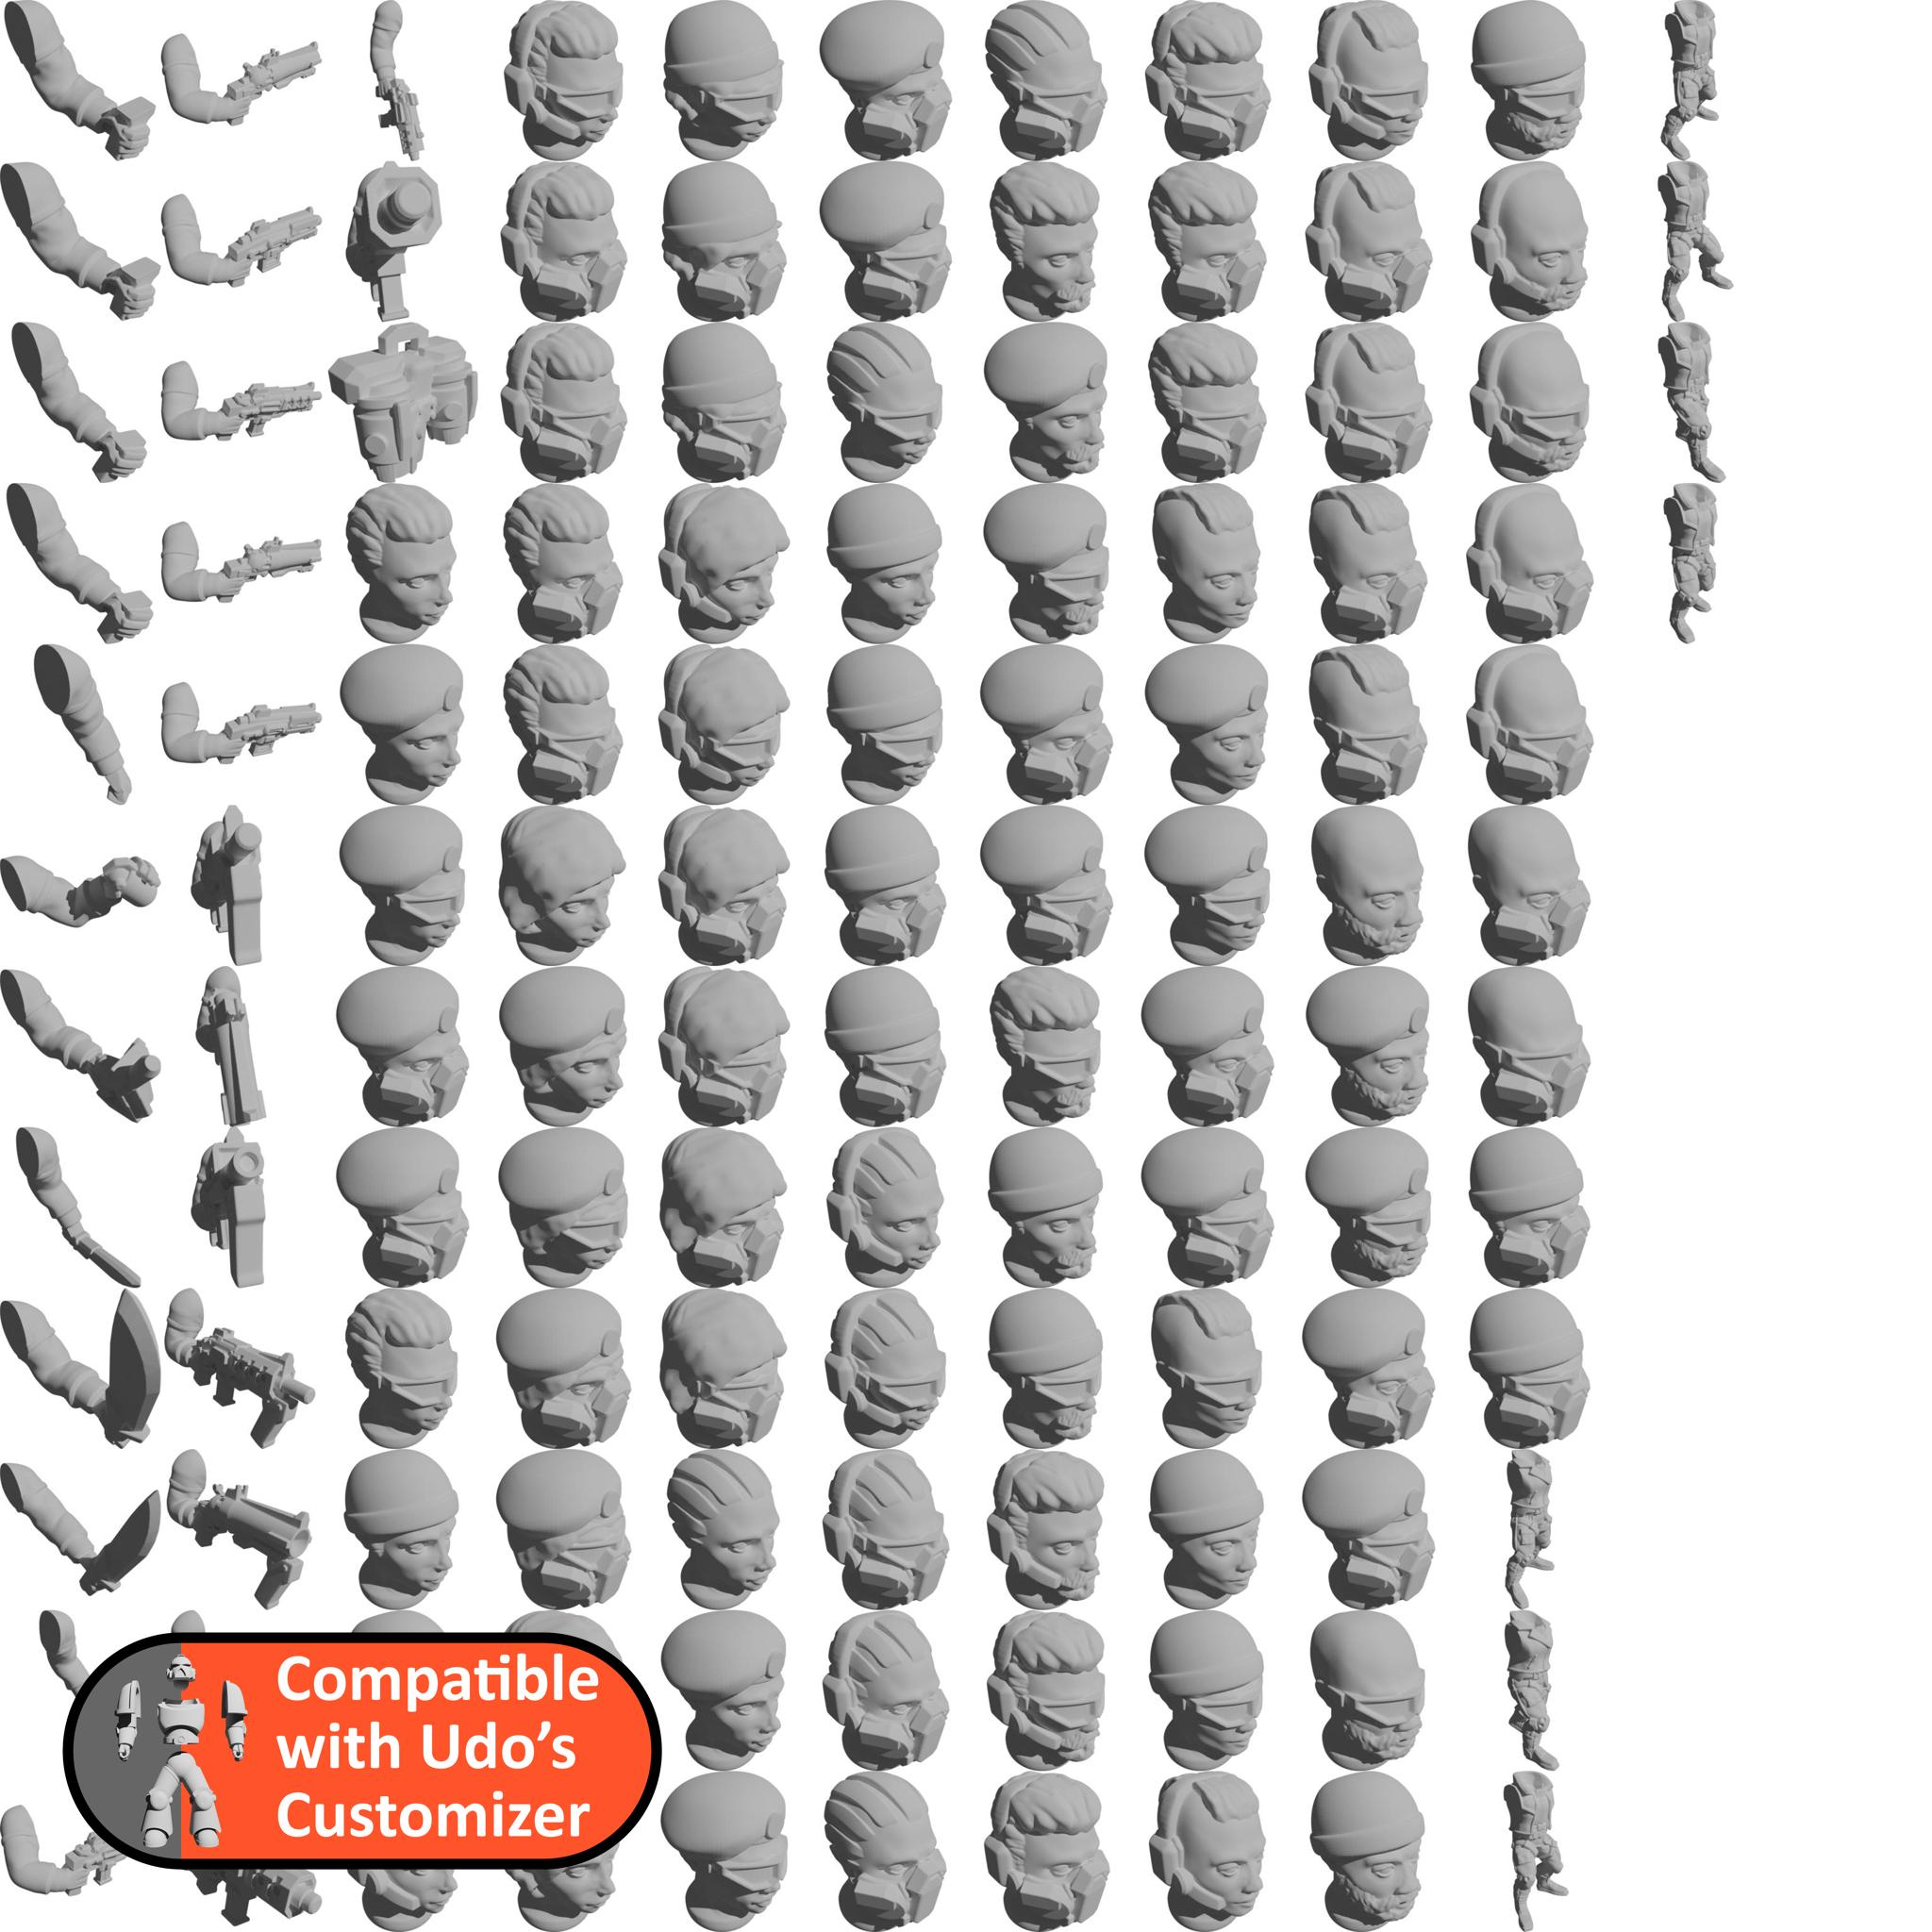
Heraclides Vanguard
Strong and heavy men (and women) to fight alongside your human army.
Shinobi Guard
Basic human warriors with an asian theme.
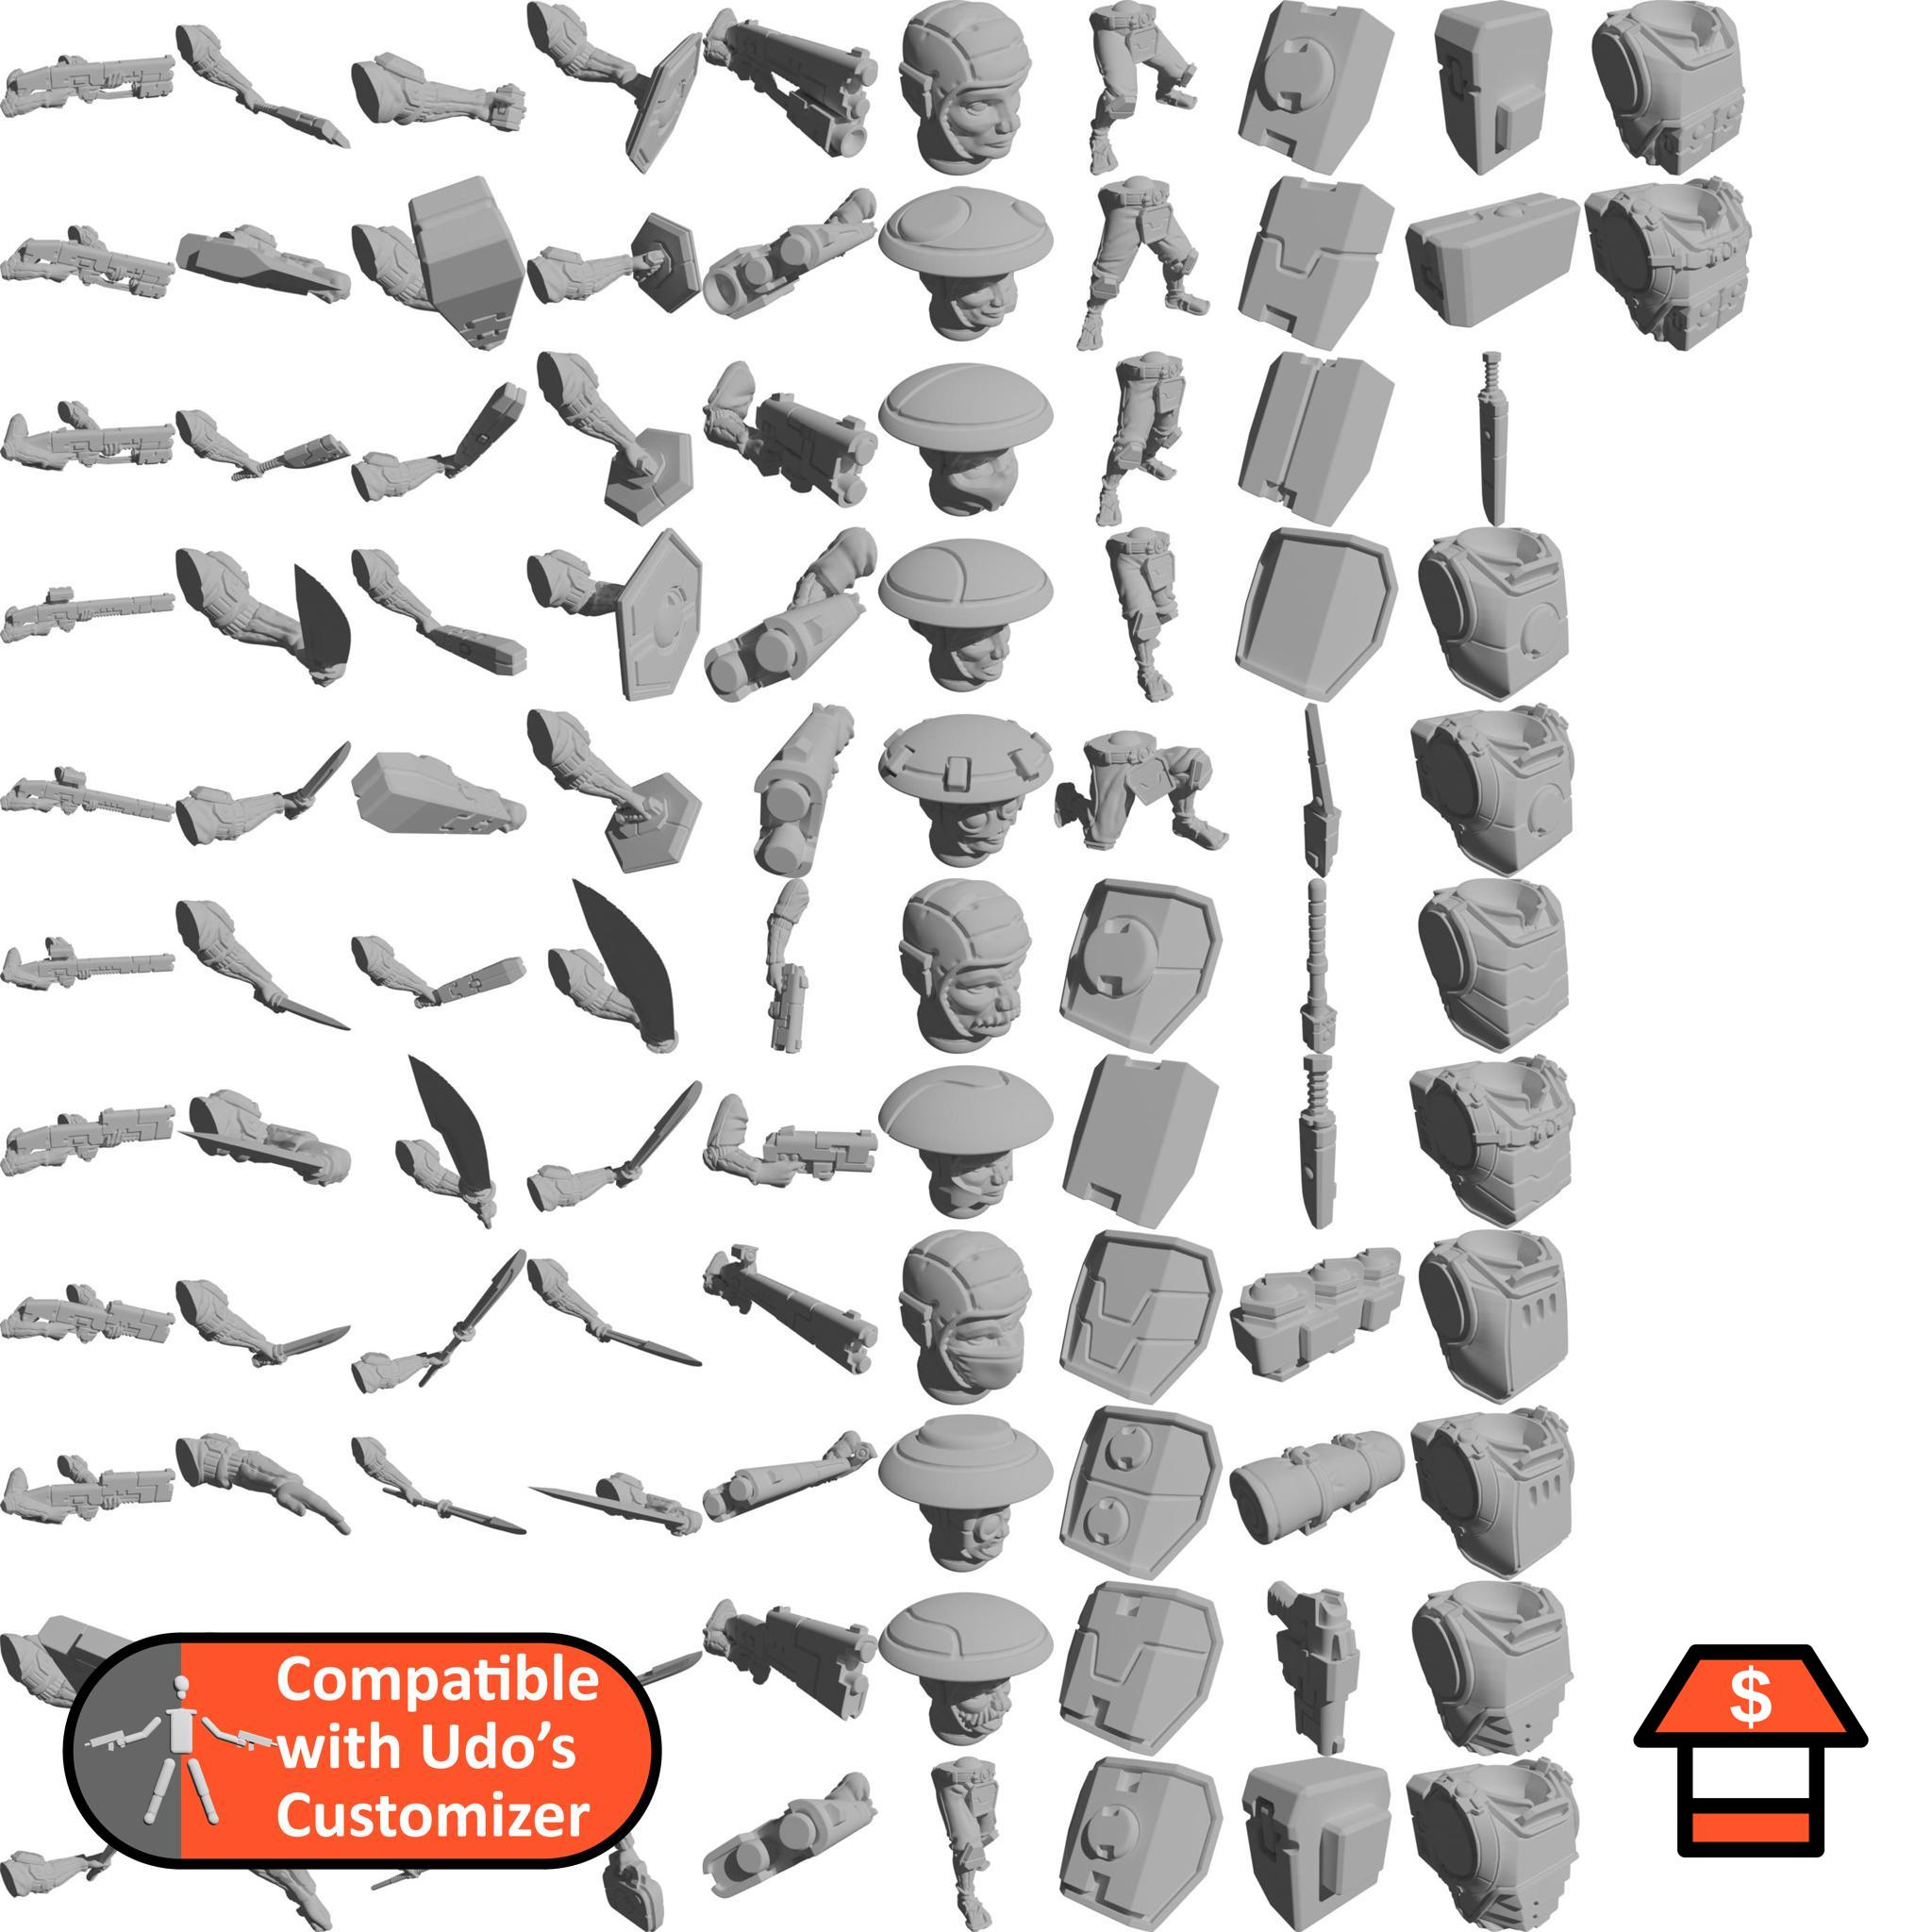
Ashigaru Guard
Basic human warriors with an asian theme - part 2.
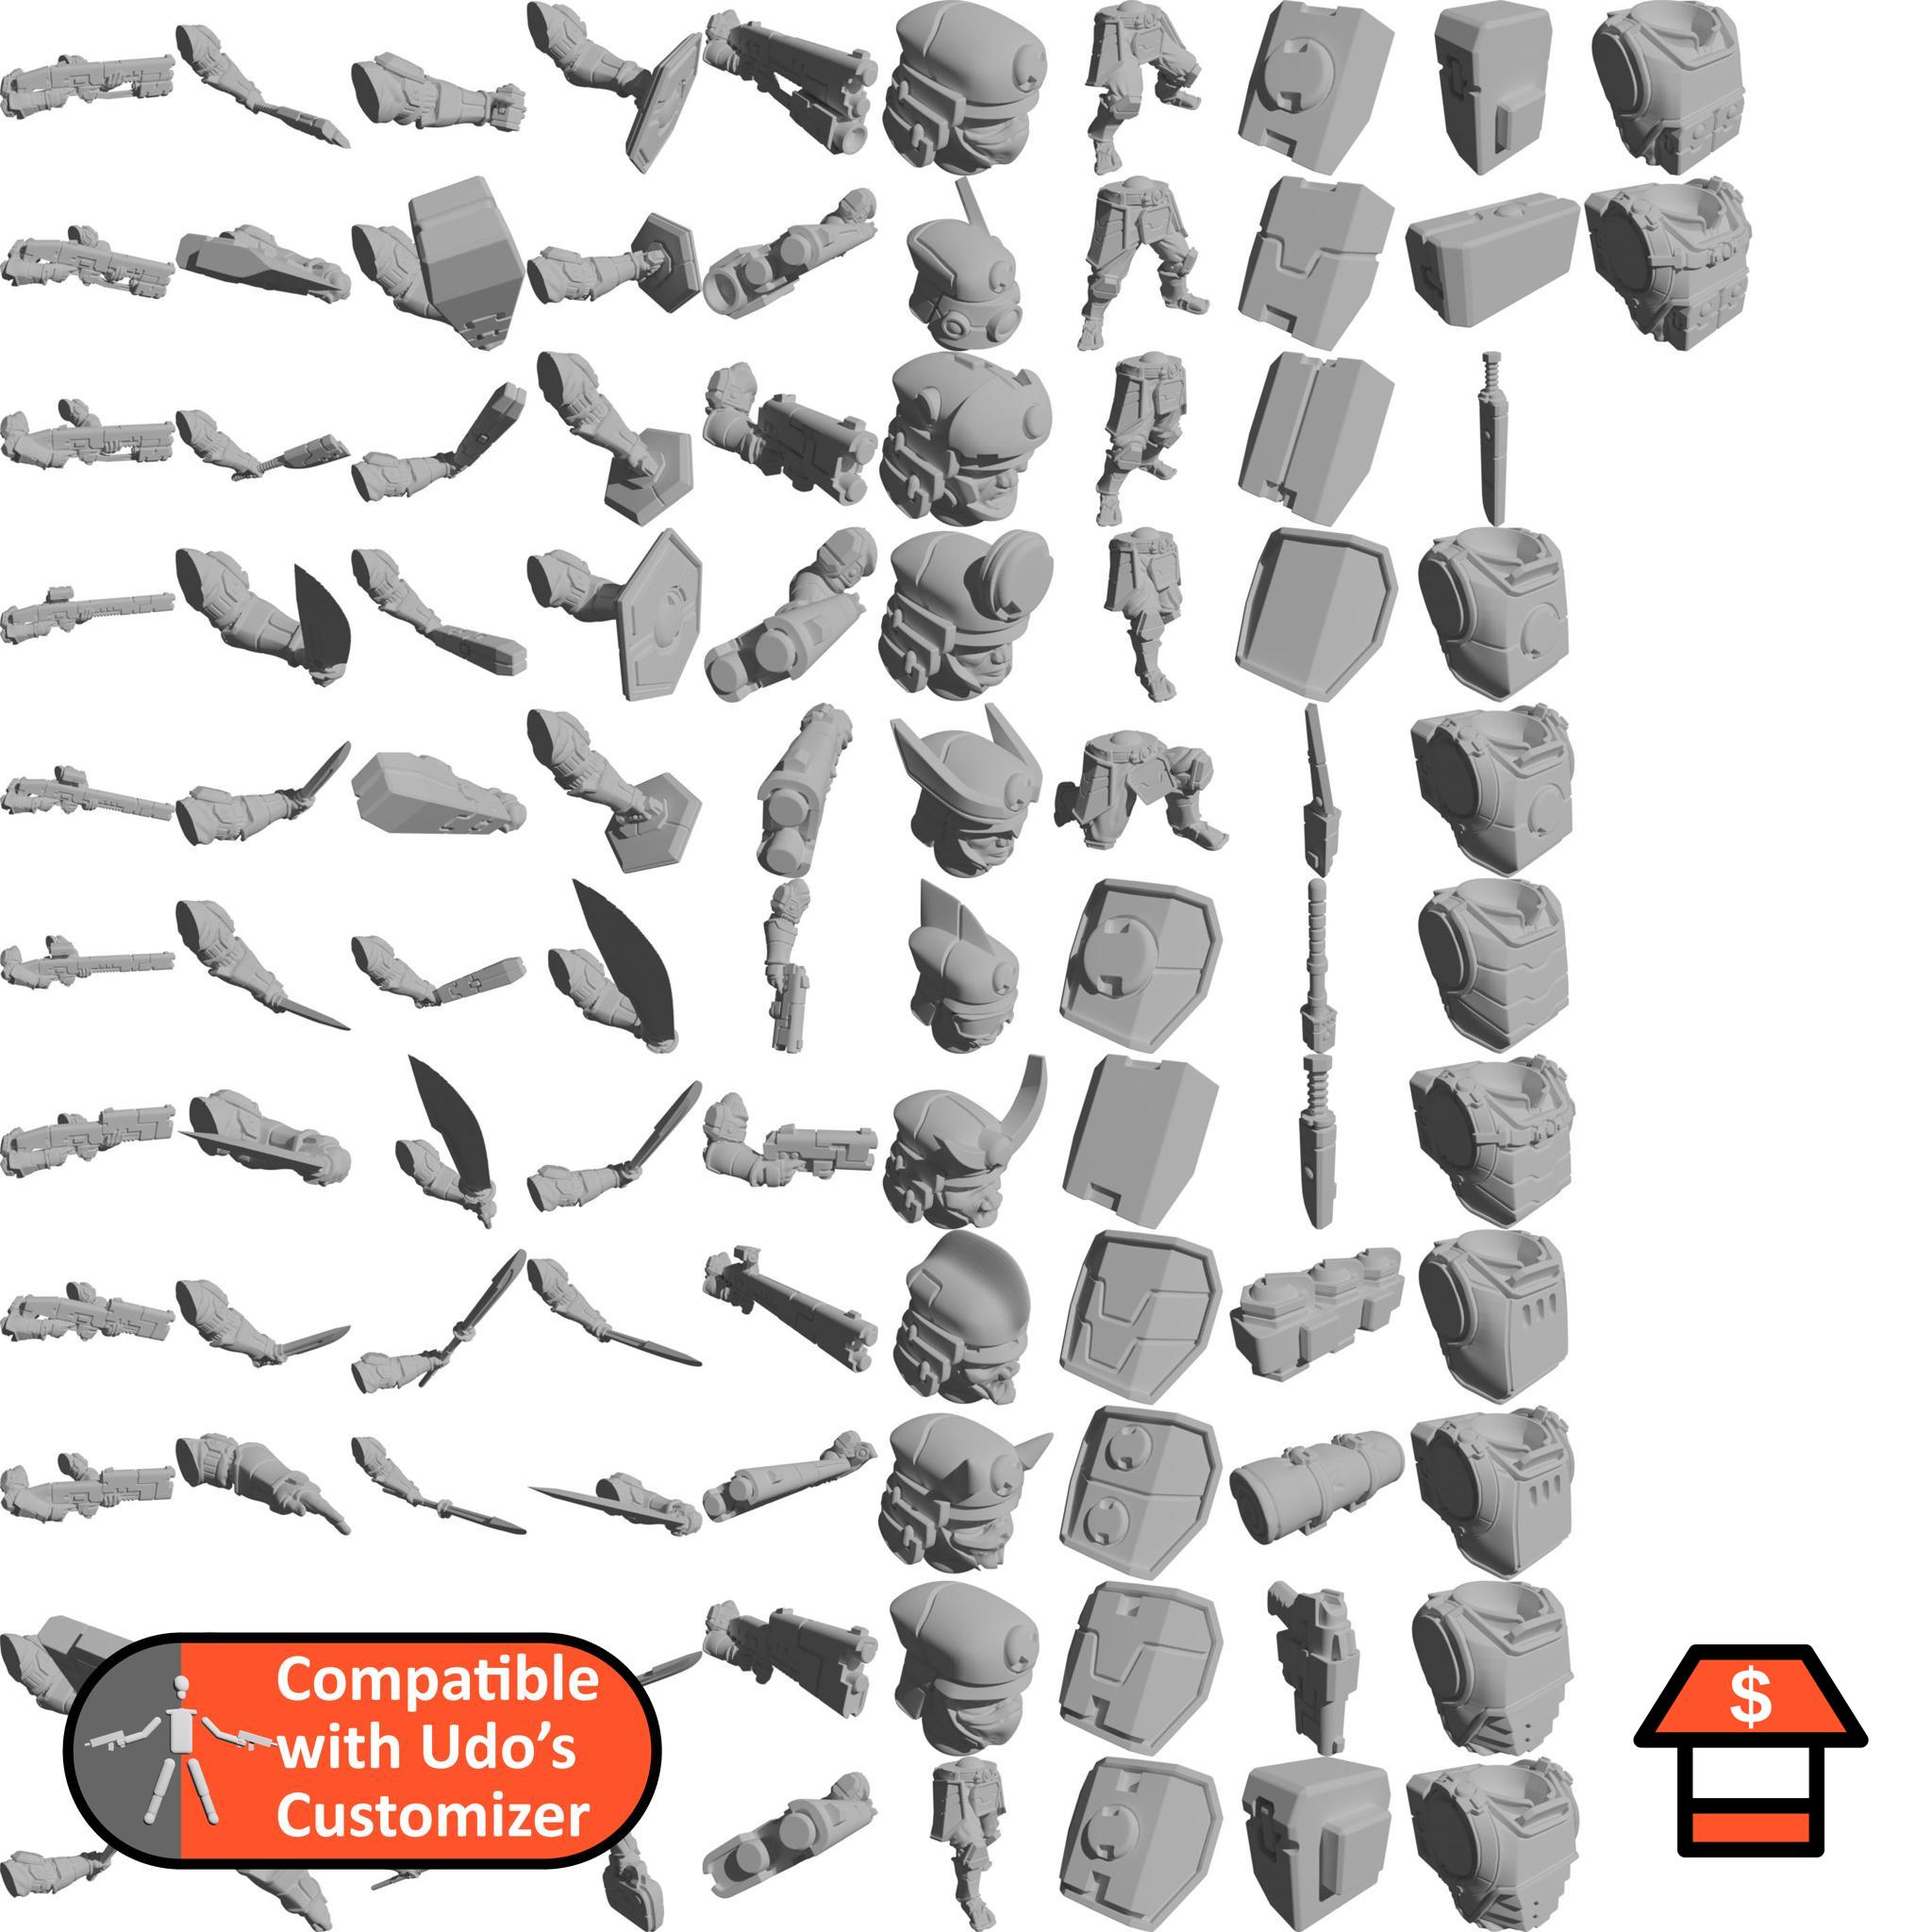
Samurai Guard
Basic human warriors with an asian theme - part 3.
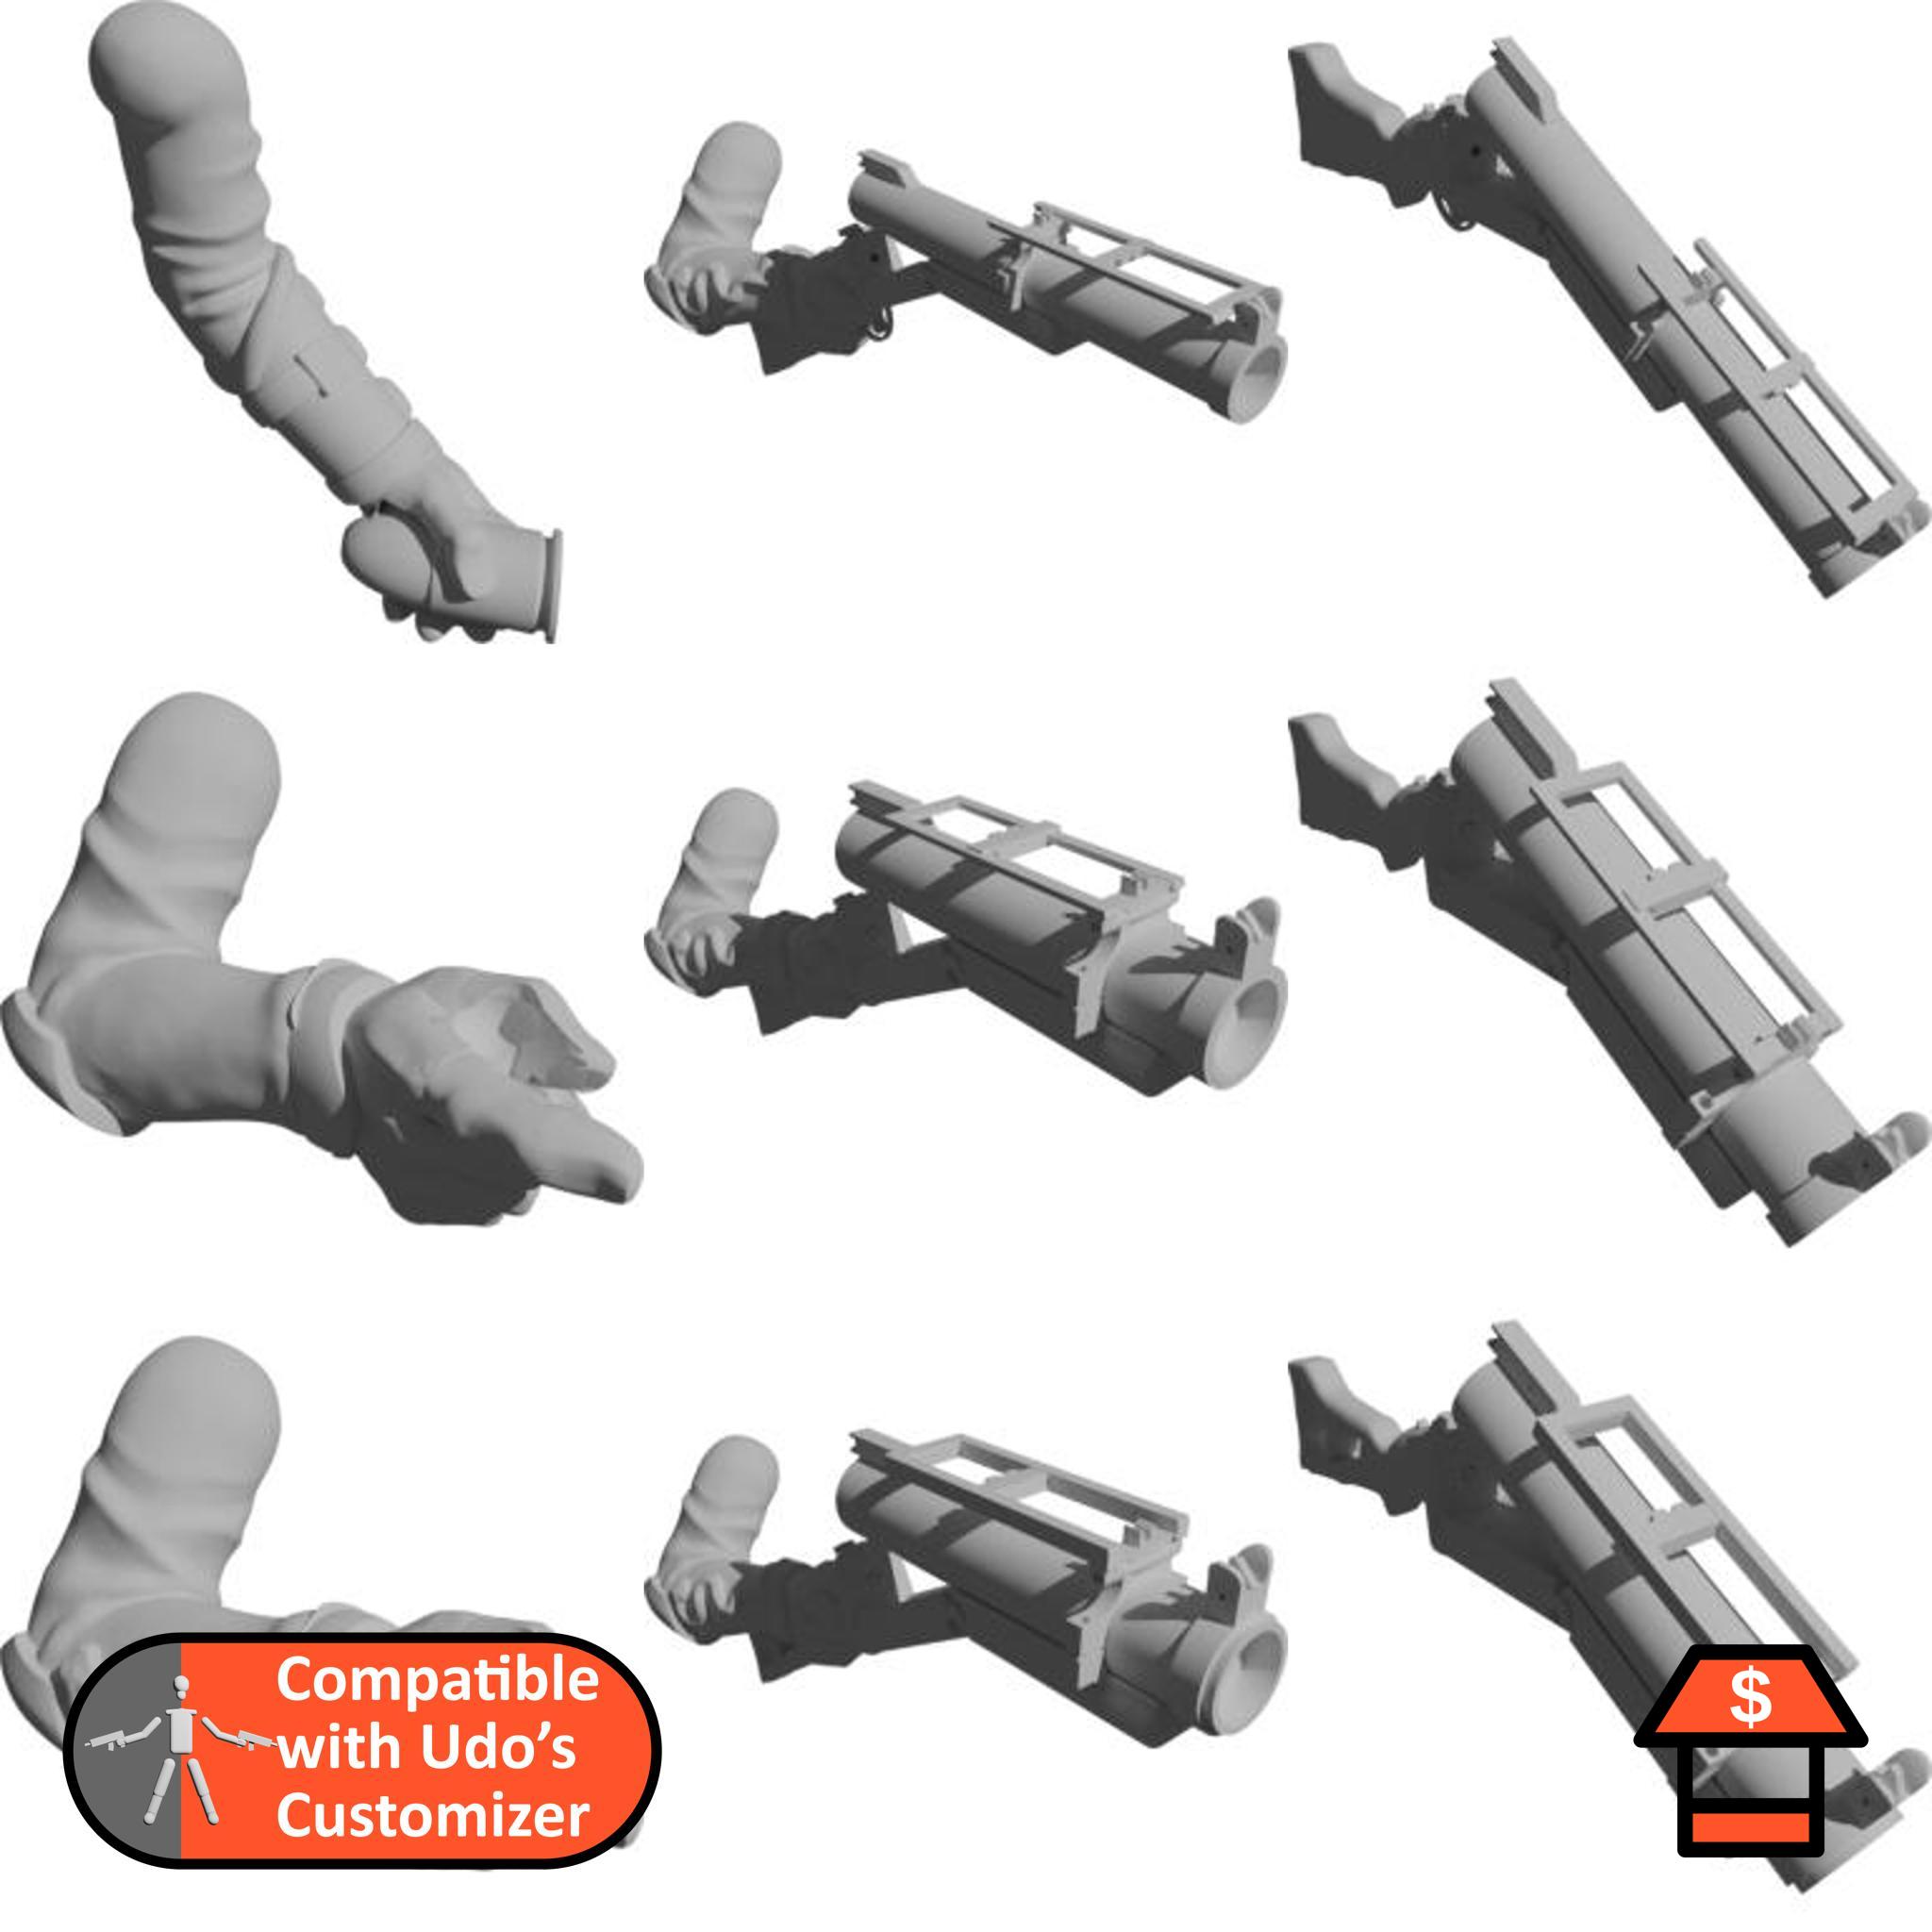
Grenade Launcher Arms
Just a right arm with a grenade launcher and a left arm with a grenade.
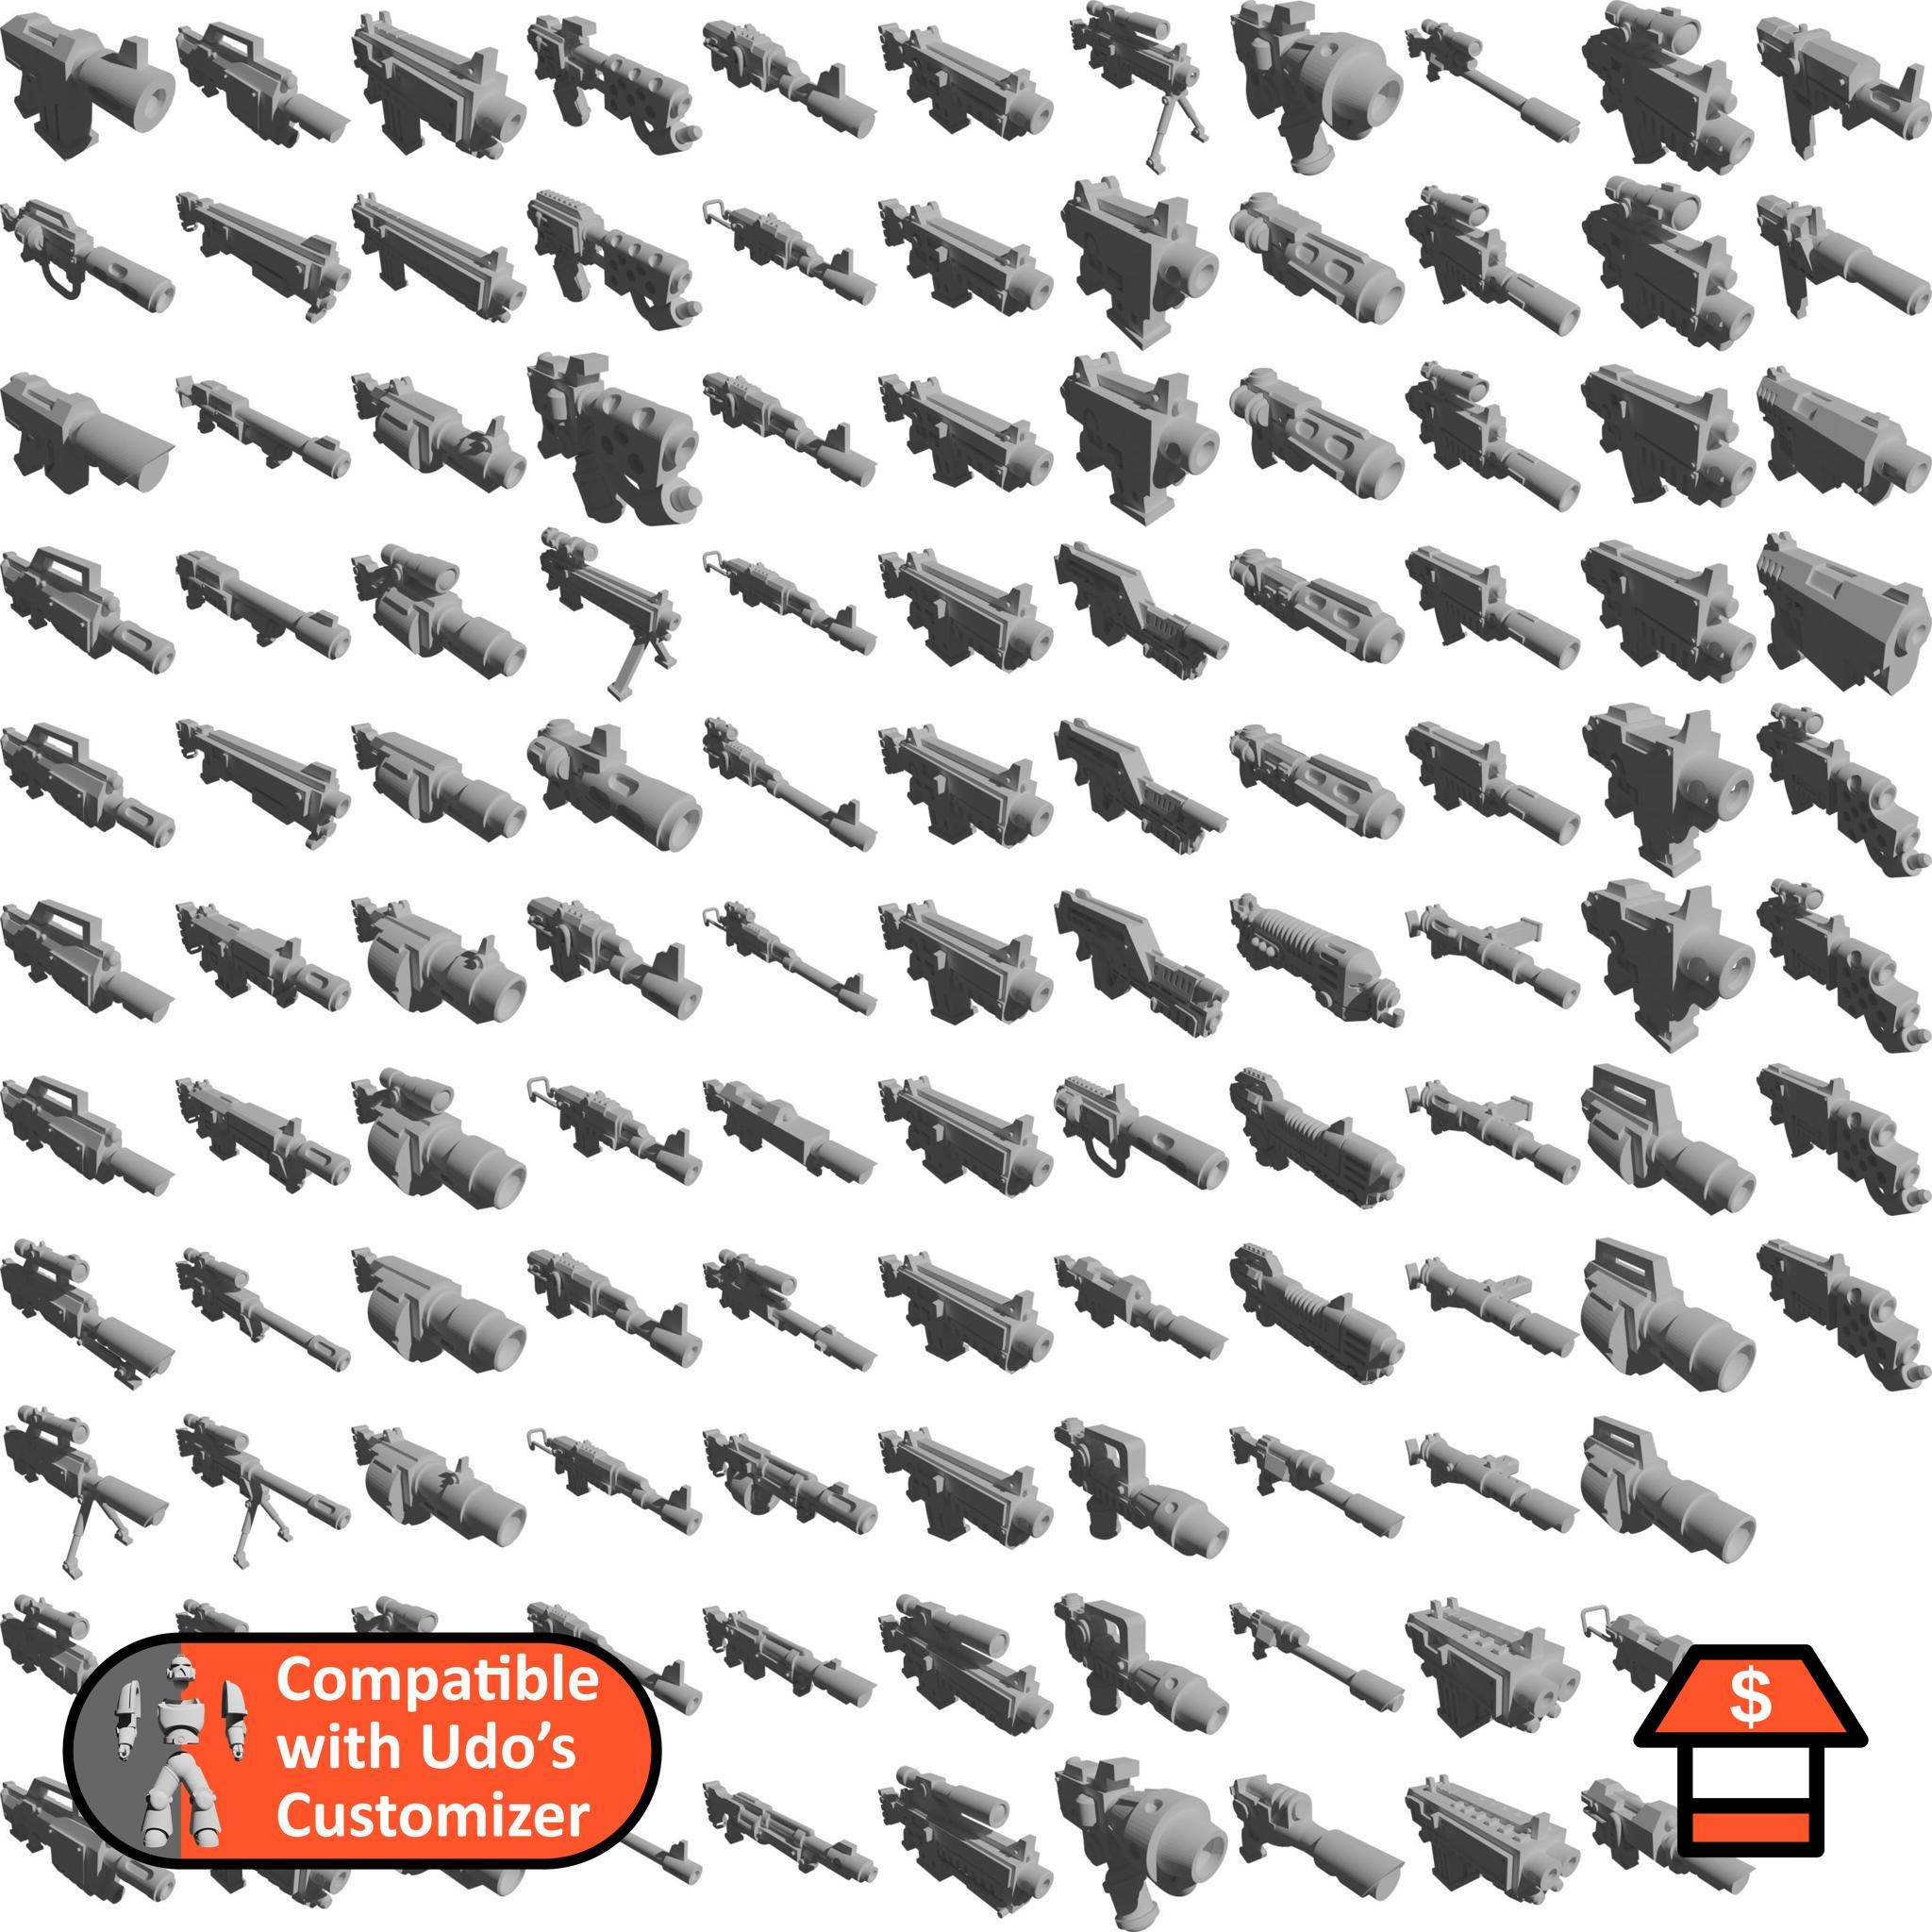
Humans - Weapons
118 weapons from Mkhand_industries remixed to be usable in the customizer.
Weapons by WolfsForge
An awesome library of many different modern weapons and tools.
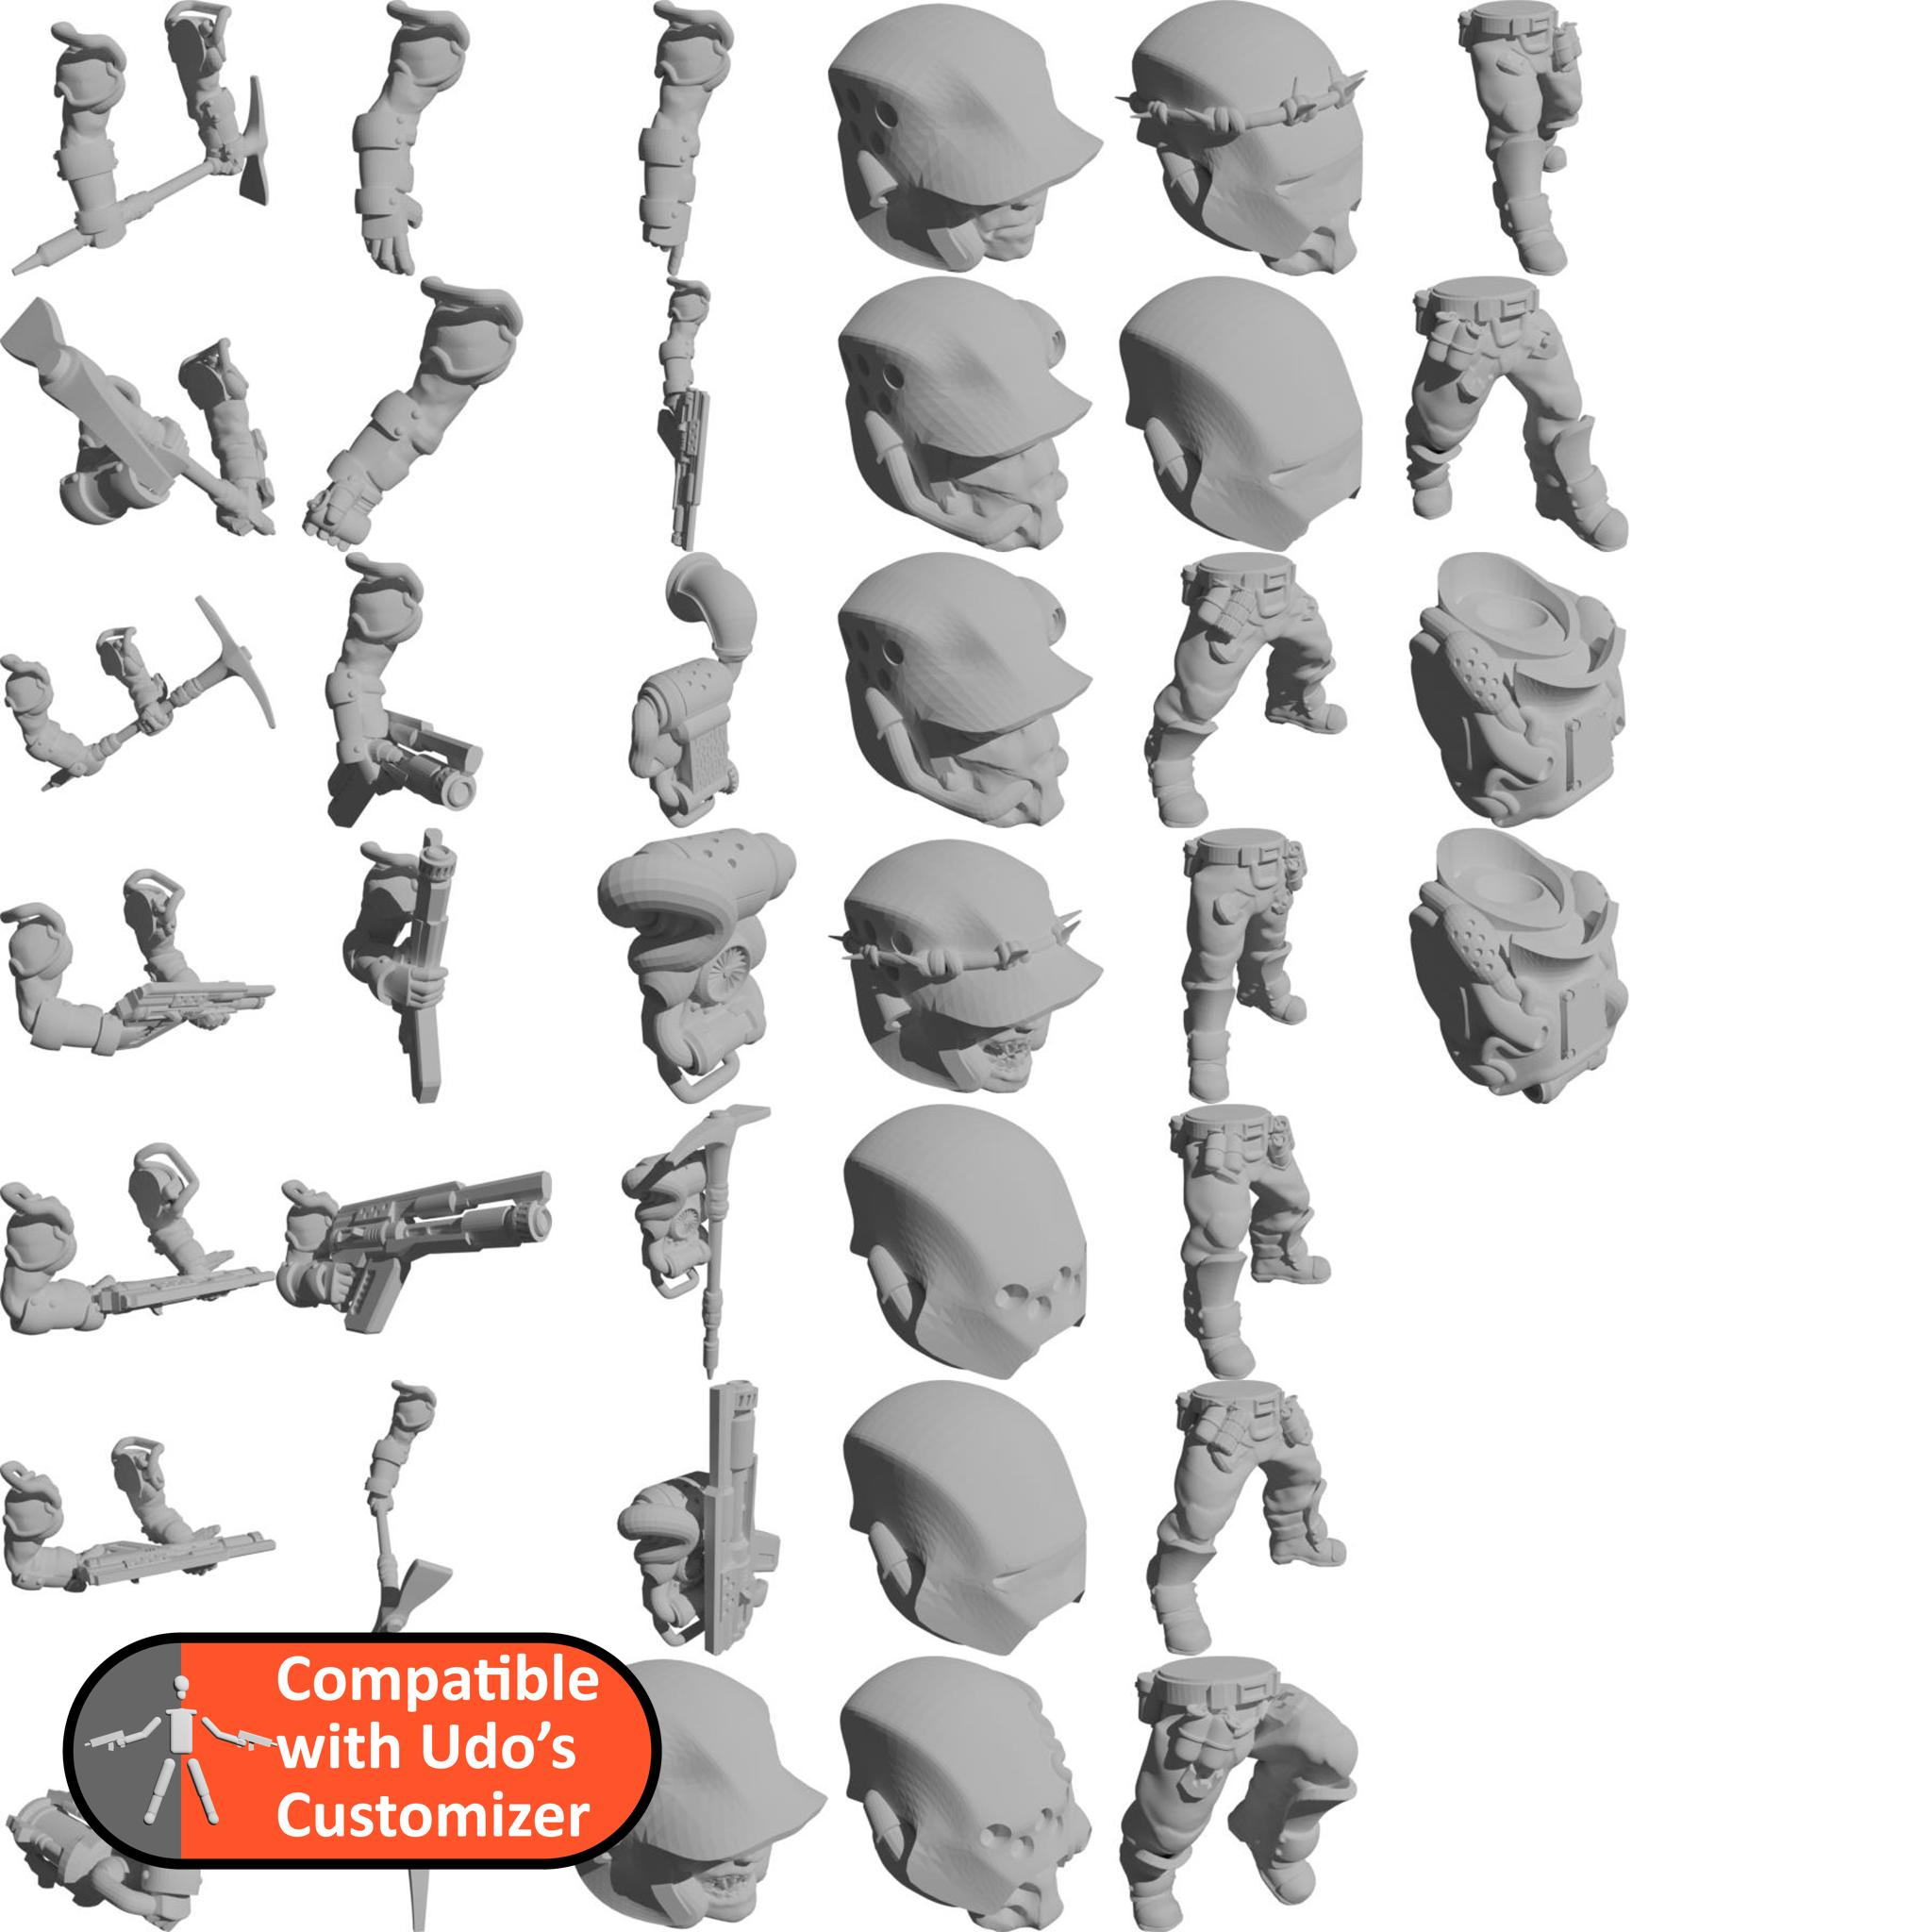
Diggers Brigade
Diggers Brigade from DasModell remixed for the Customizer.
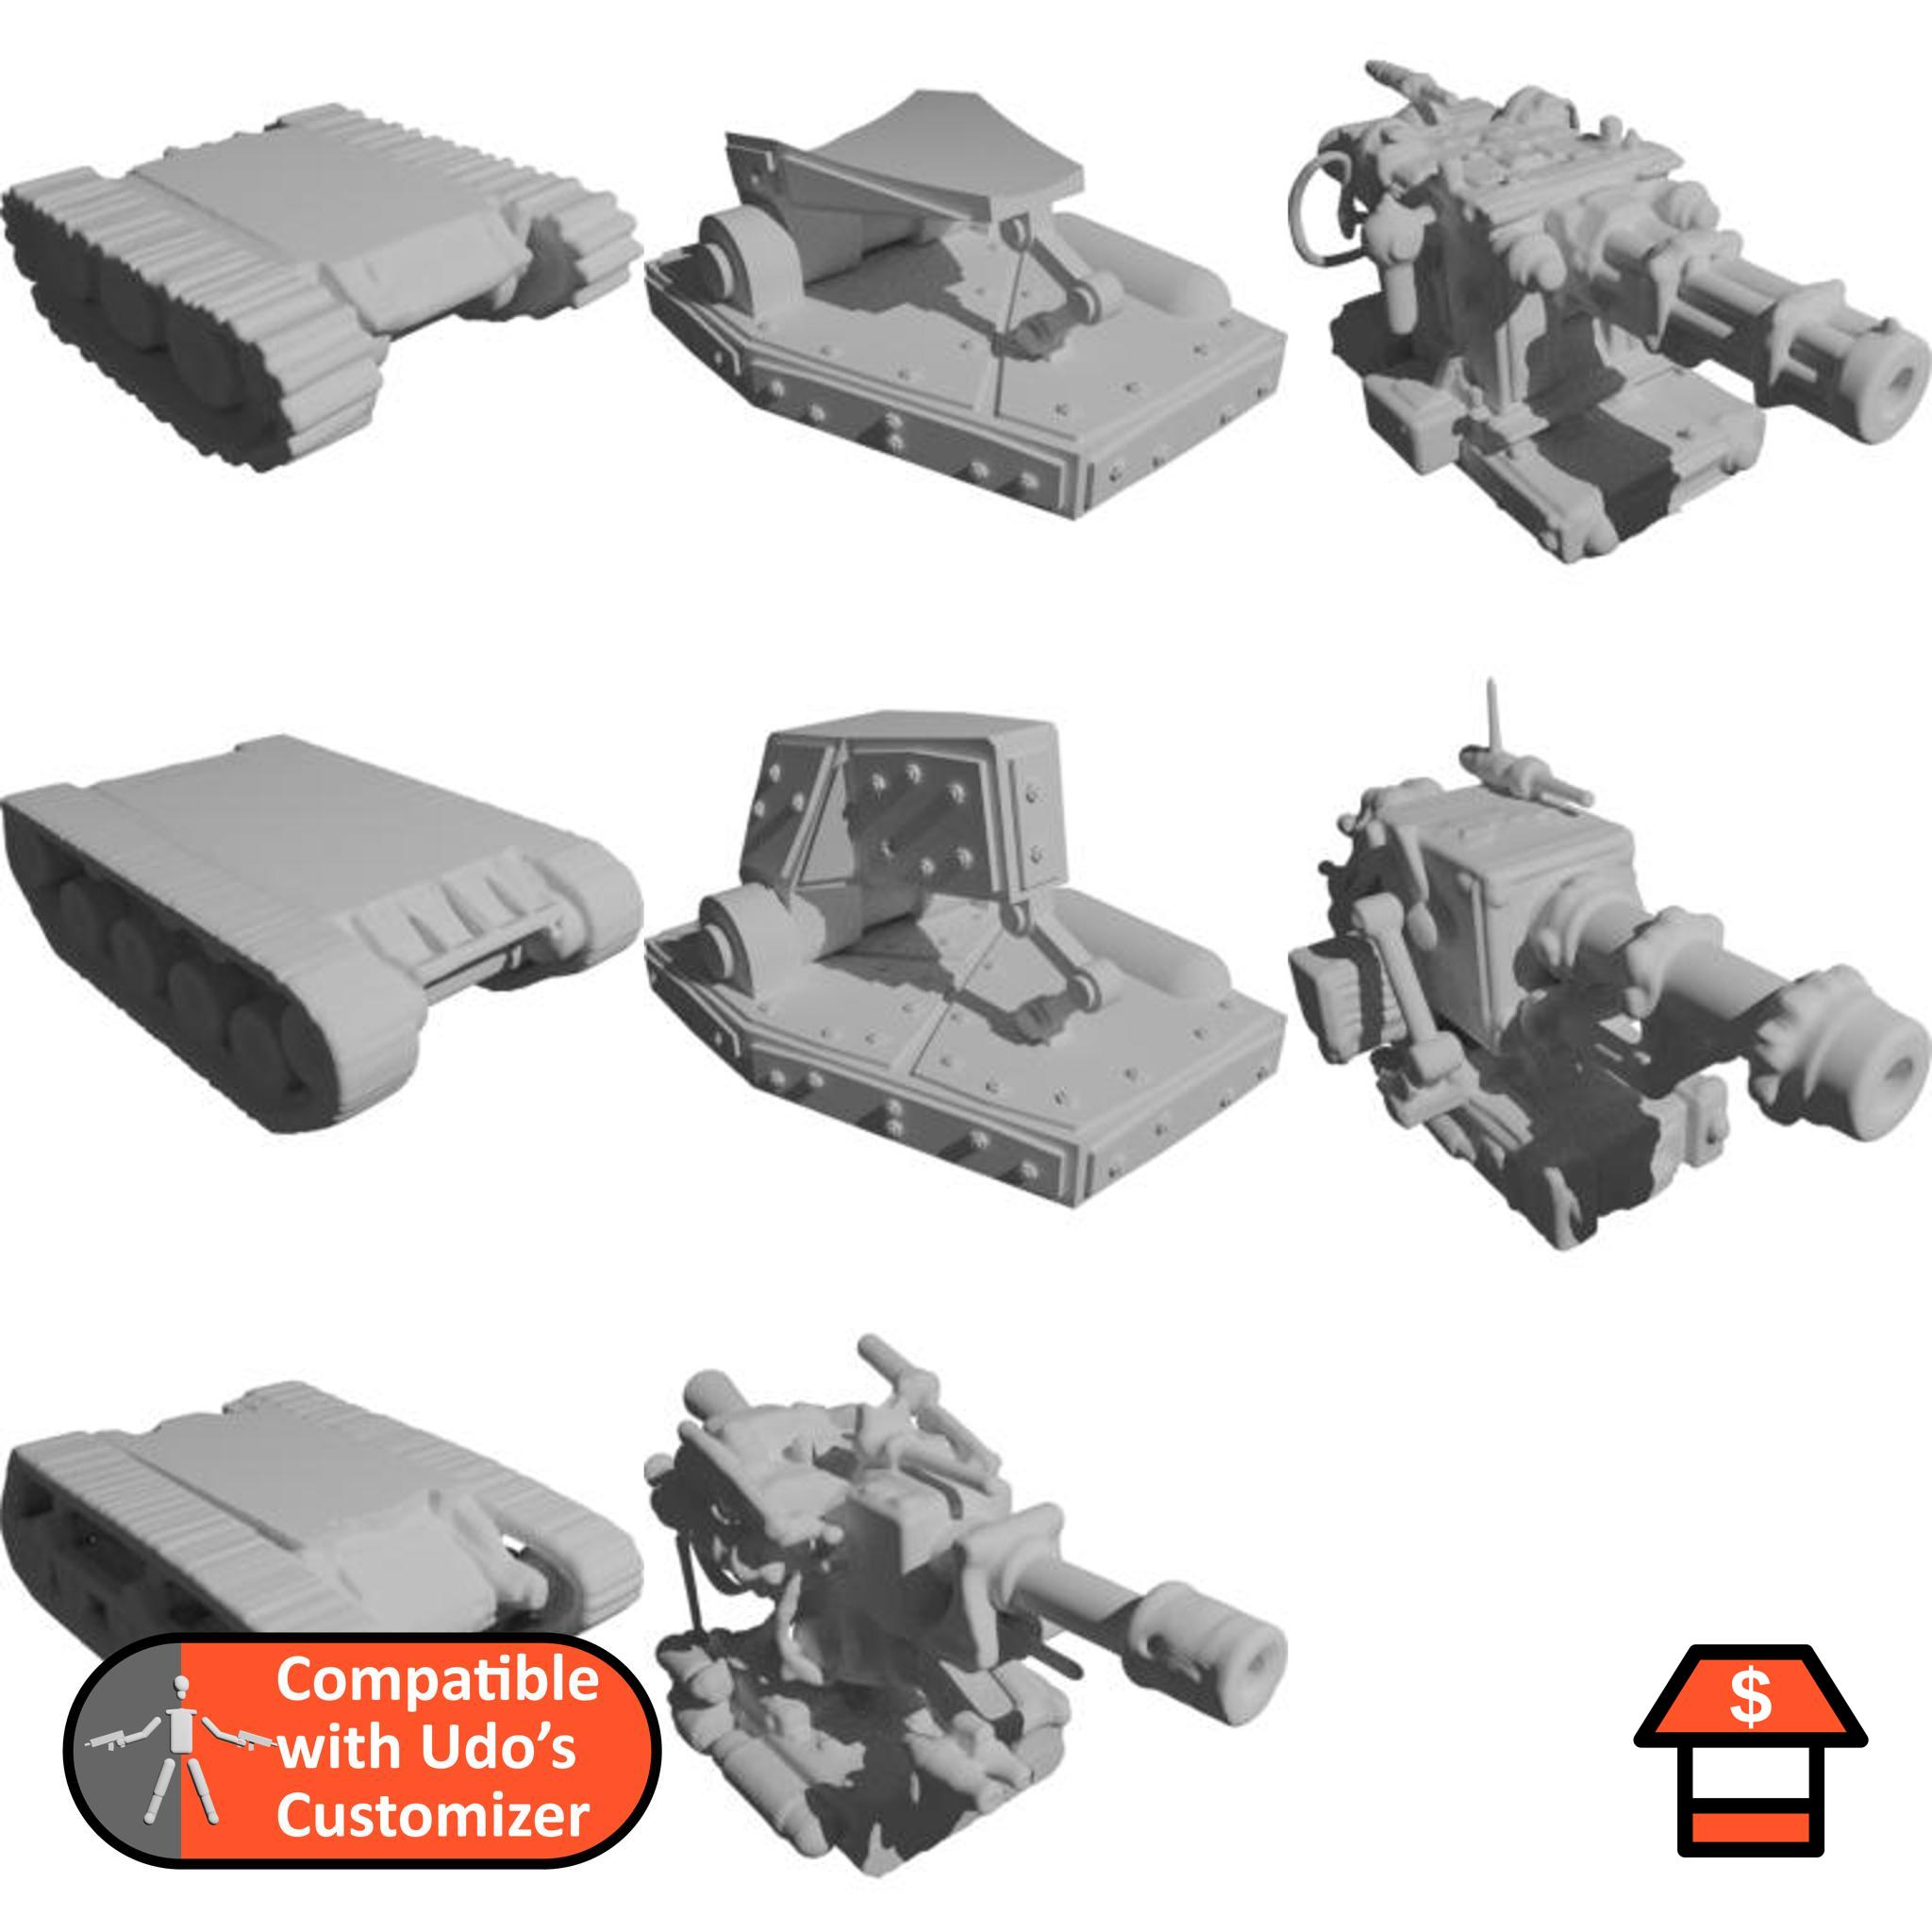
Udo's Scrap Tanks
Scrap tanks! With different weapons and styles, this library allows you to create a lot of individual, funny scrap tanks!
Udo's Scrap Tanks - Addons
Some not that serious addons to the existing scrap tanks library.
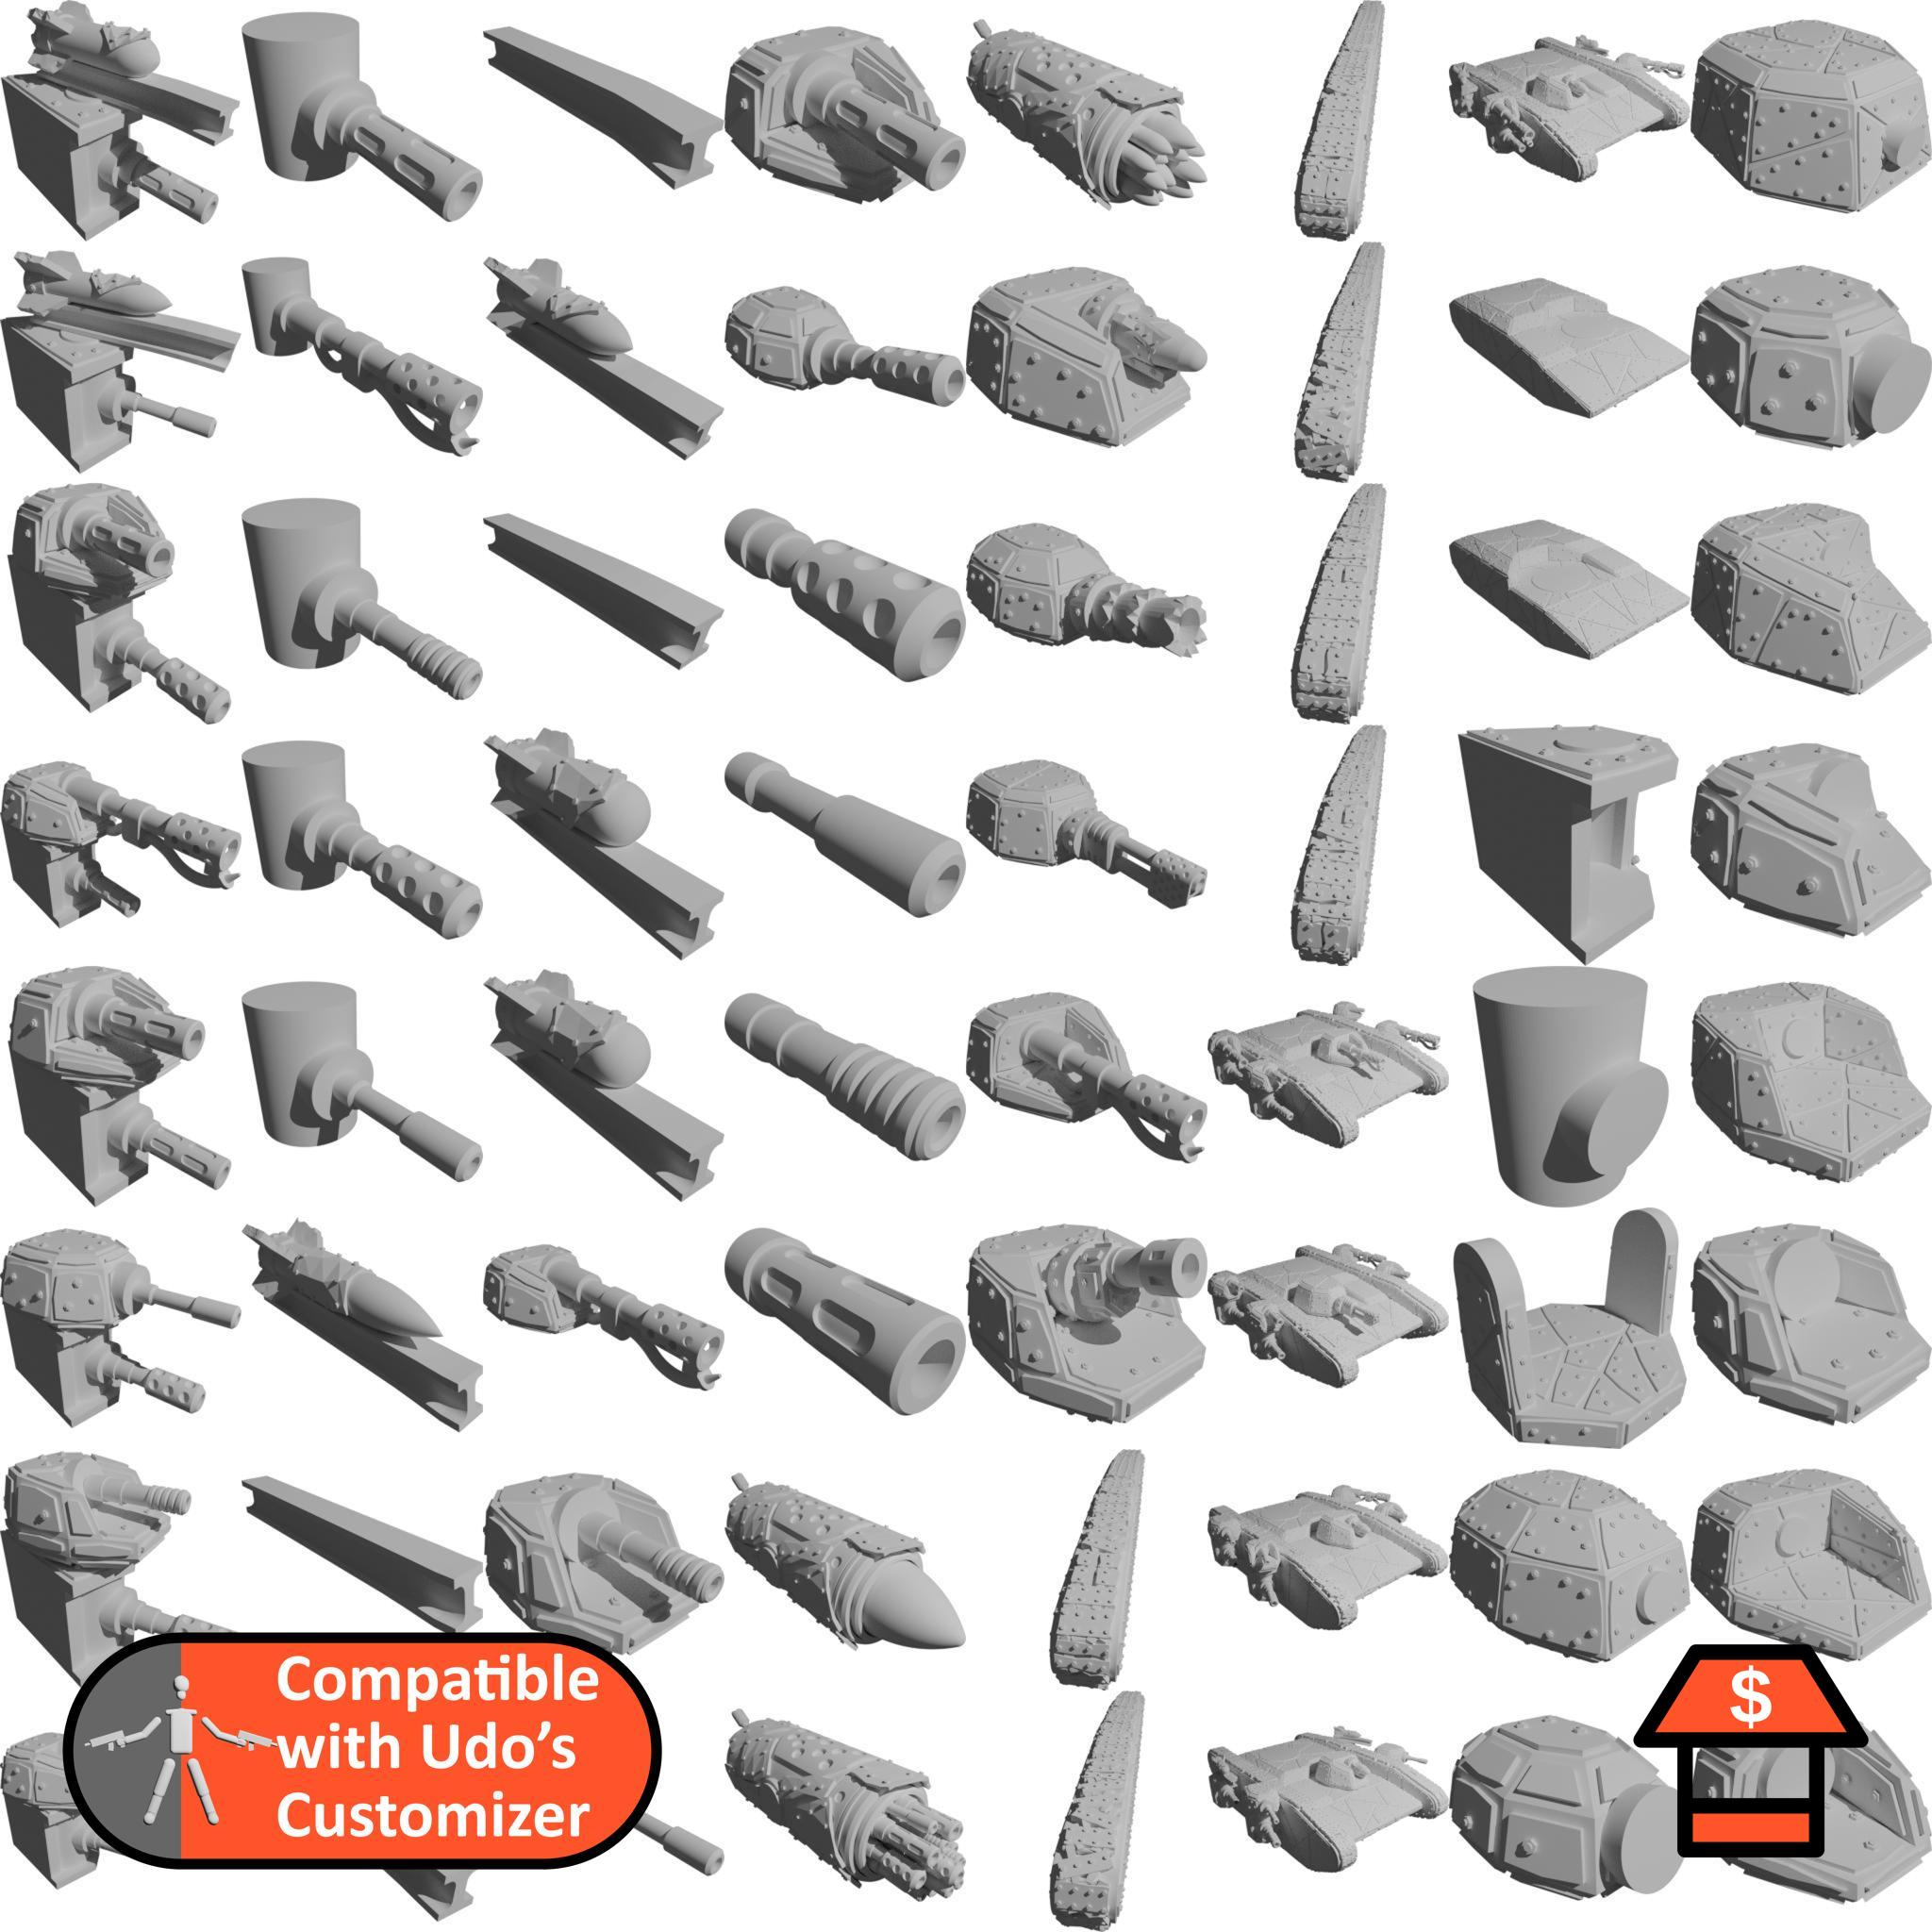
Udo's Super Heavy Scrap Tanks
The same as above, just bigger and better!
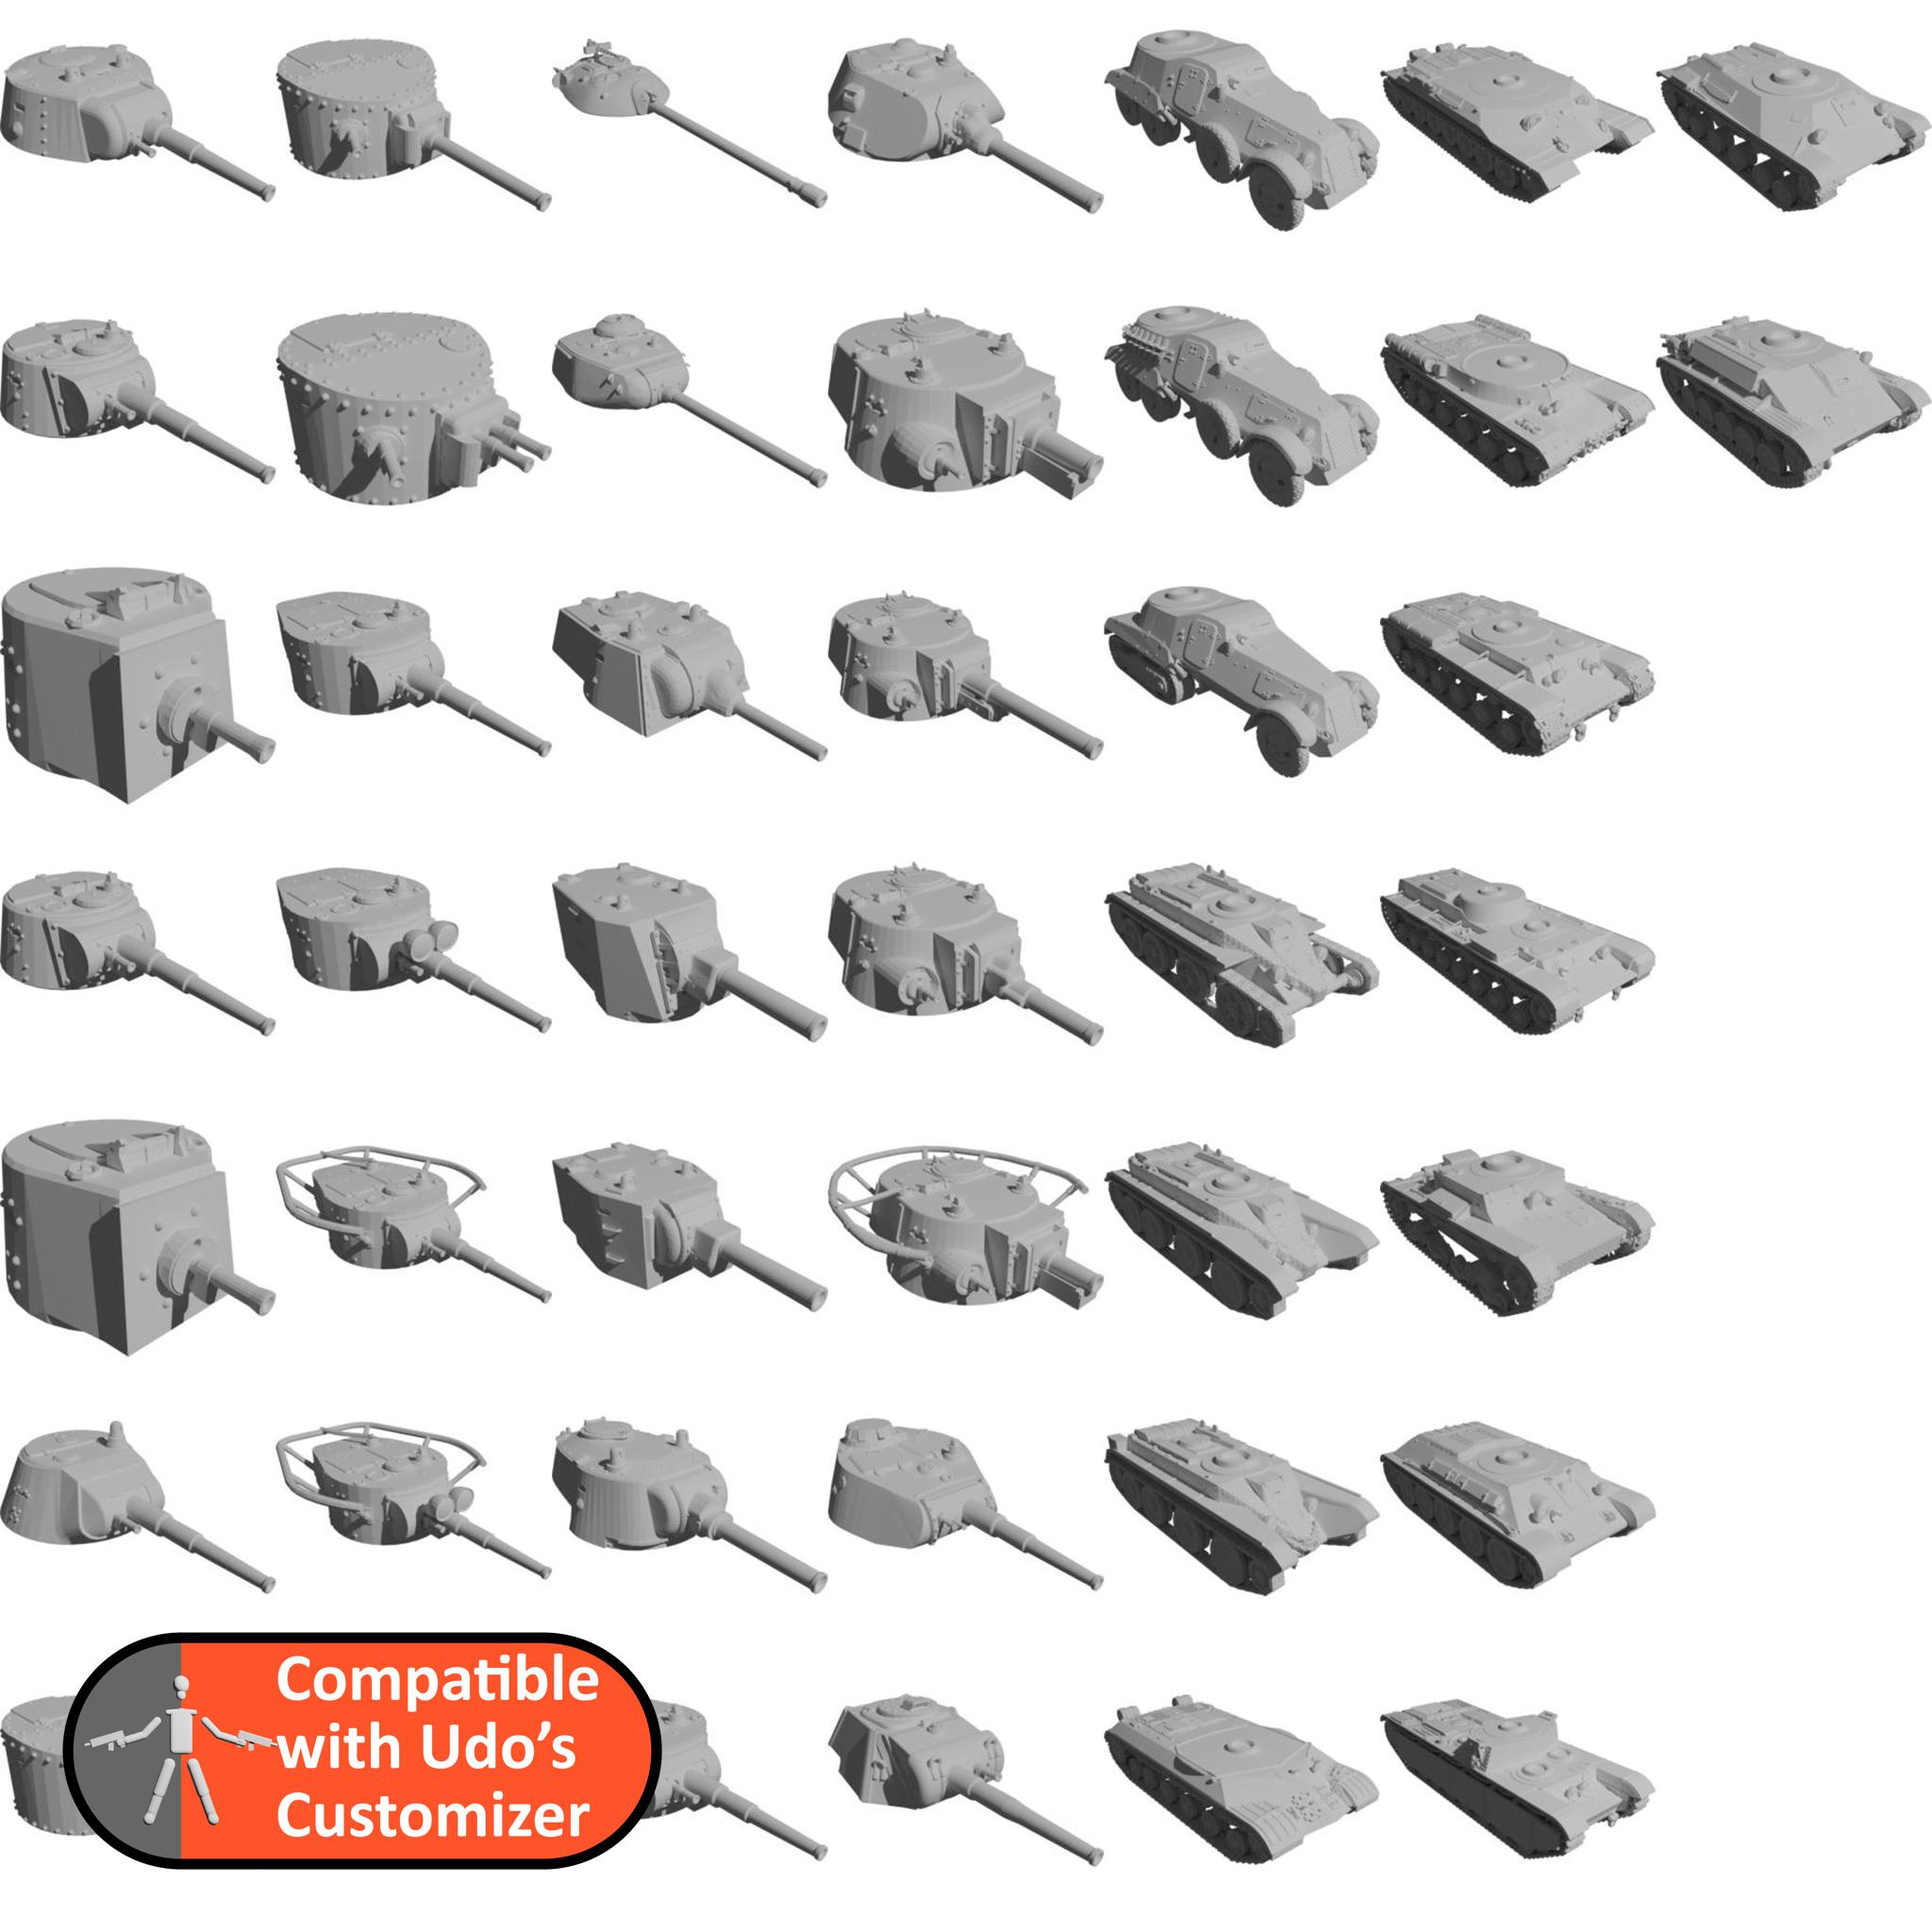
Soviet Tanks
A big collection of soviet tanks in different versions.
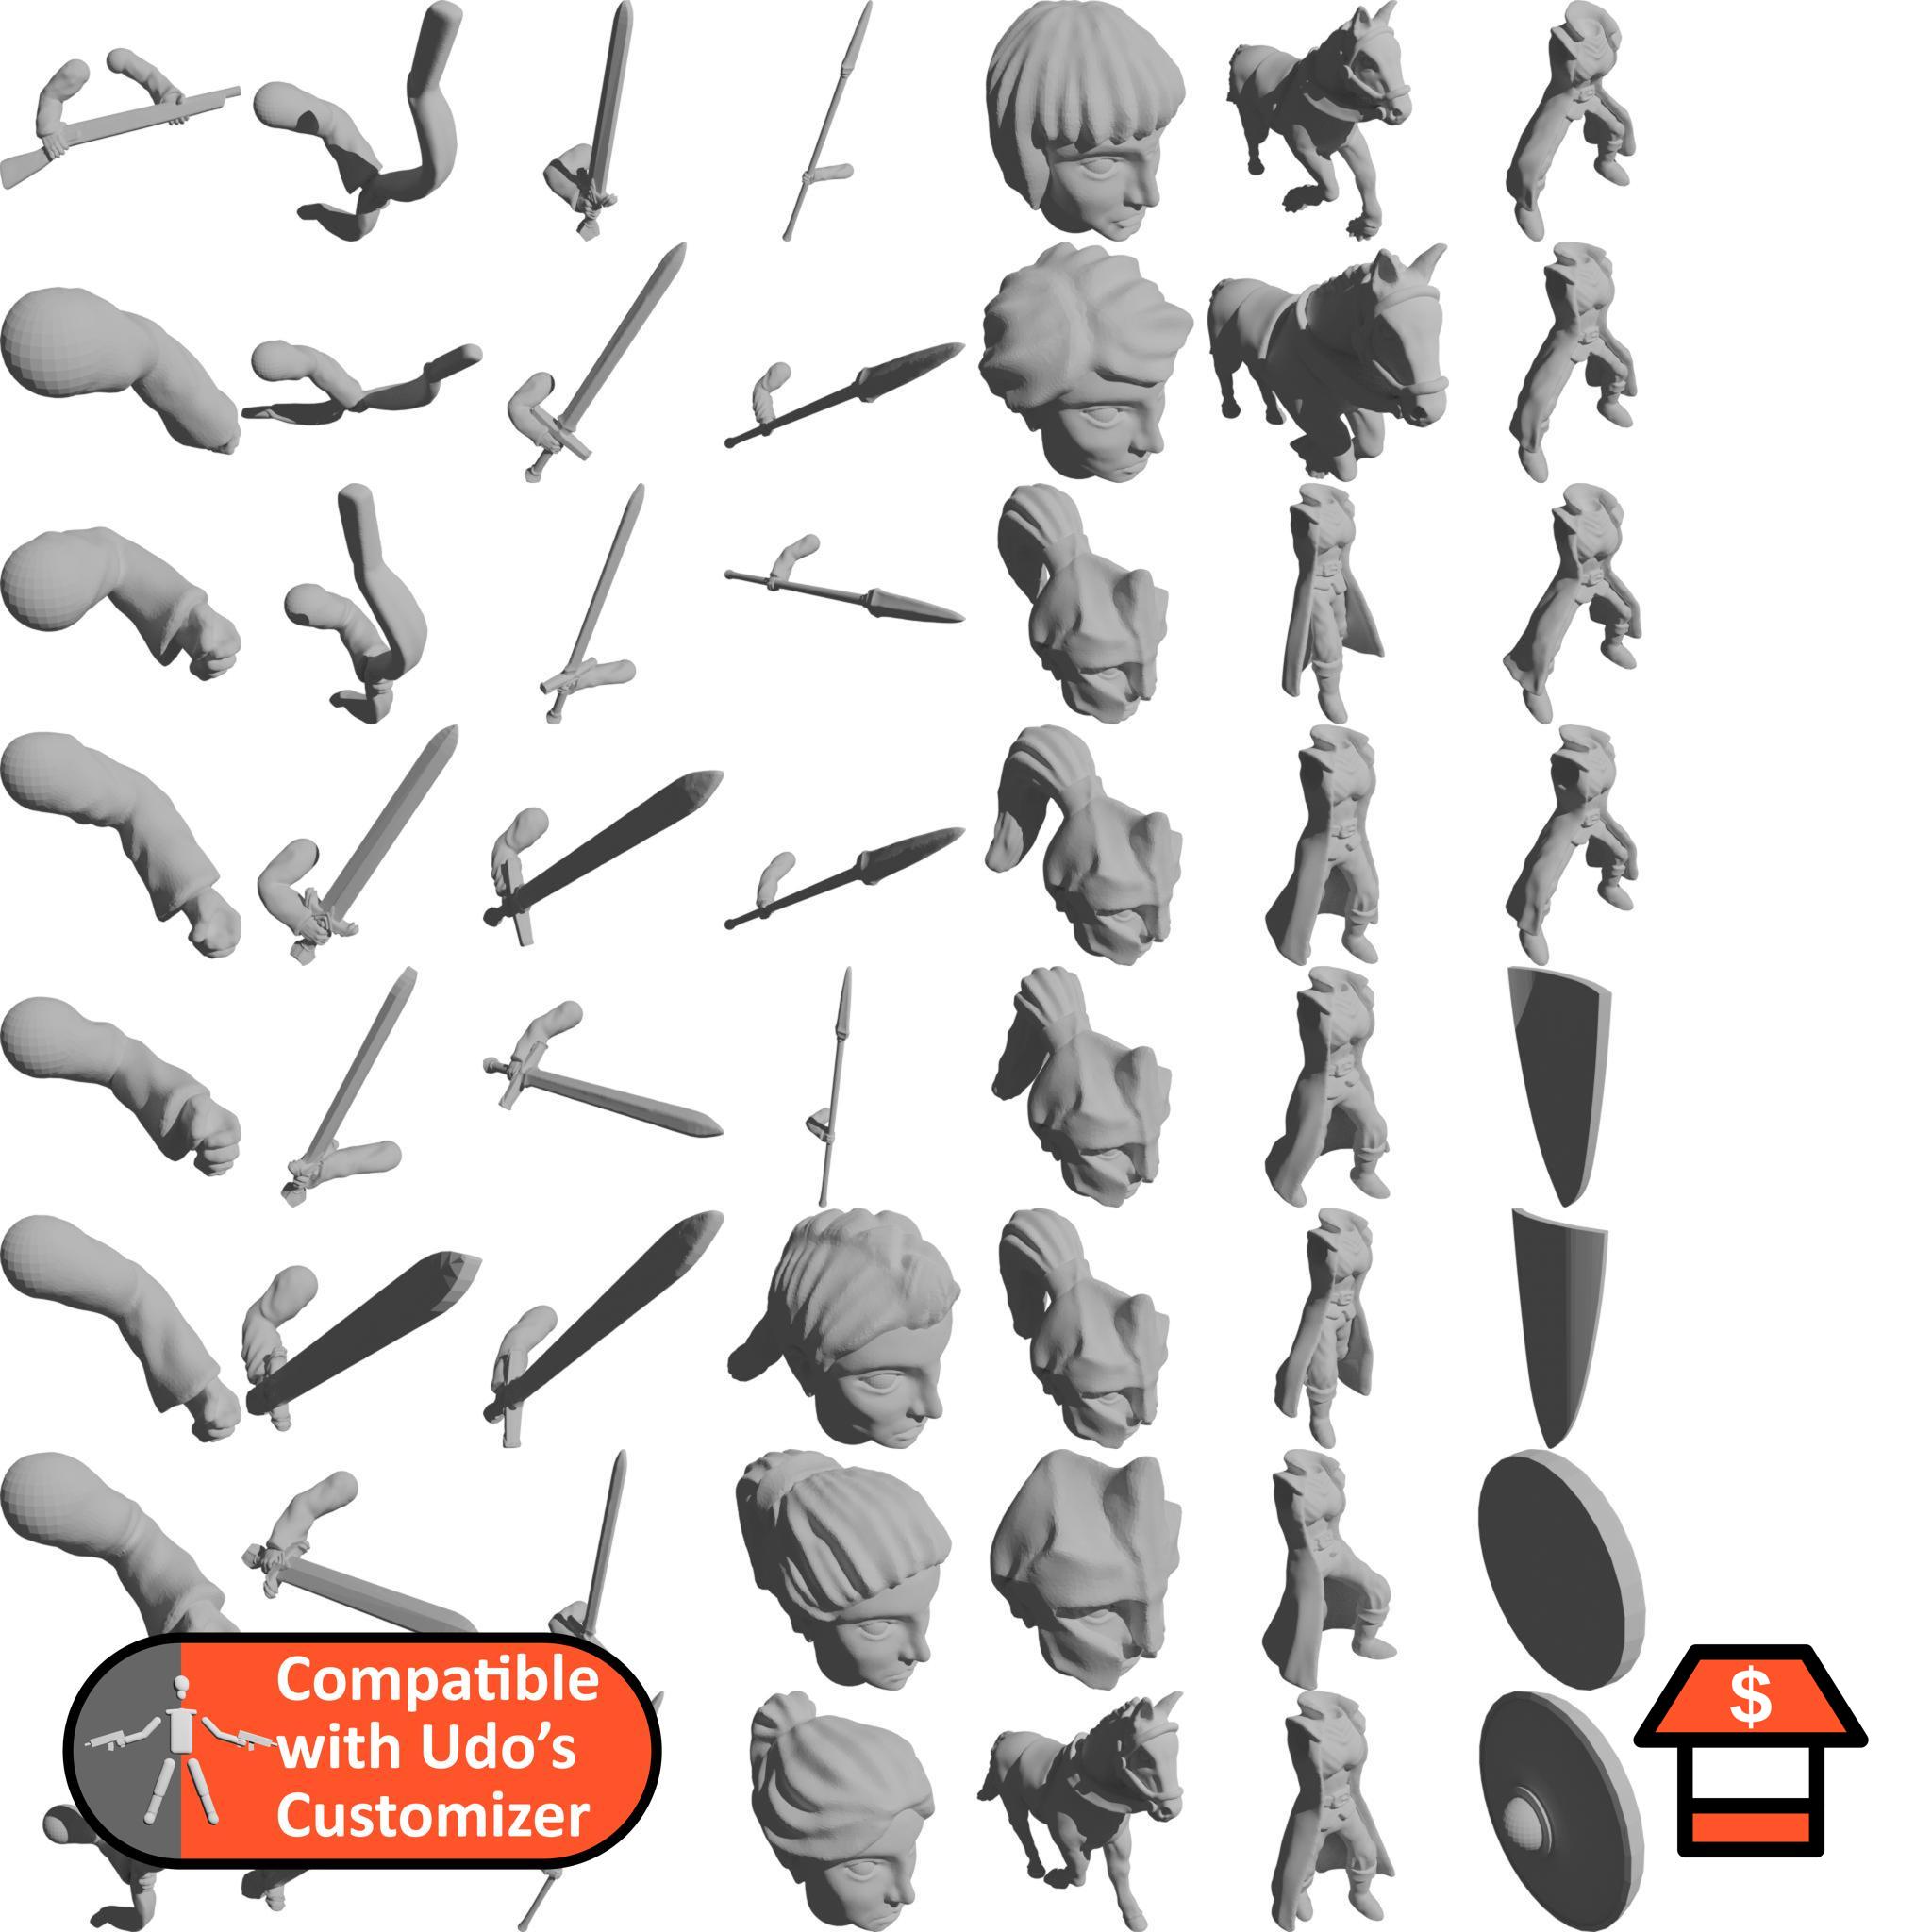
Ilhadiel's Sisterhood
A medieval sisterhood suitable for many human armies in the fantasy setting.
Ilhadiel's Medieval Infantry
Medieval infantry with melee weapons.
Ilhadiel's Medieval Men-At-Arms
Medieval infantry with melee weapons.
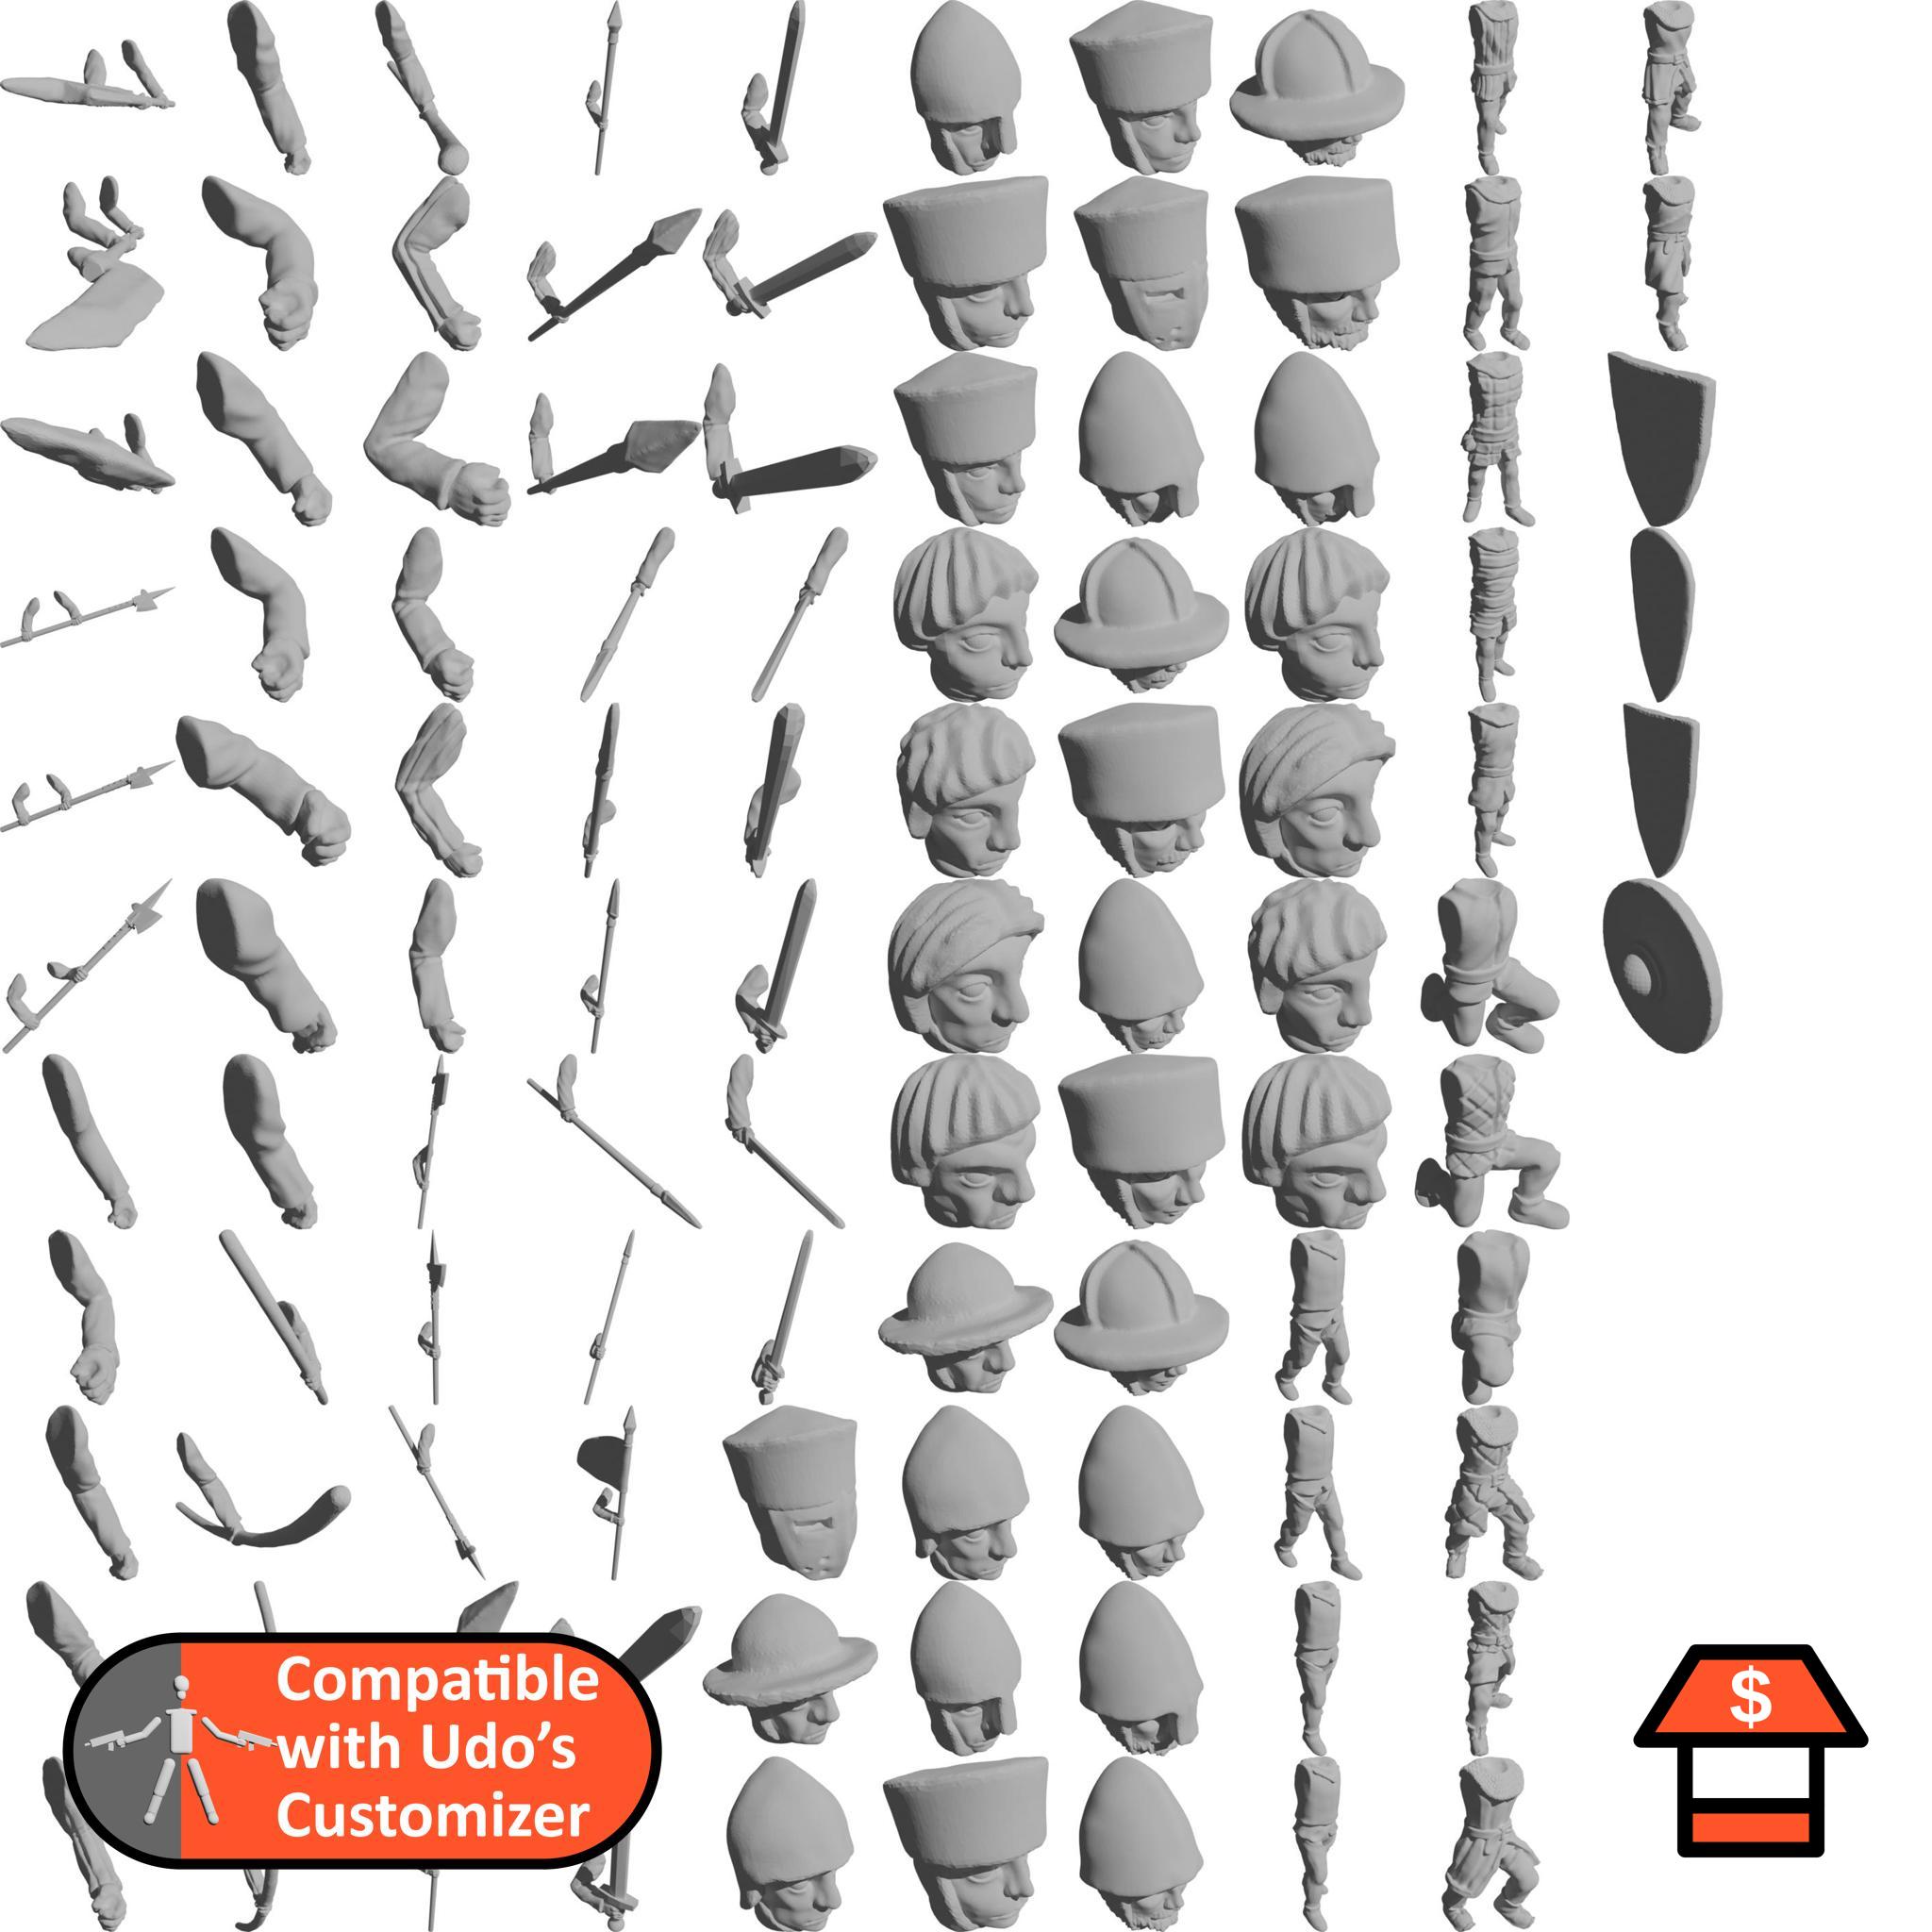
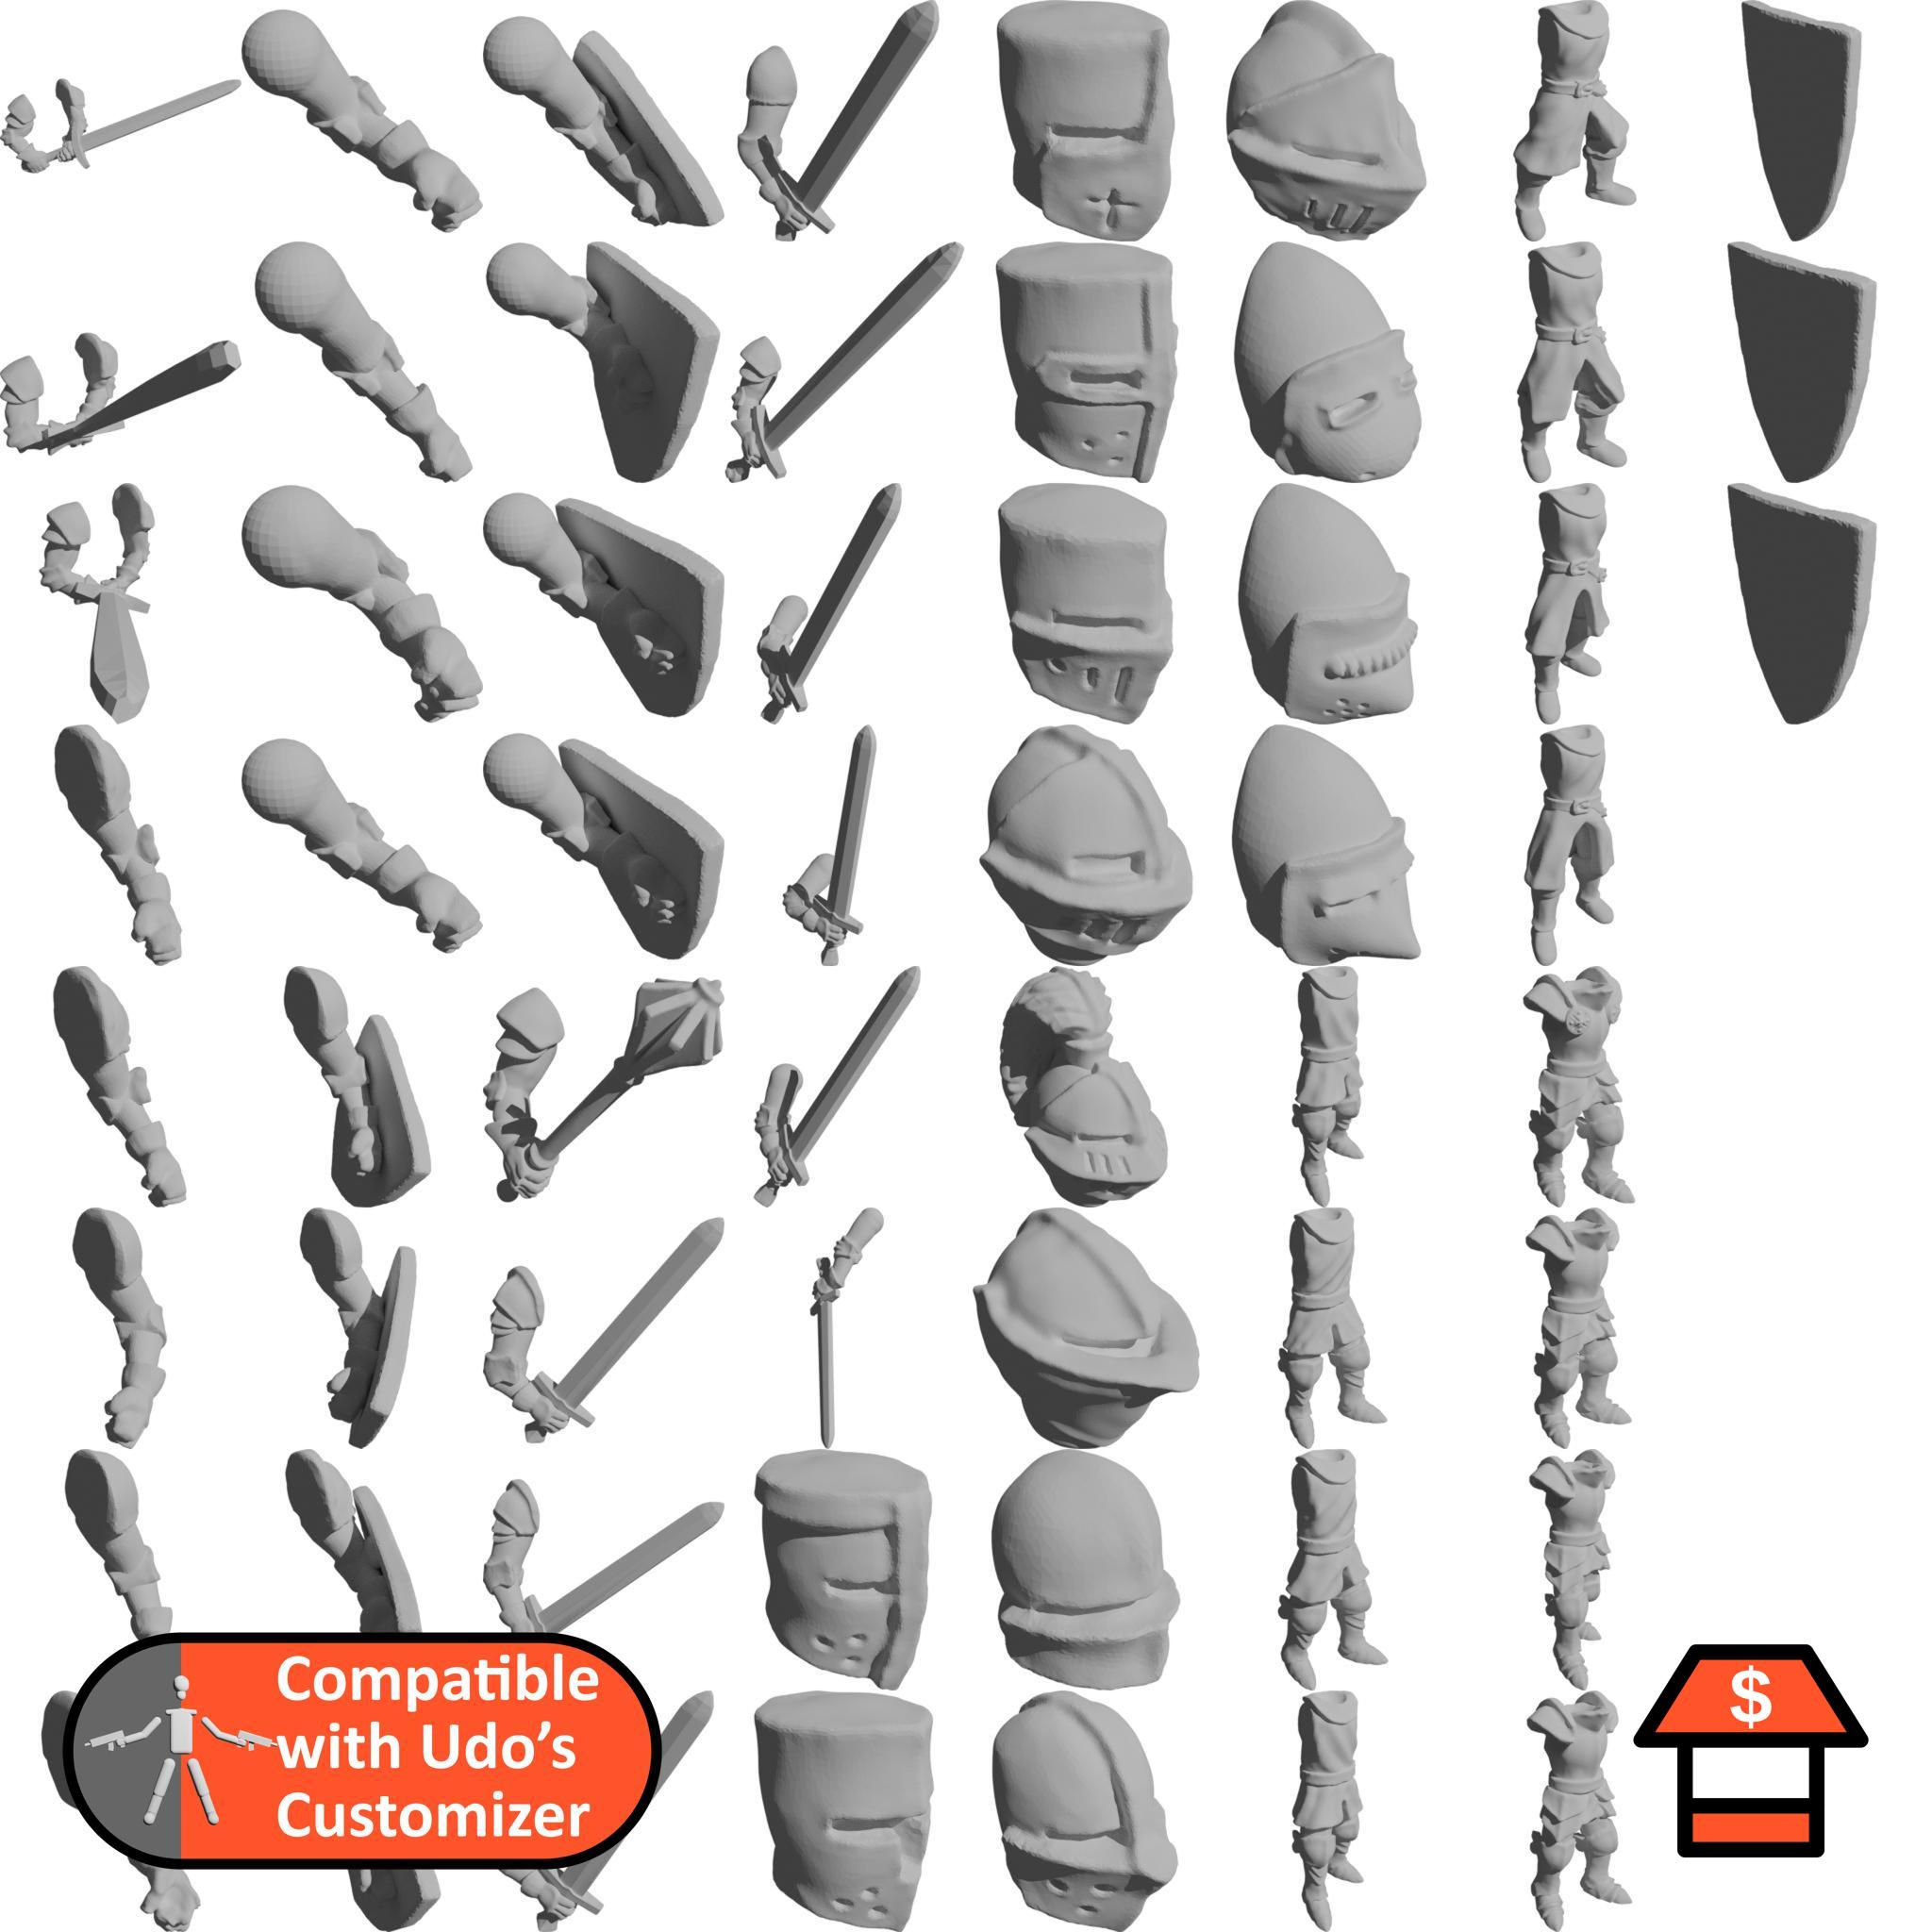
Ilhadiel's Medieval Knights
Medieval infantry with melee weapons.
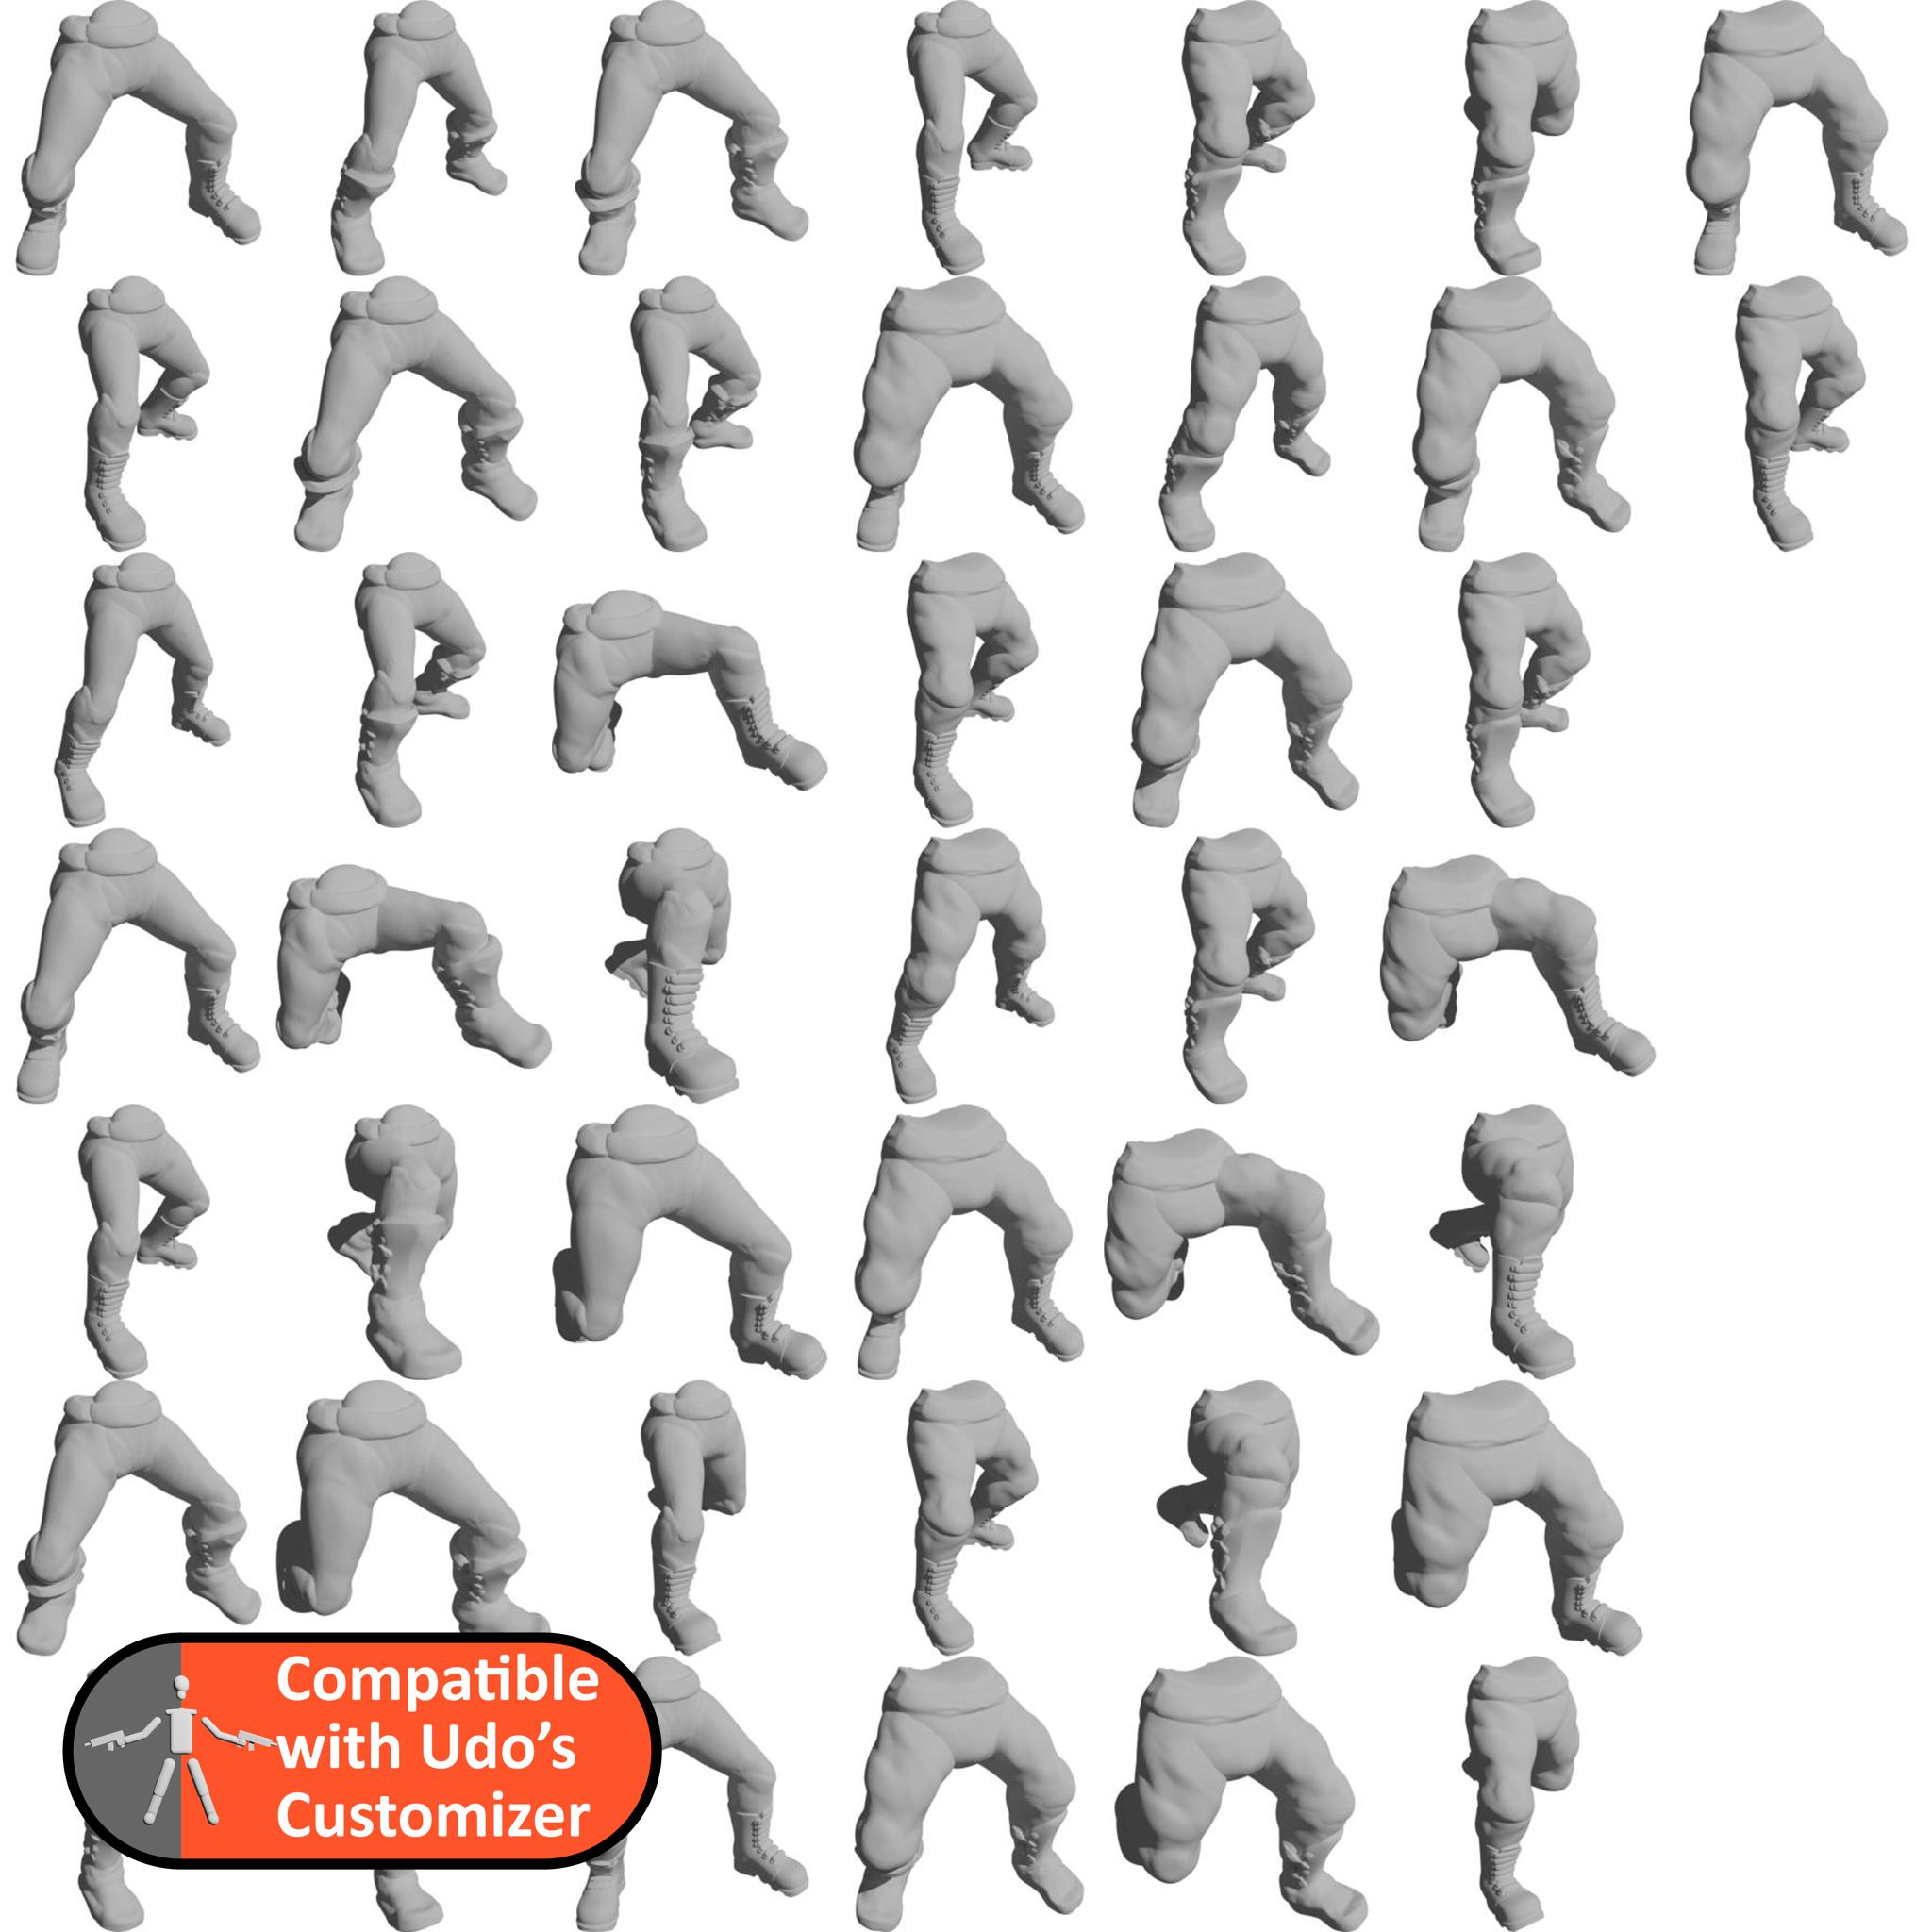
Standard Human Legs
Standard human legs in female, male, fantasy and modern styles.
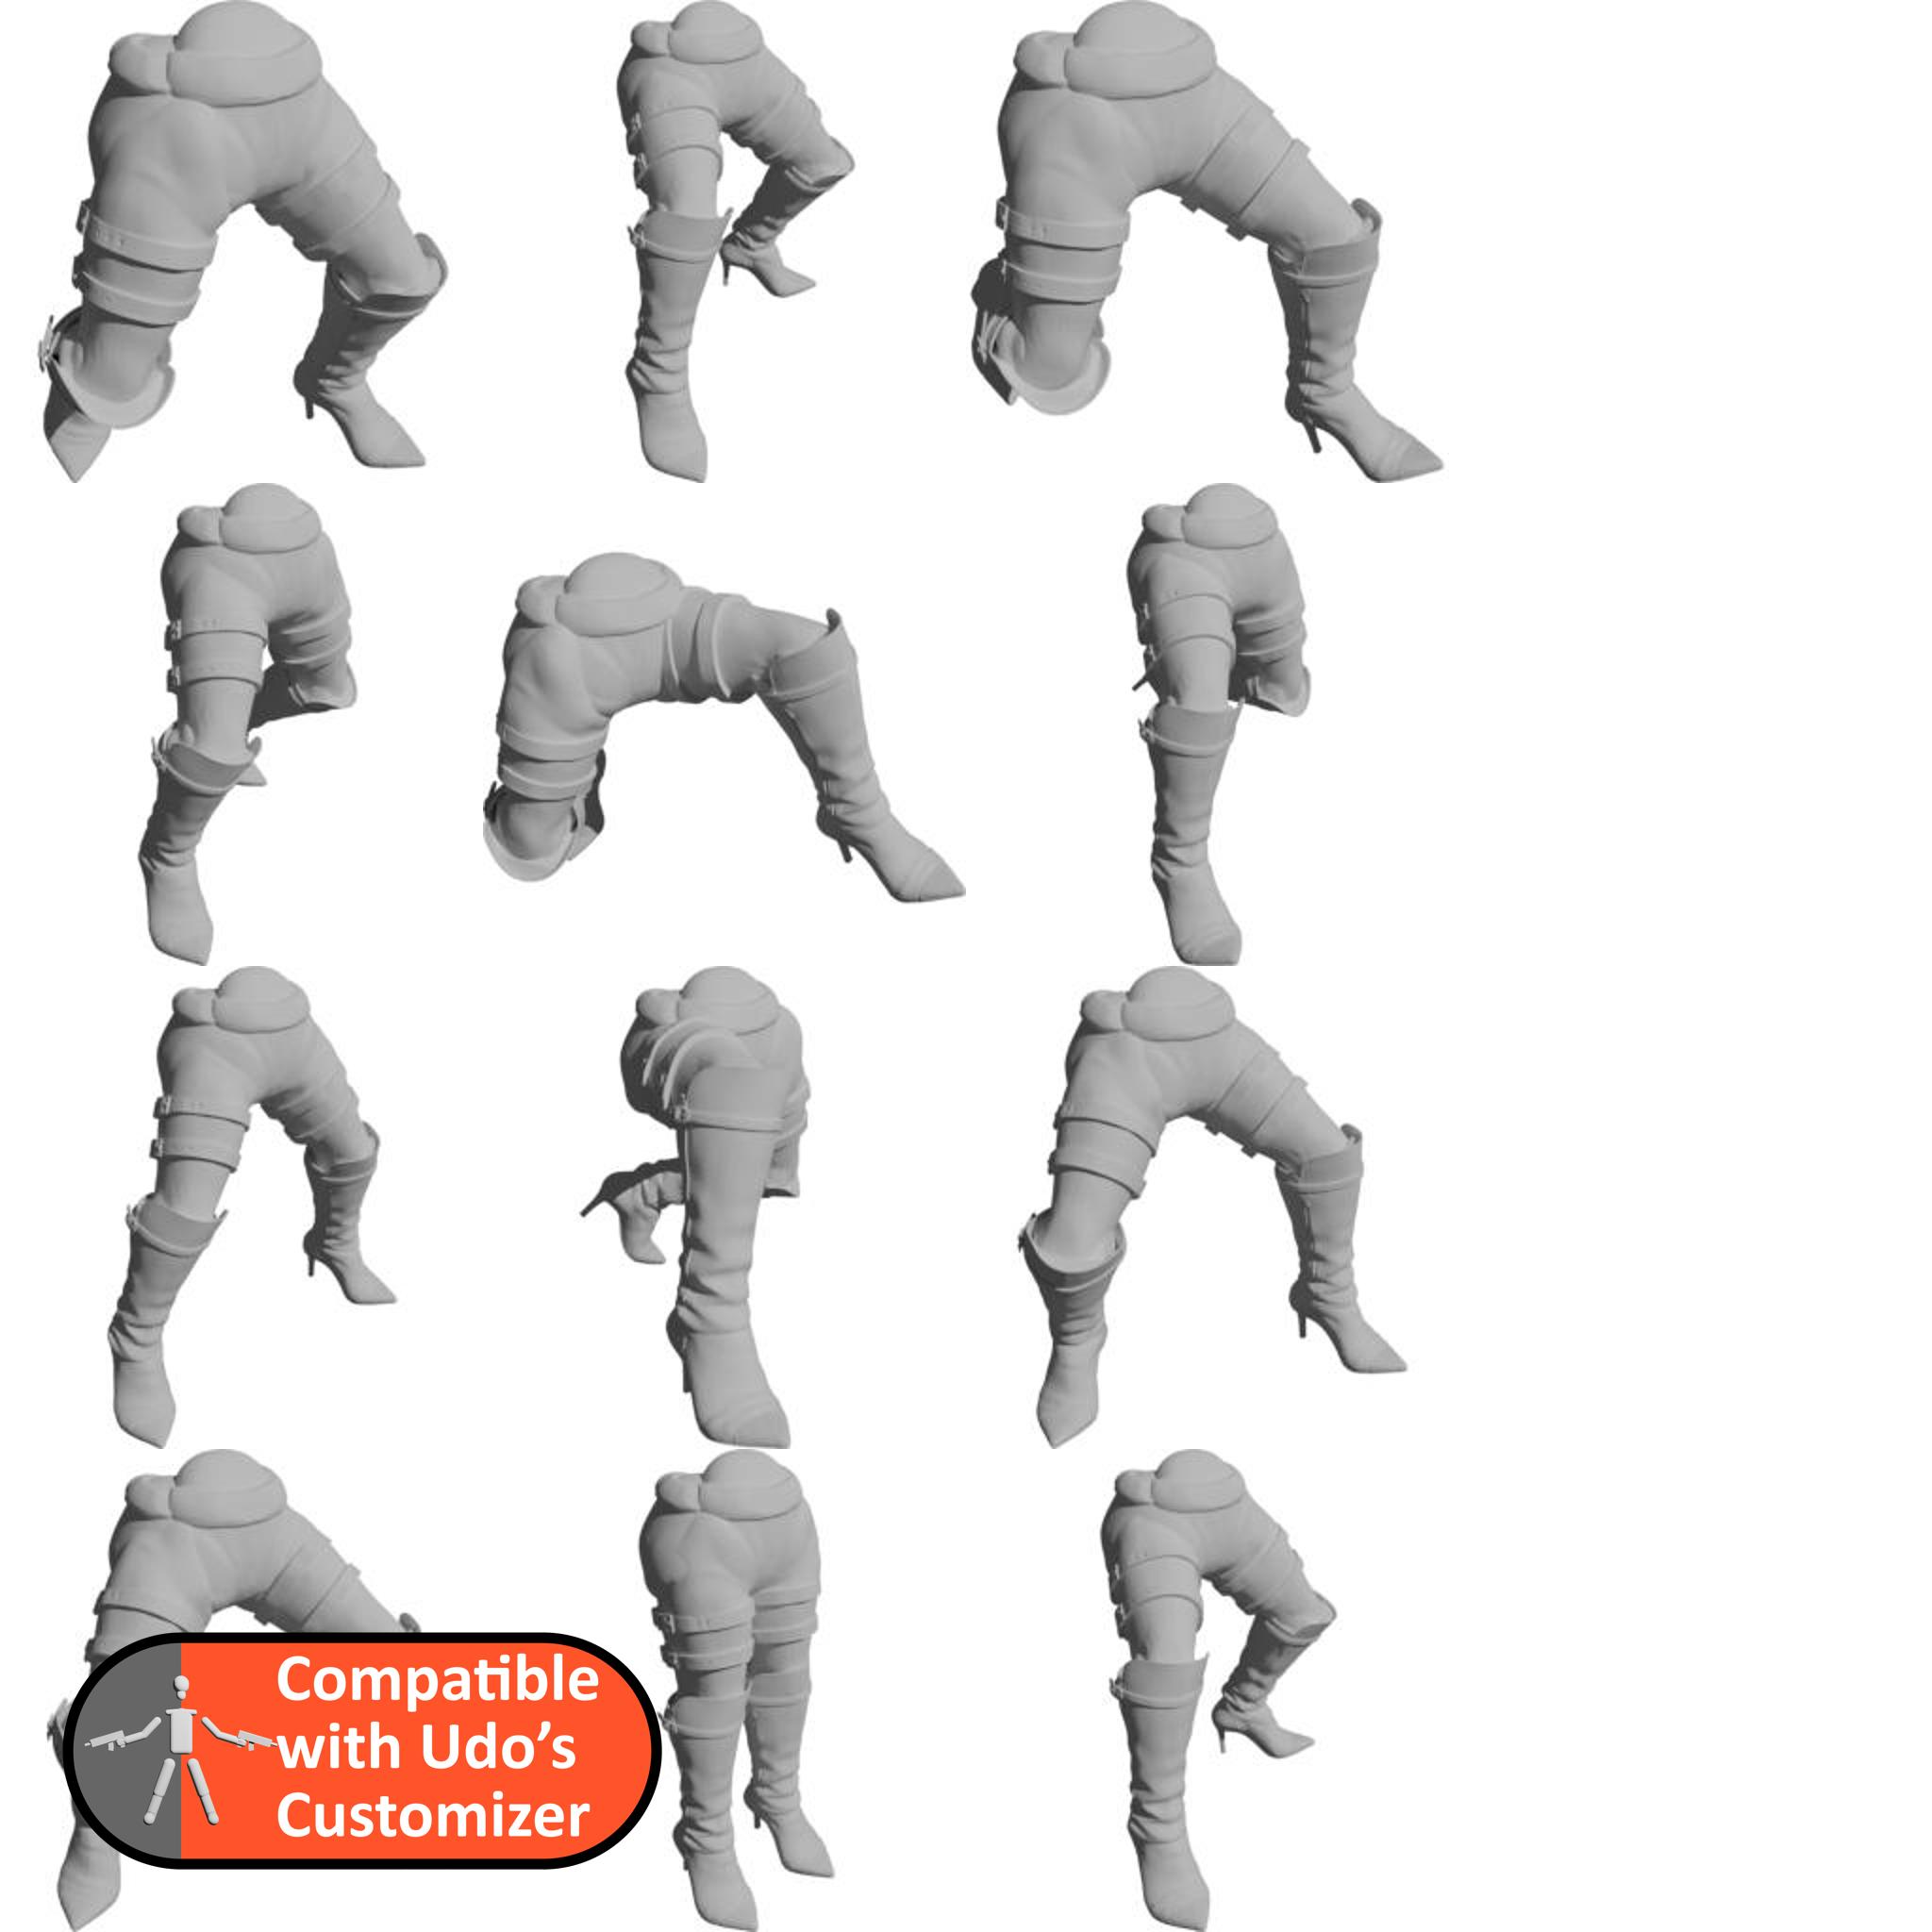
Female Legs
Some female human (?) legs.
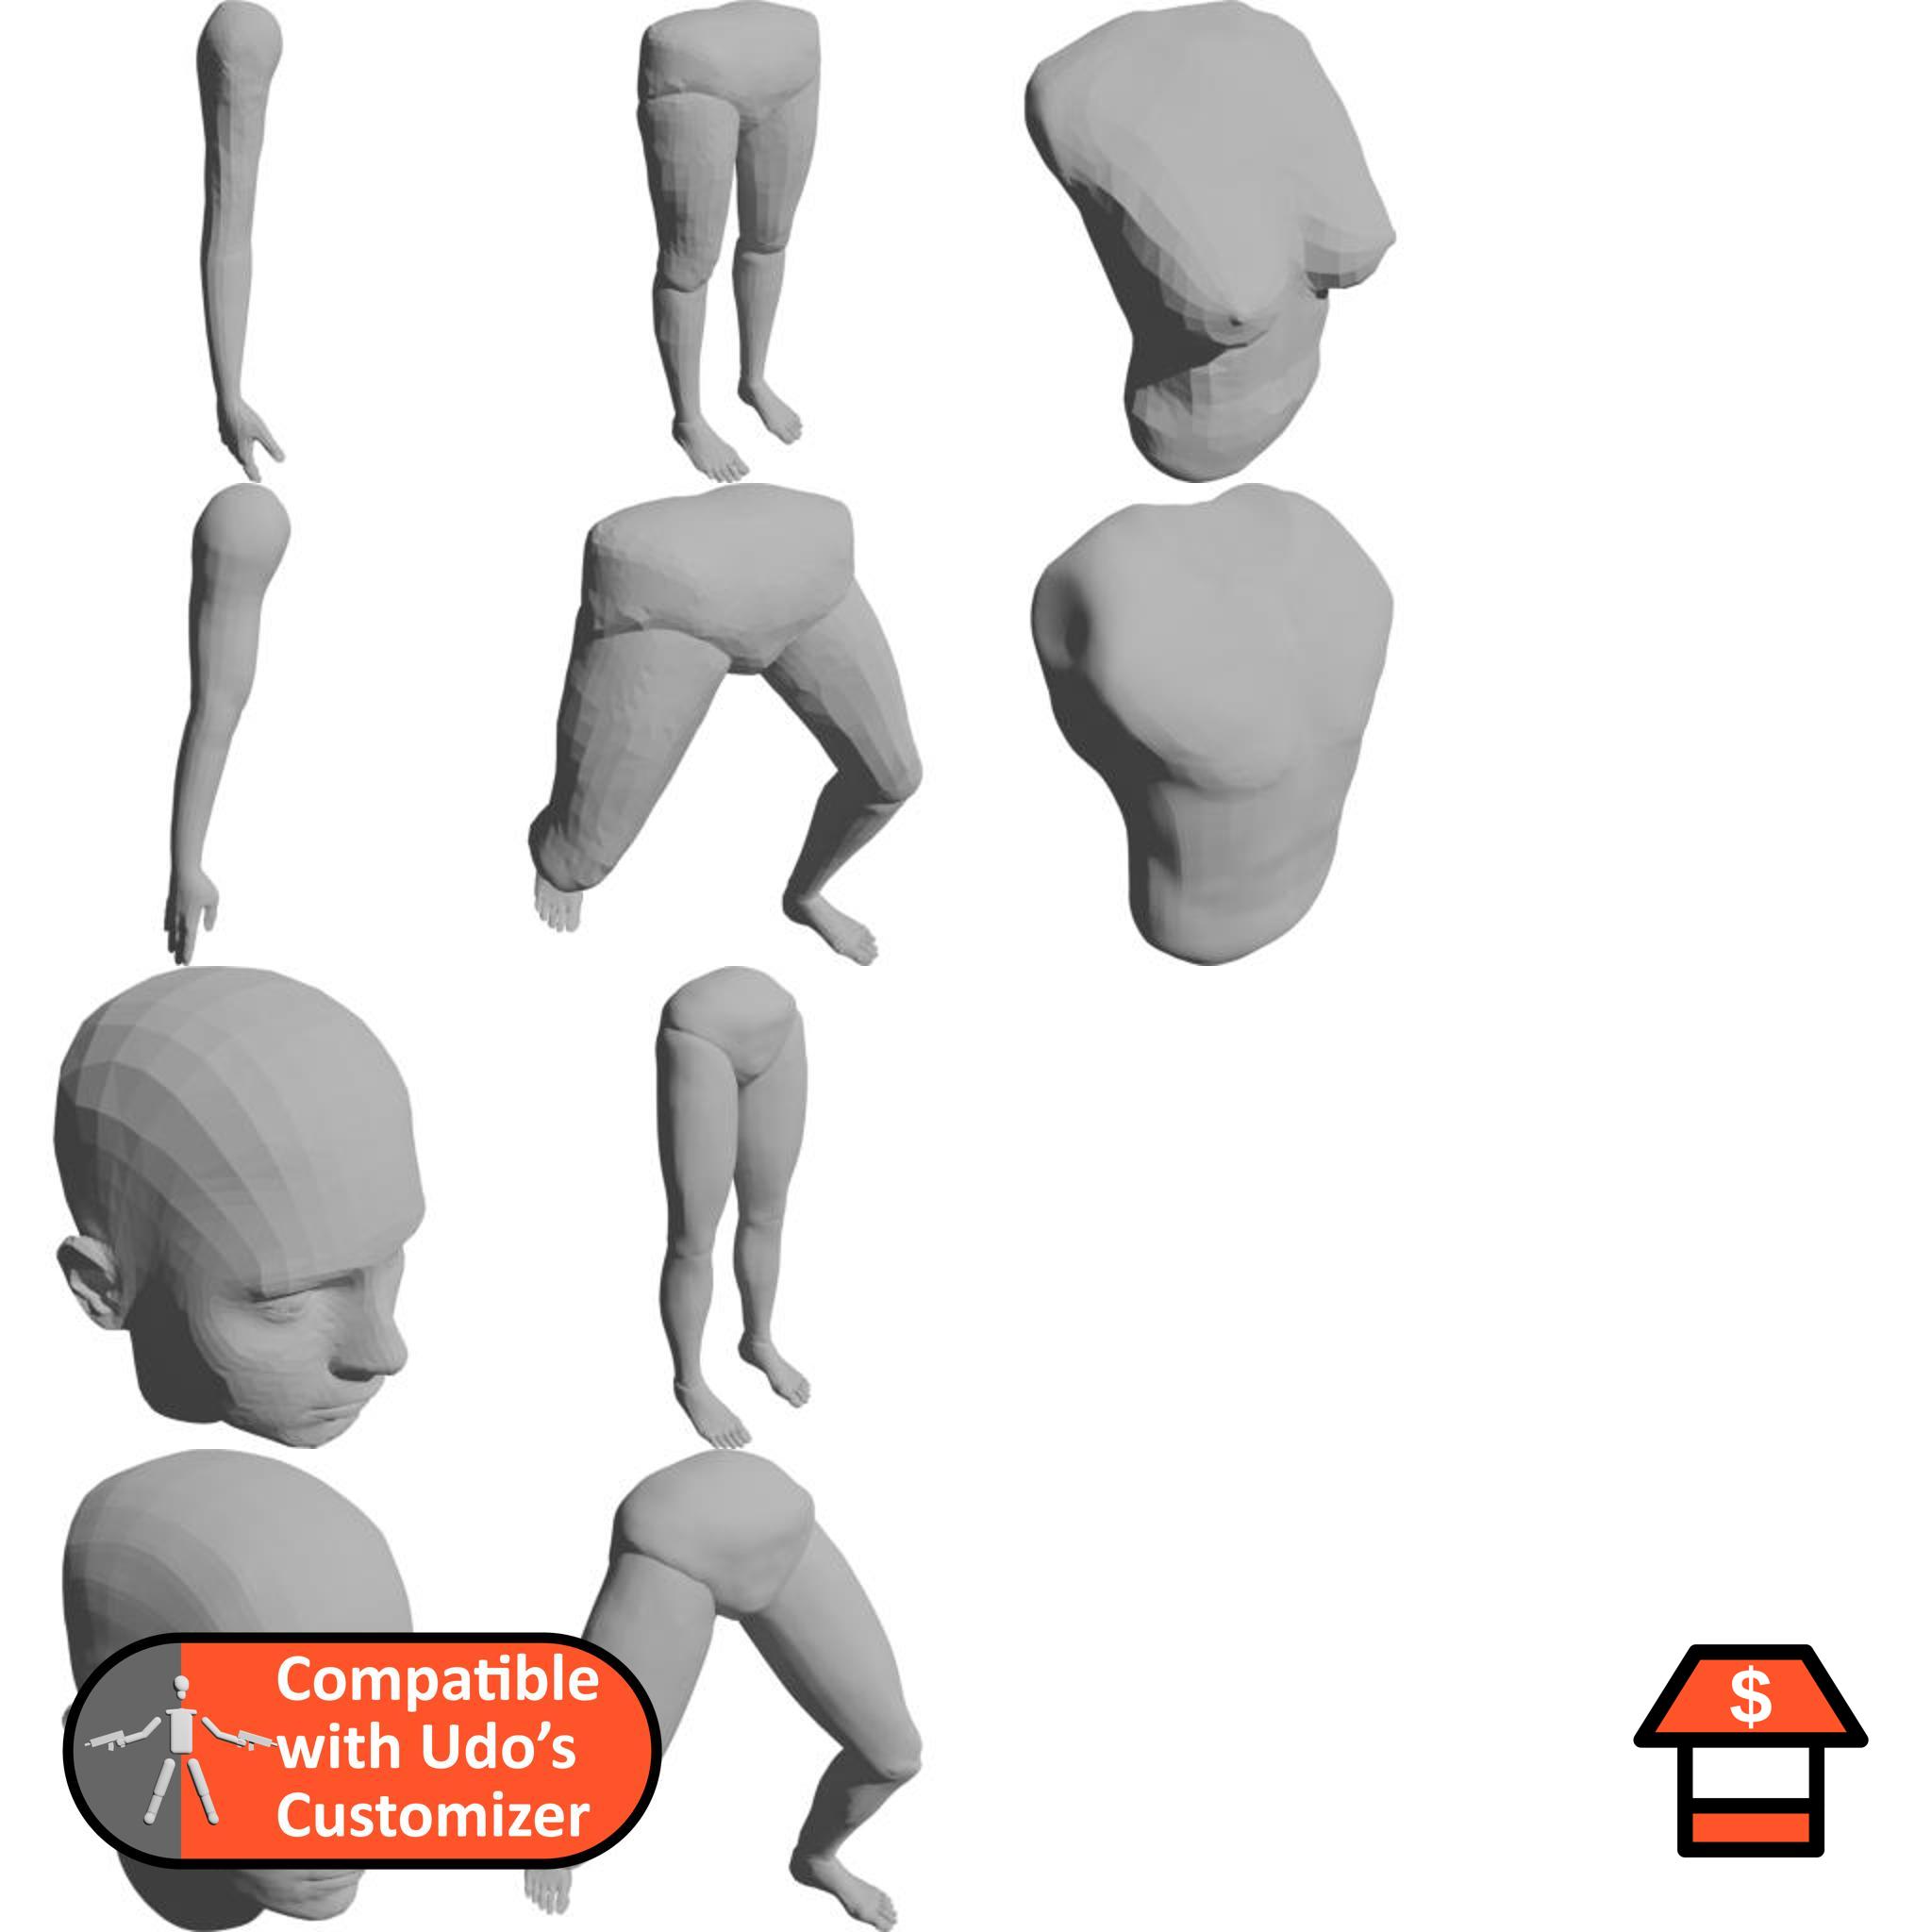
Basic Humans
Standard human bodies that can be used as a base model for more creations.
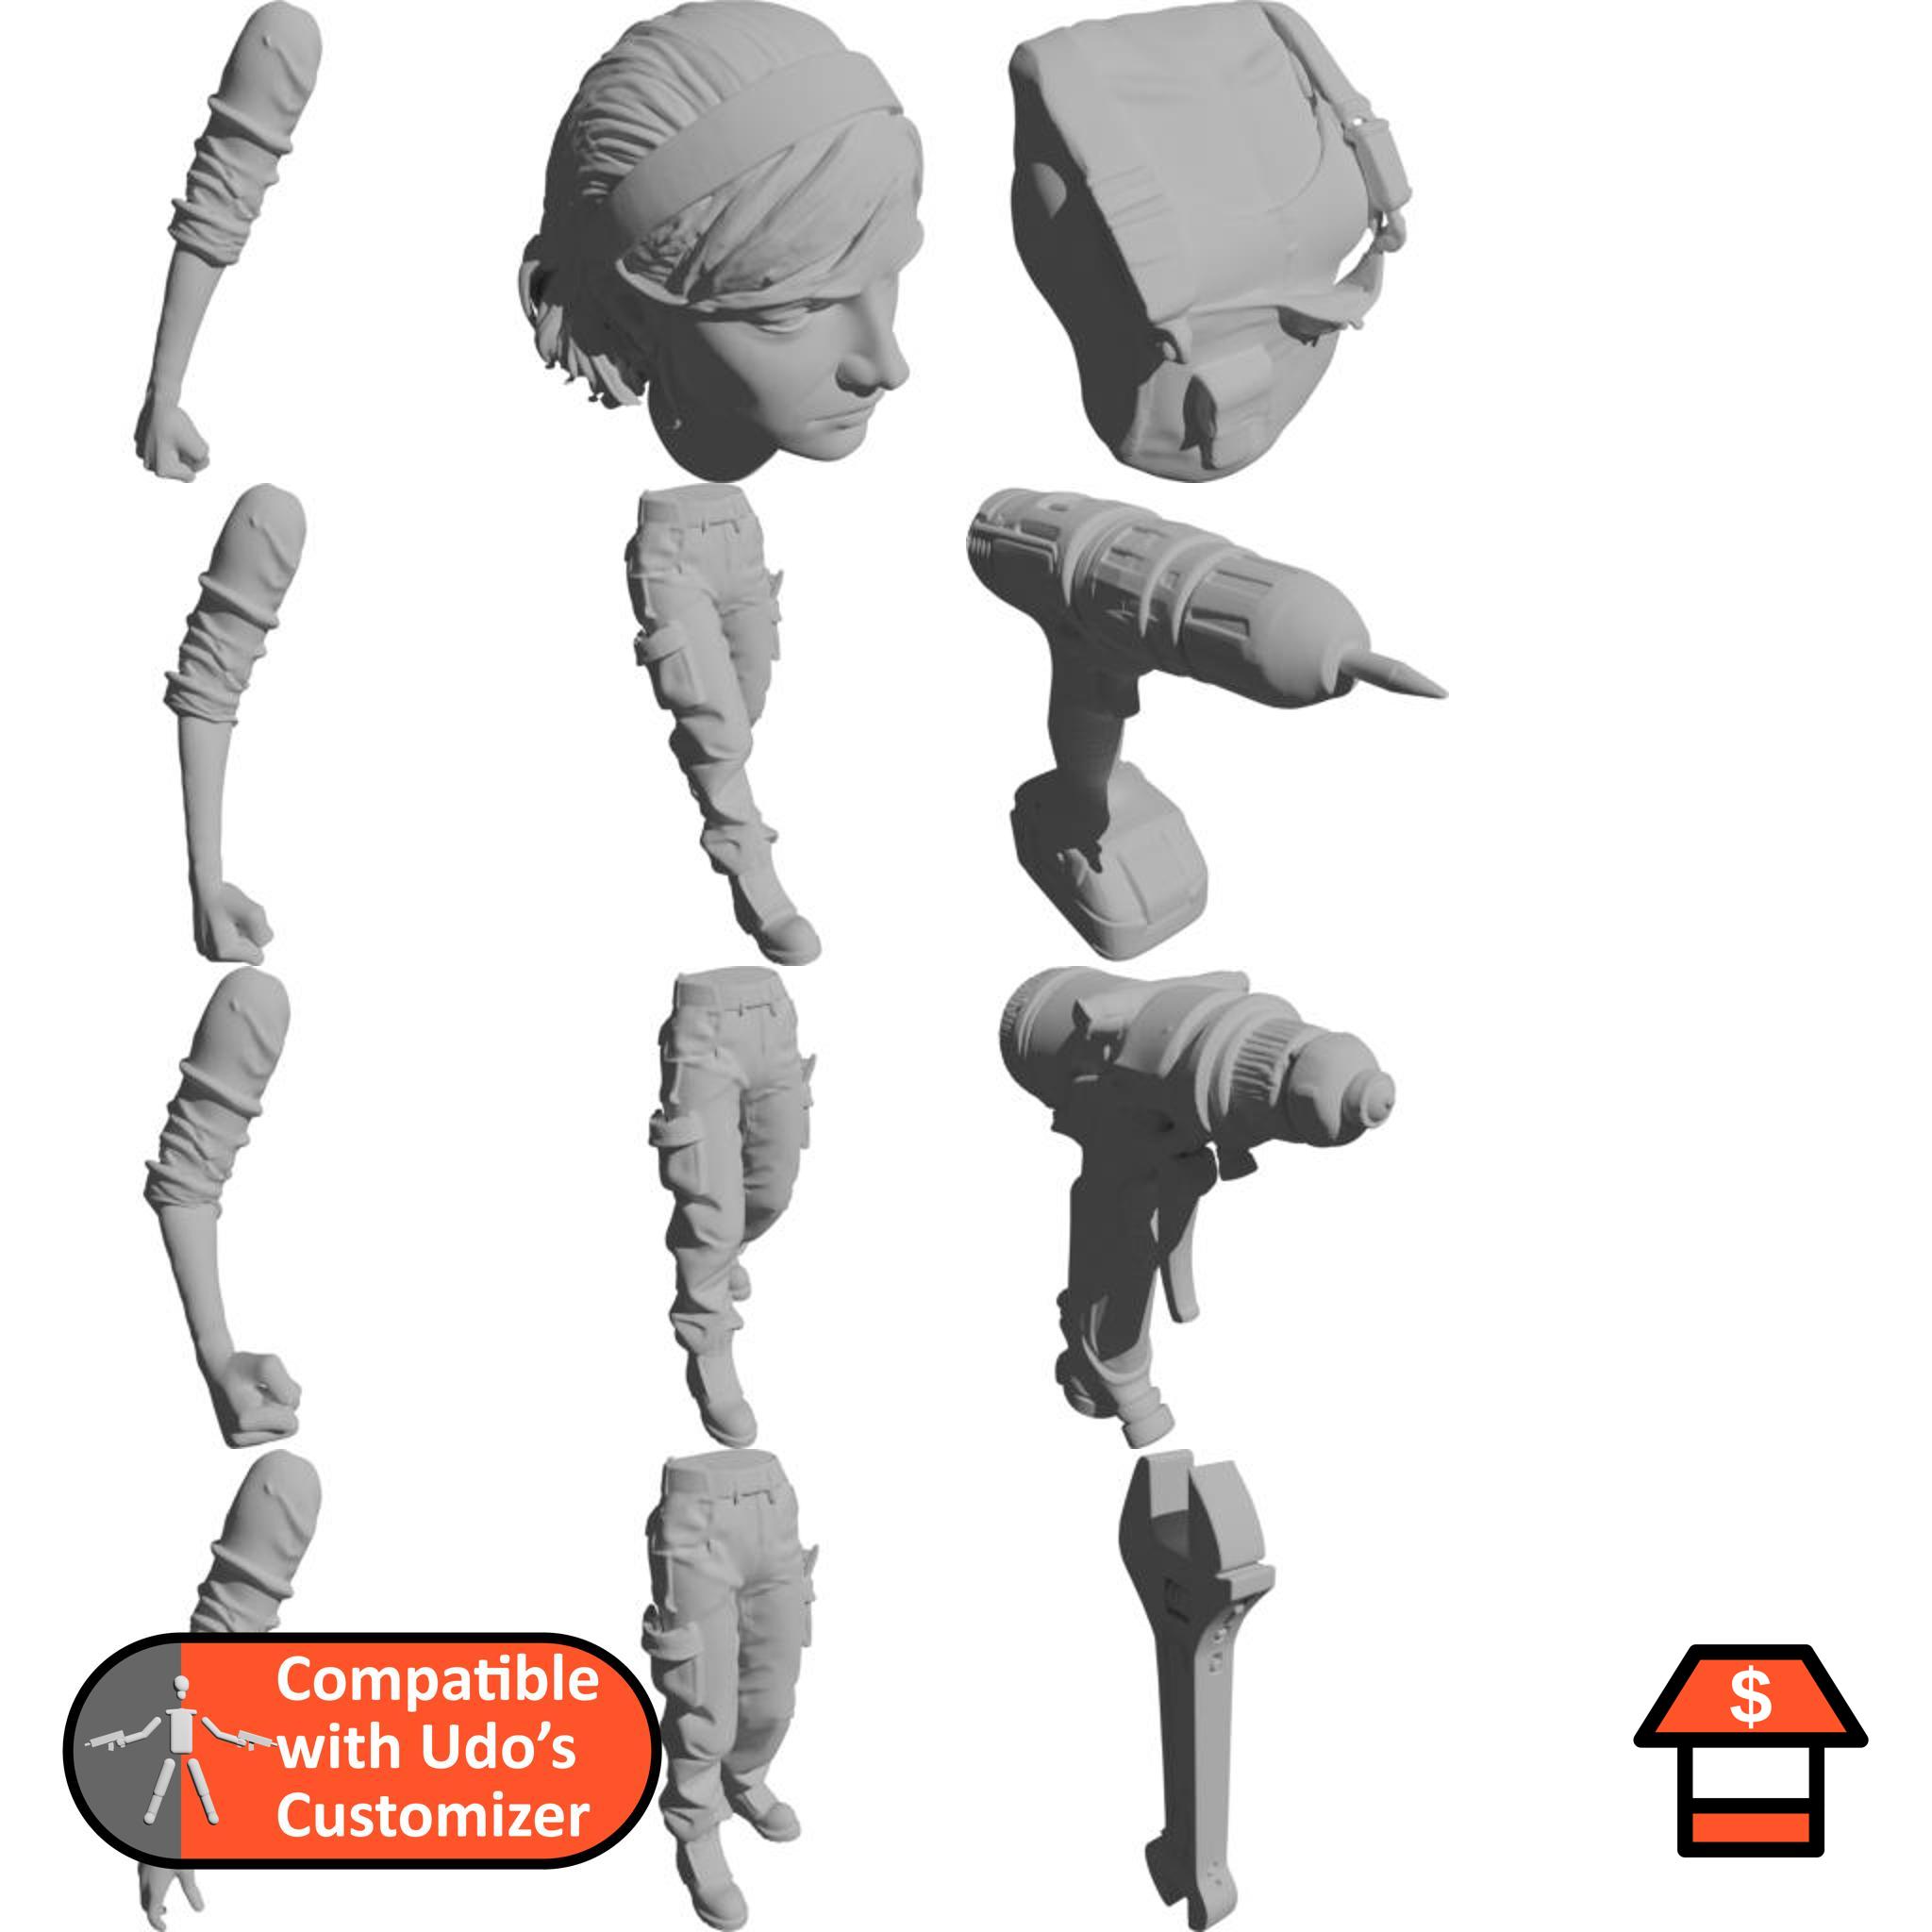
Emma the Mechanic
A female mechanic with some tools.
Spartans
Spartans! You can create 300 models from this library.
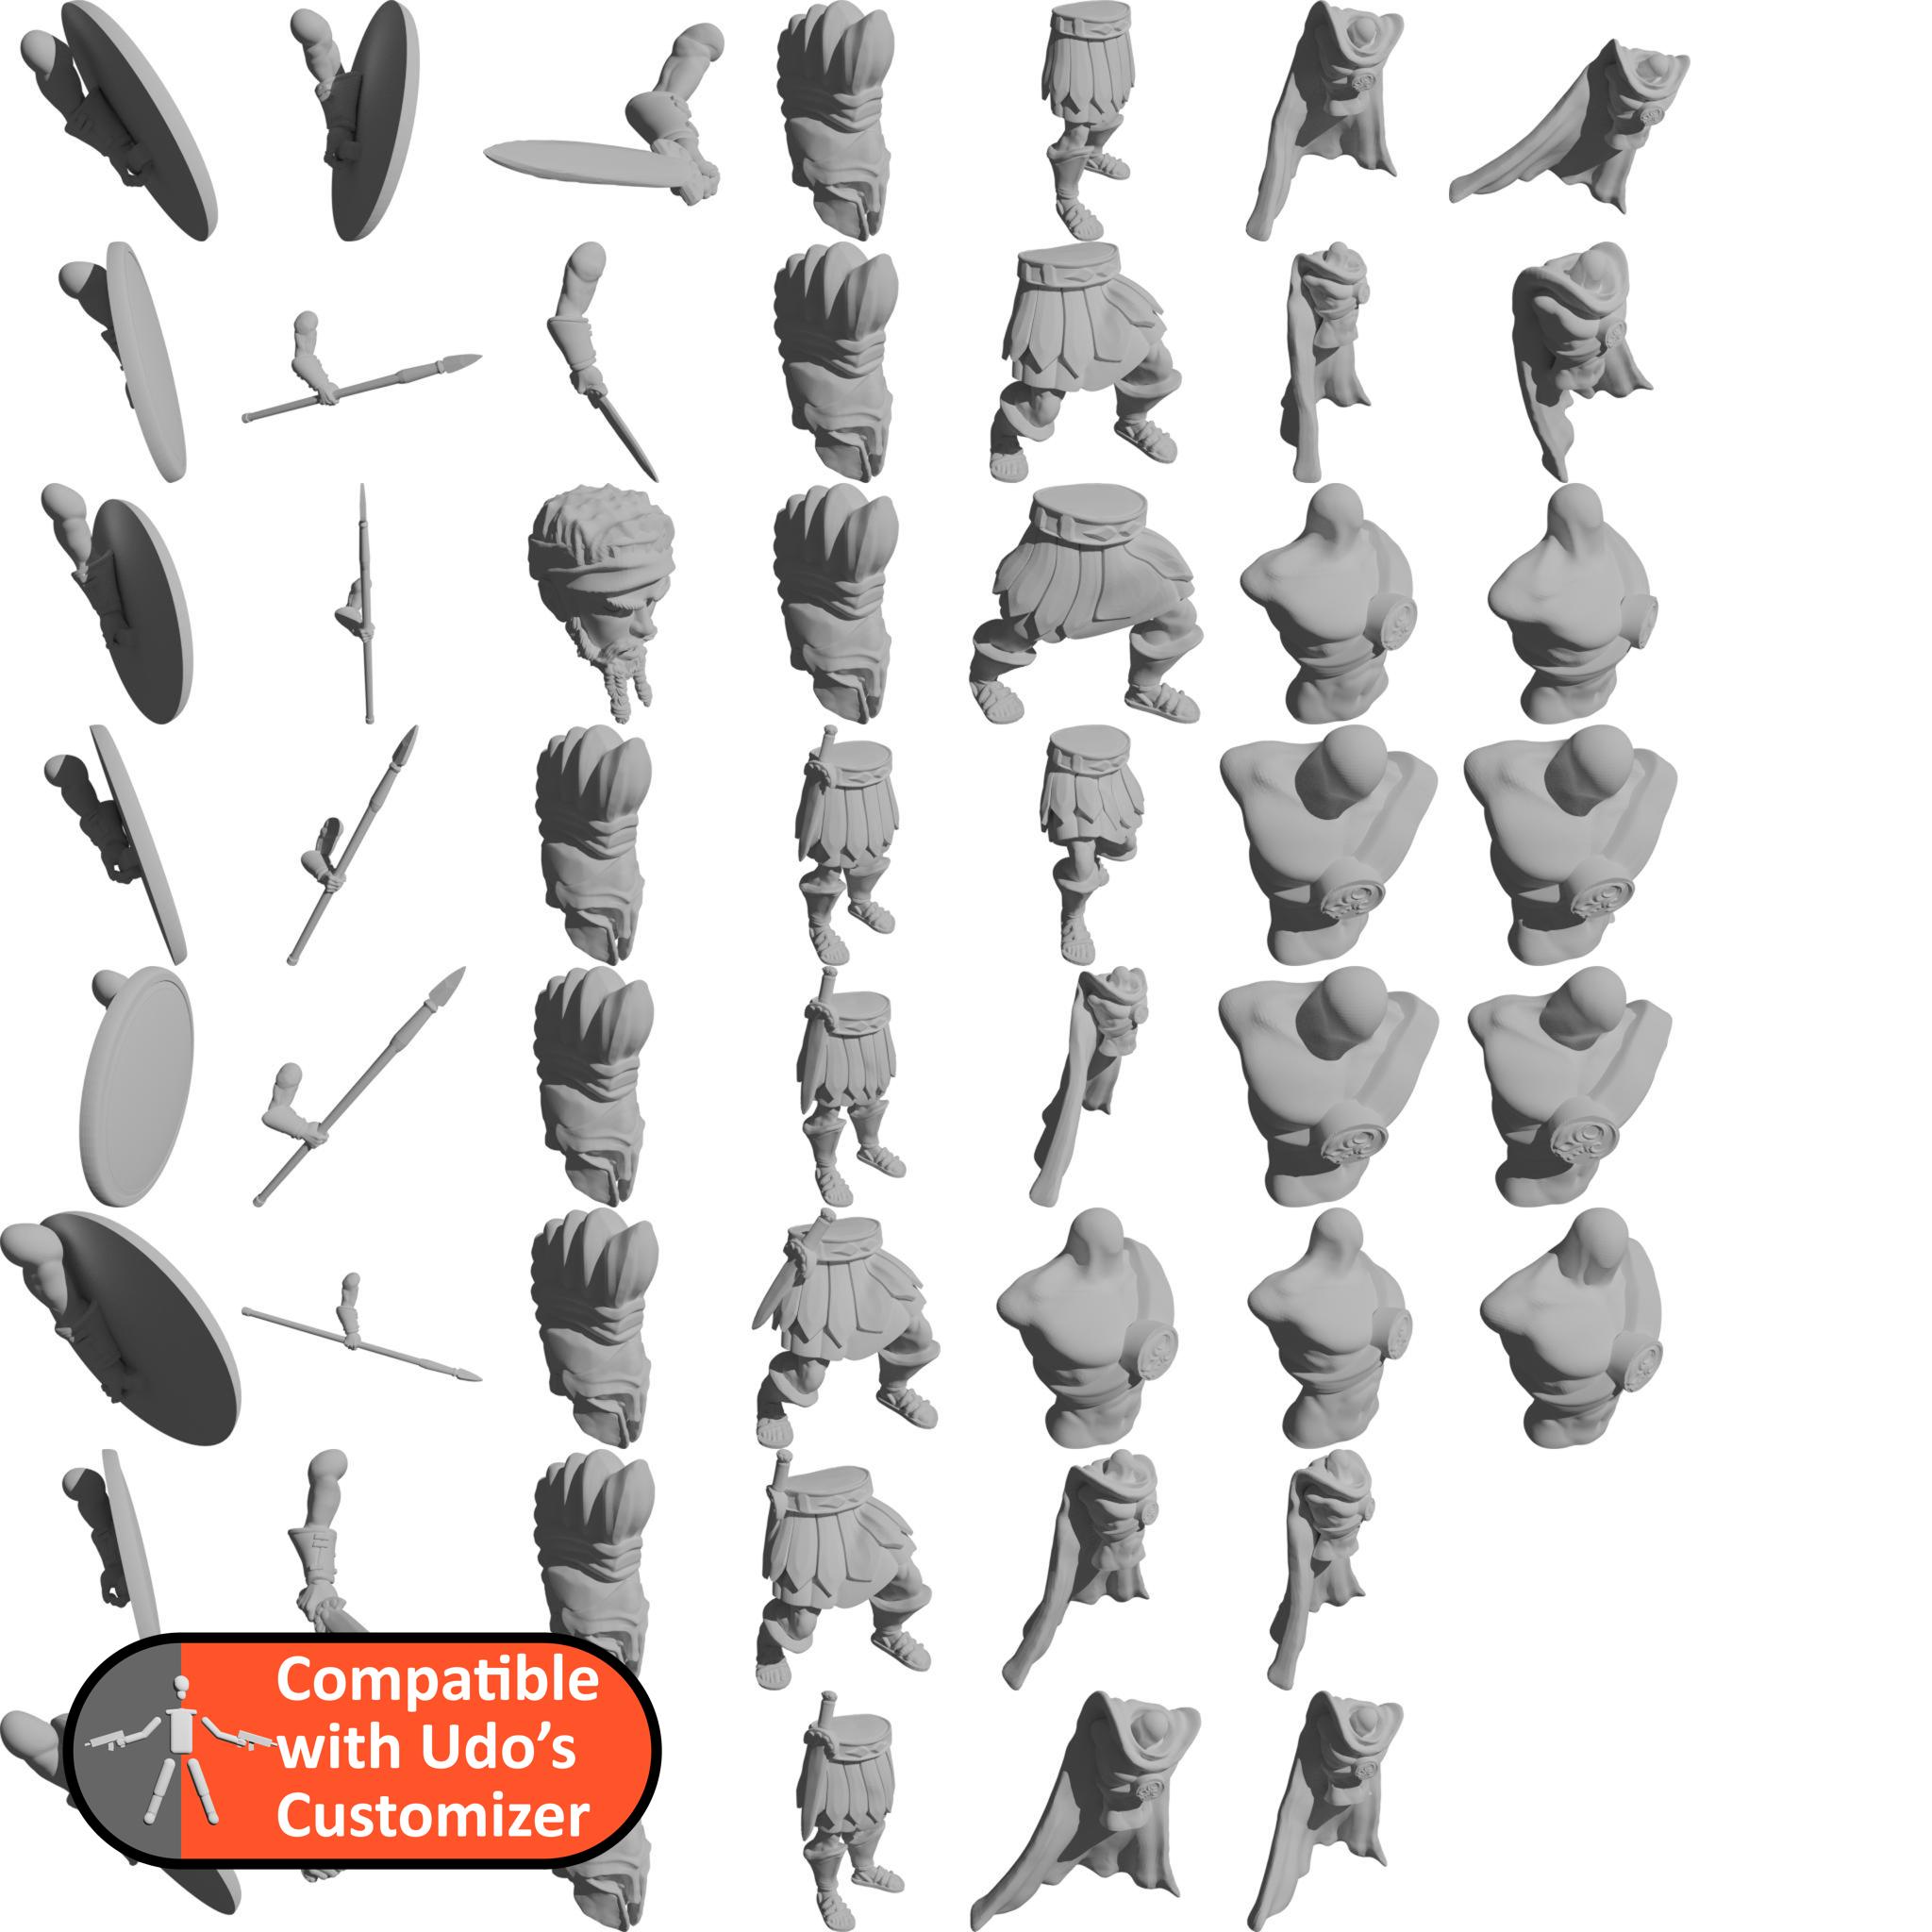
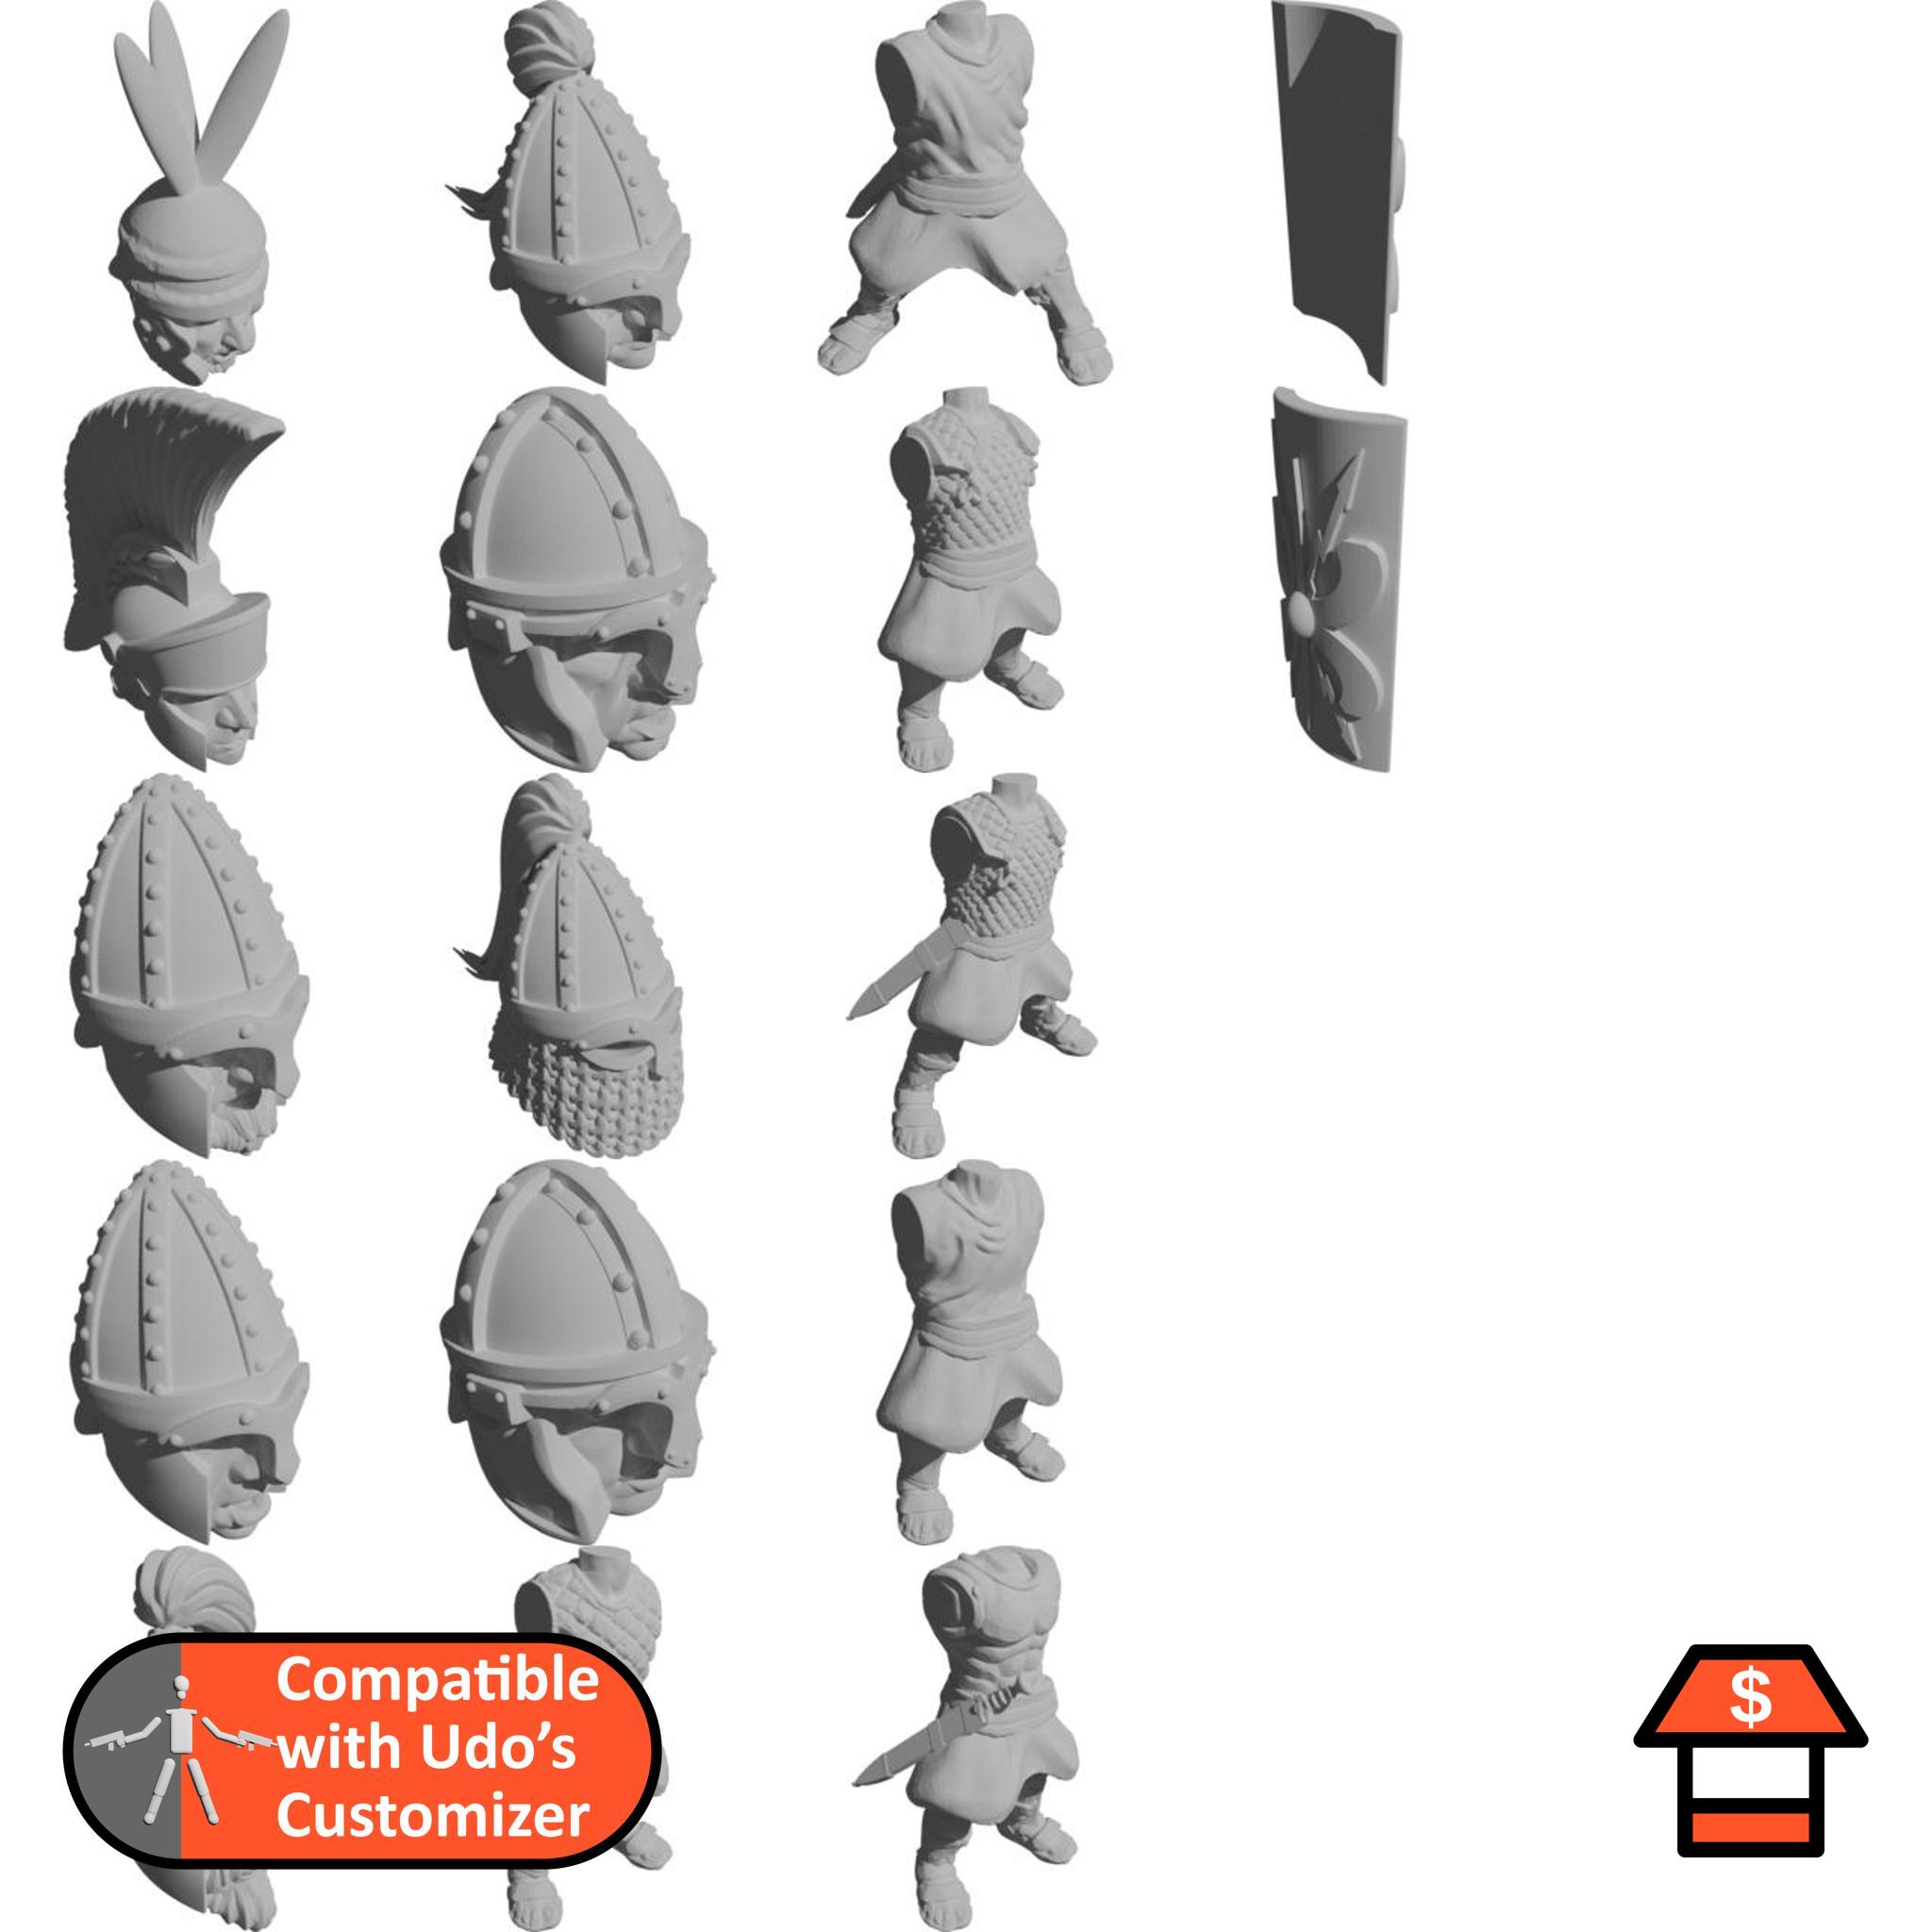
Romans
Roman legionnaires for the customizer.
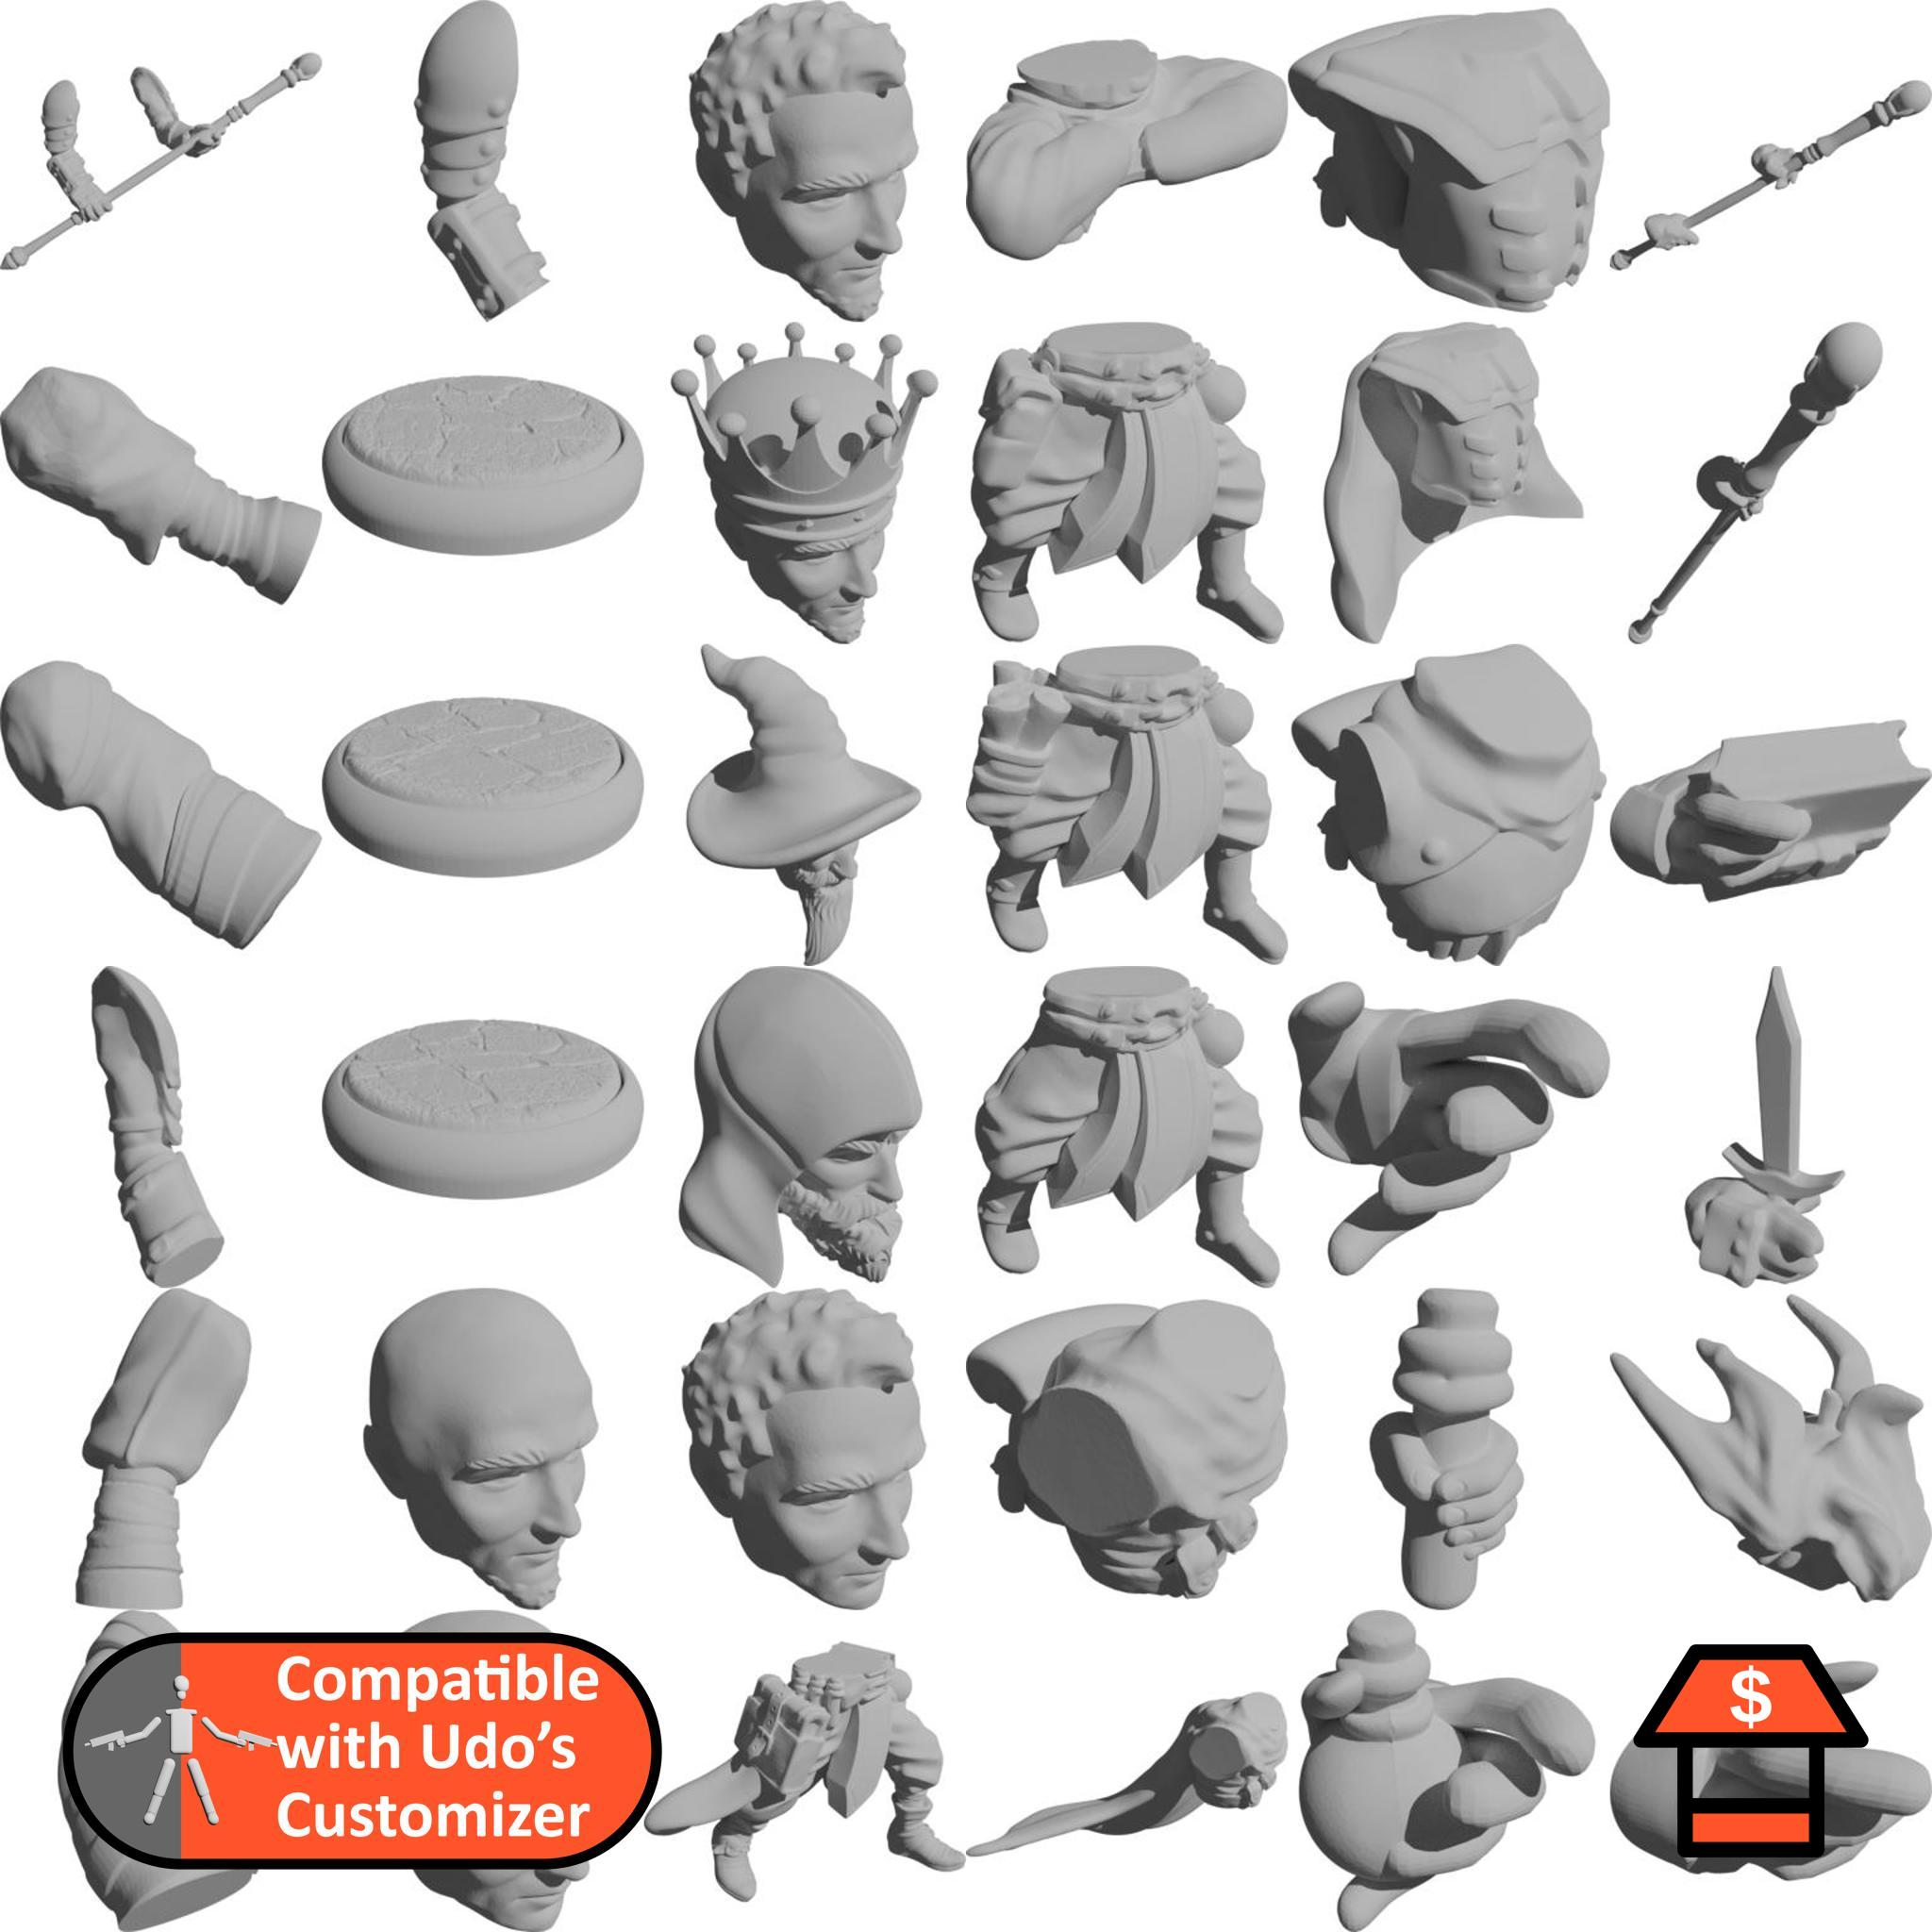
Fantasy Wizard
A basic human with different poses and also a fireball to use as a hand!
Fantasy Heads
Some basic heads for female and male humans, elves and tieflings!
Ilhadiel's Elf Infantry
Basic elvish infantry for any fantasy setting.
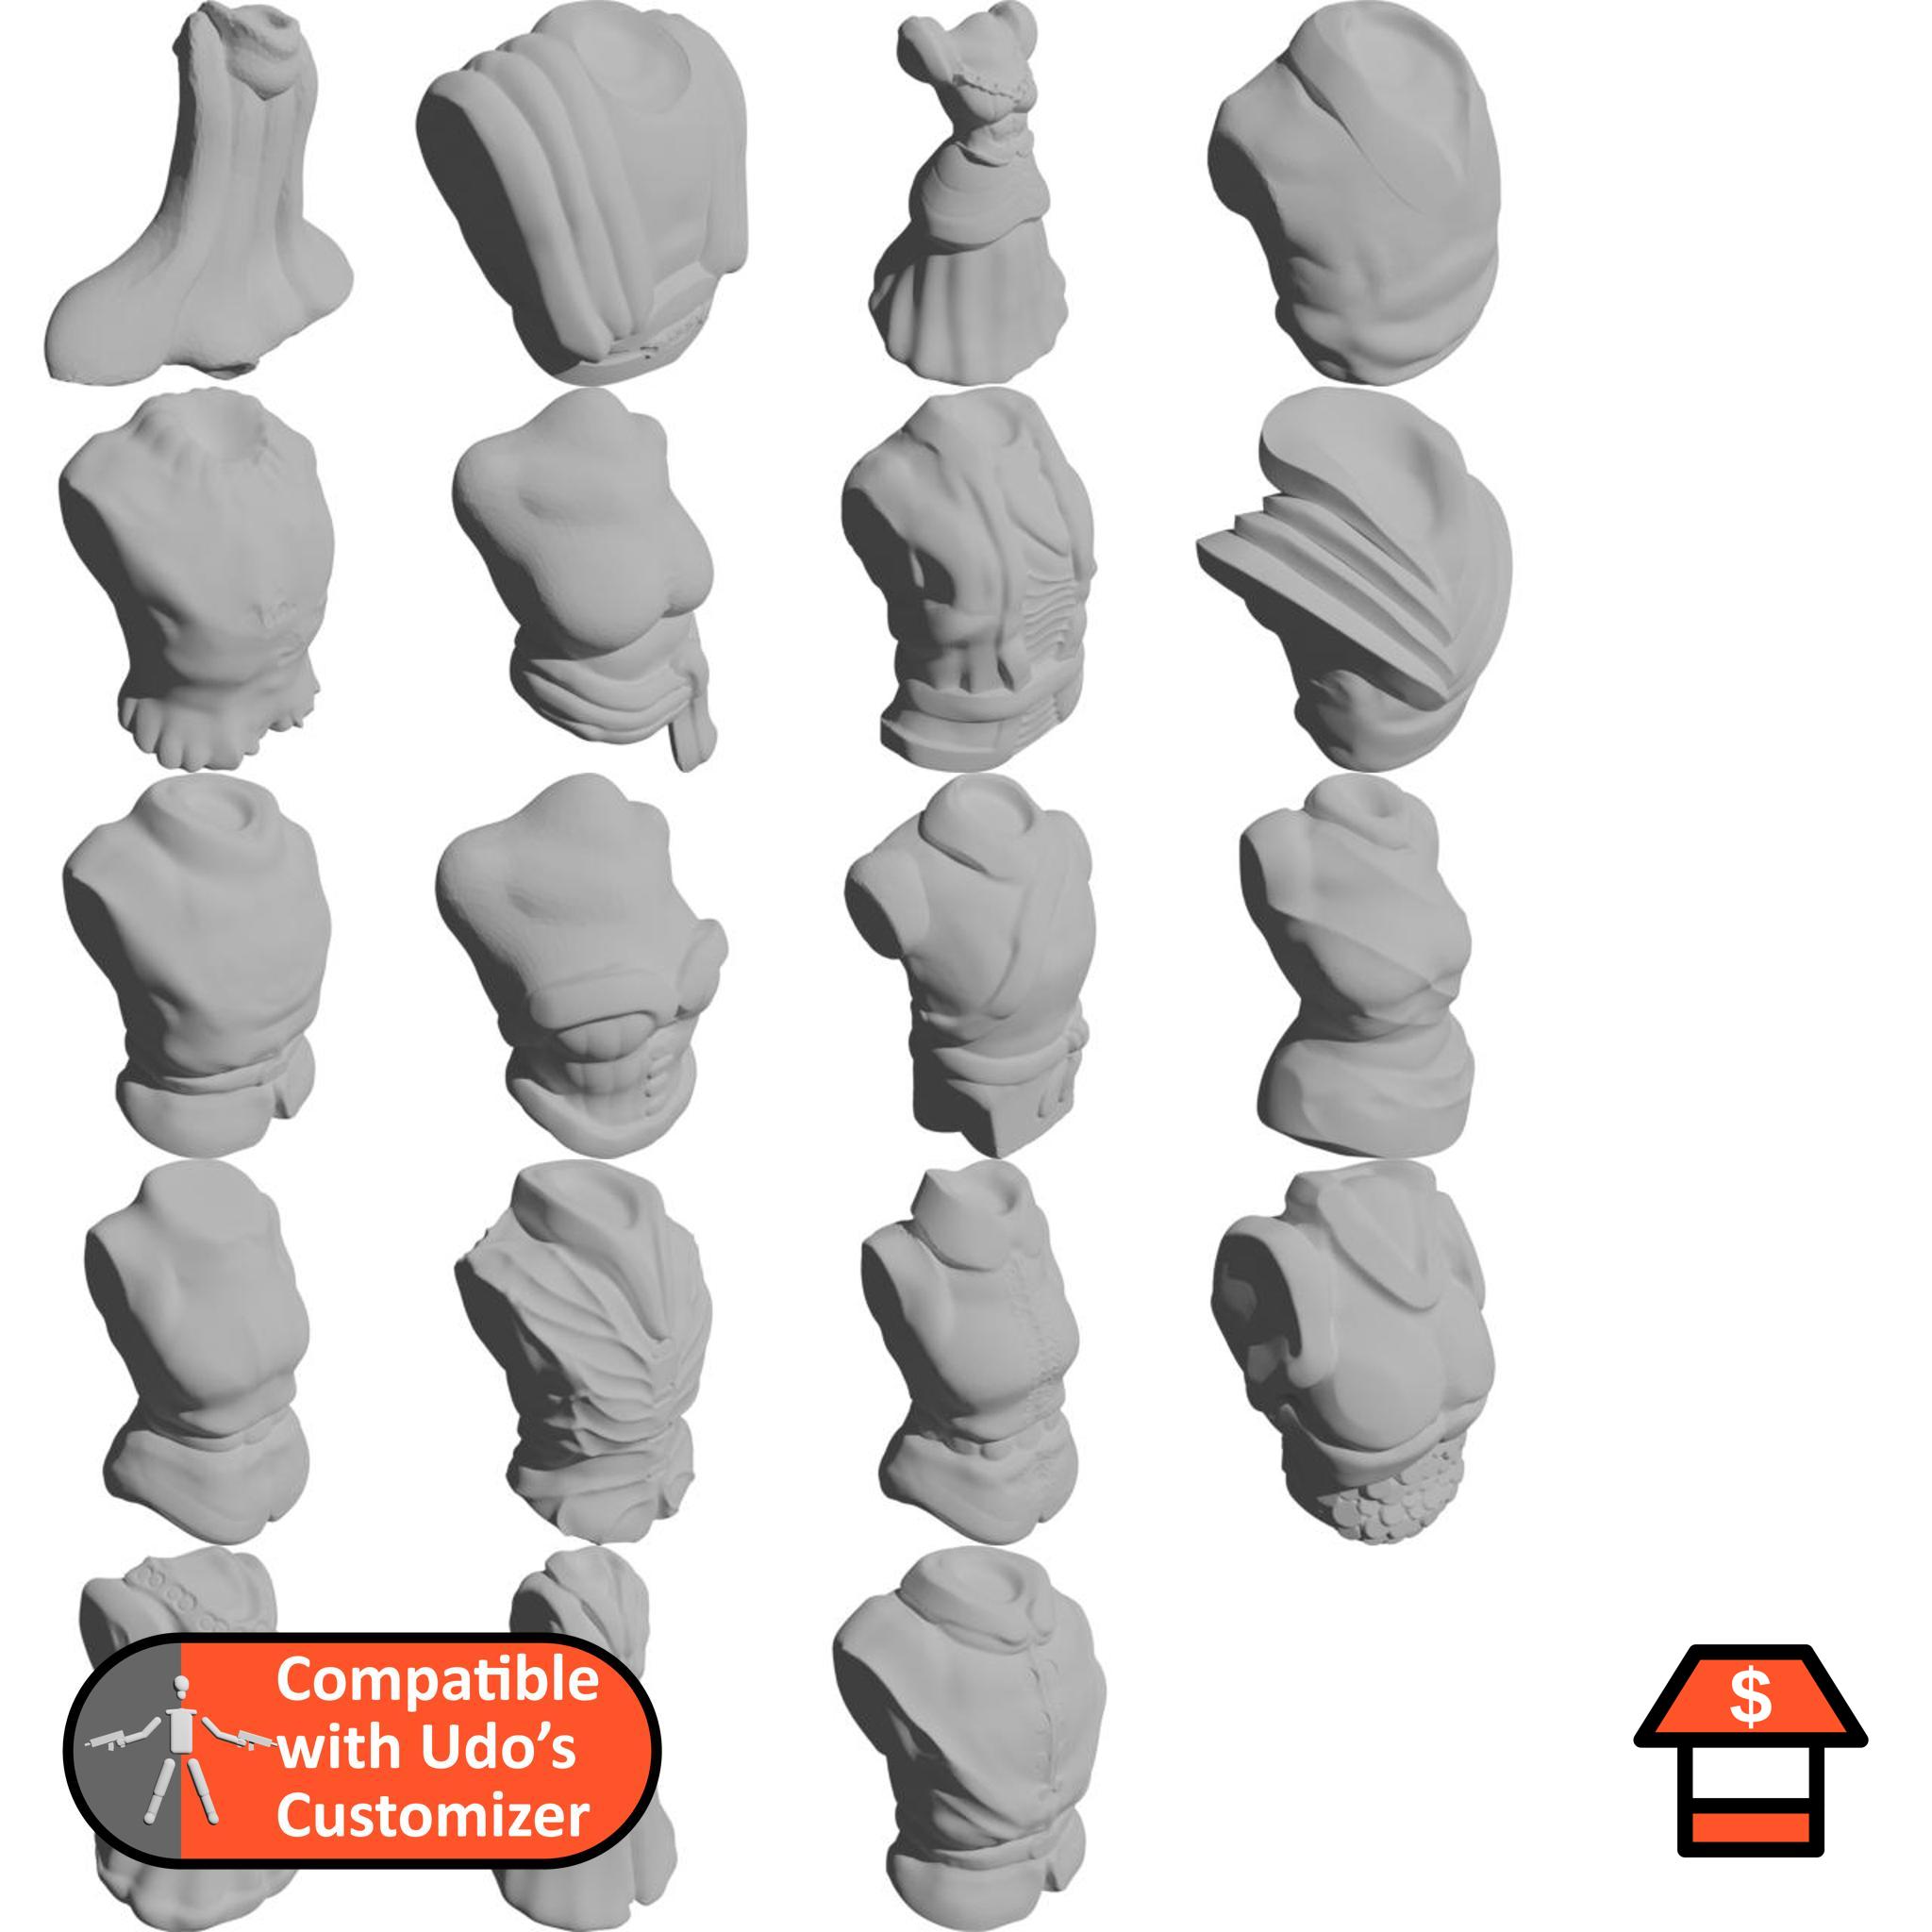
Fantasy Torsos
Some basic torsos for female and male humanoid creatures!
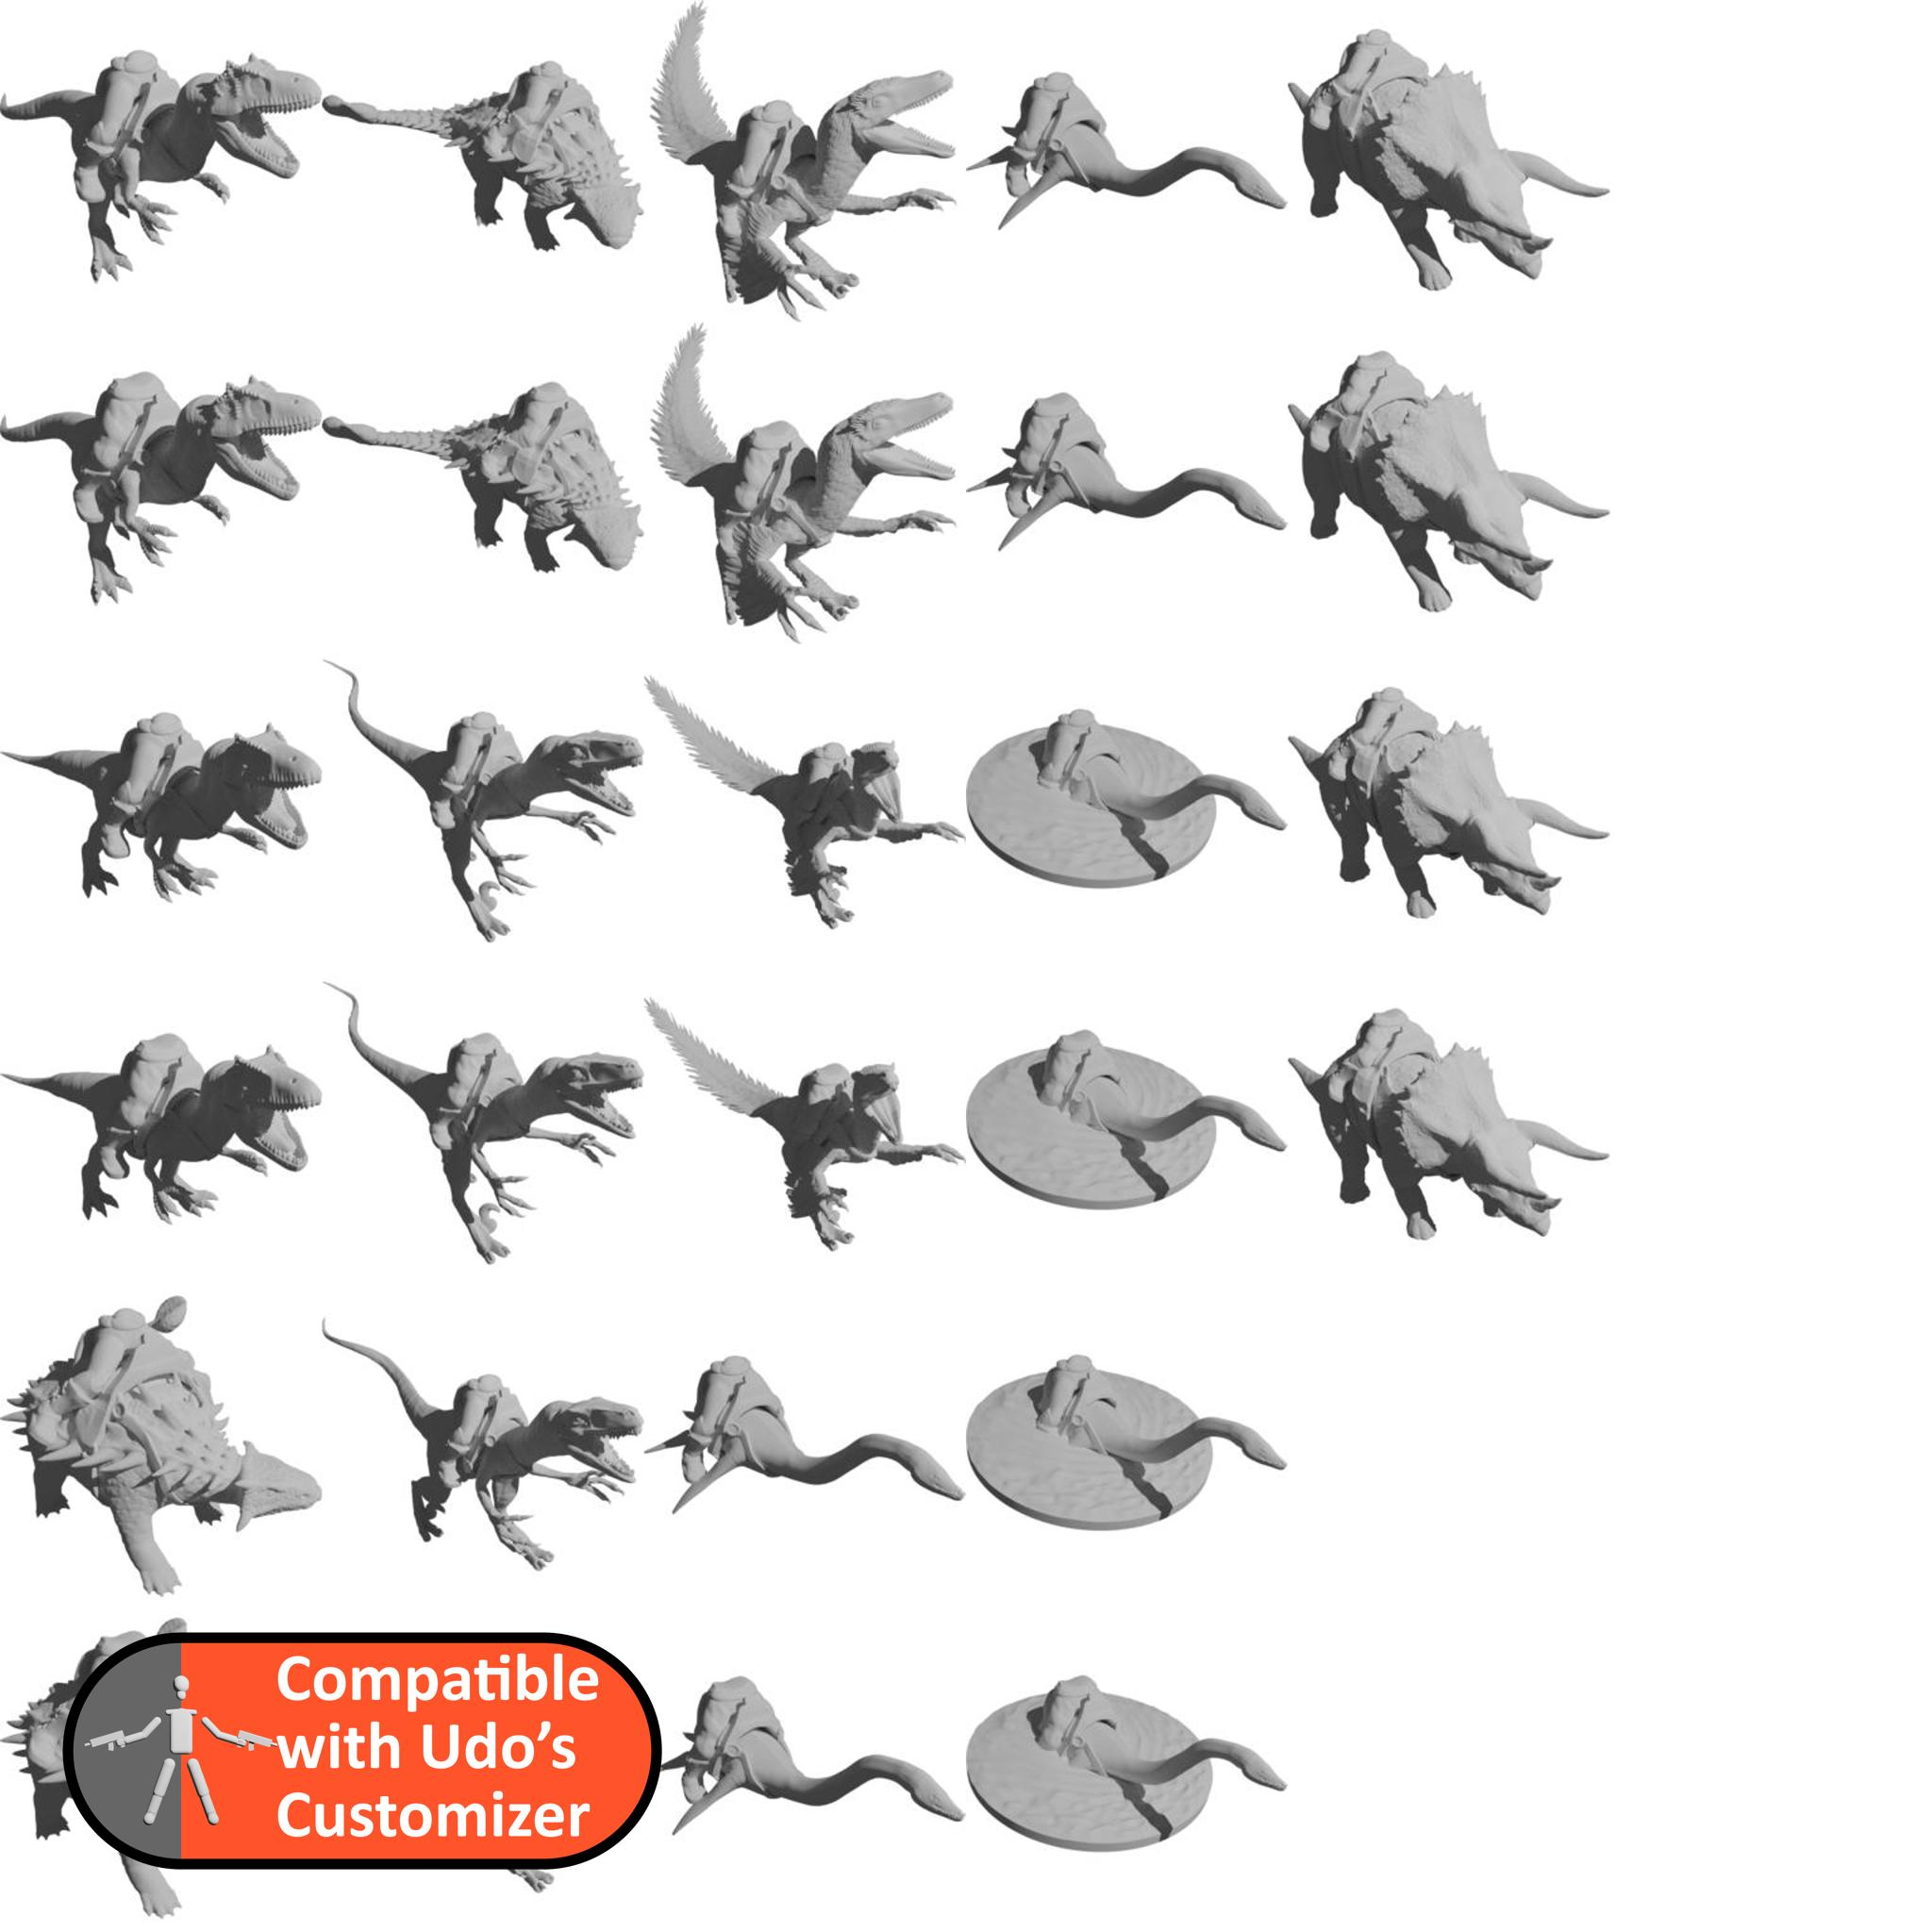
Dinosaur Riders
Dinosaur mounts for your fantasy characters!
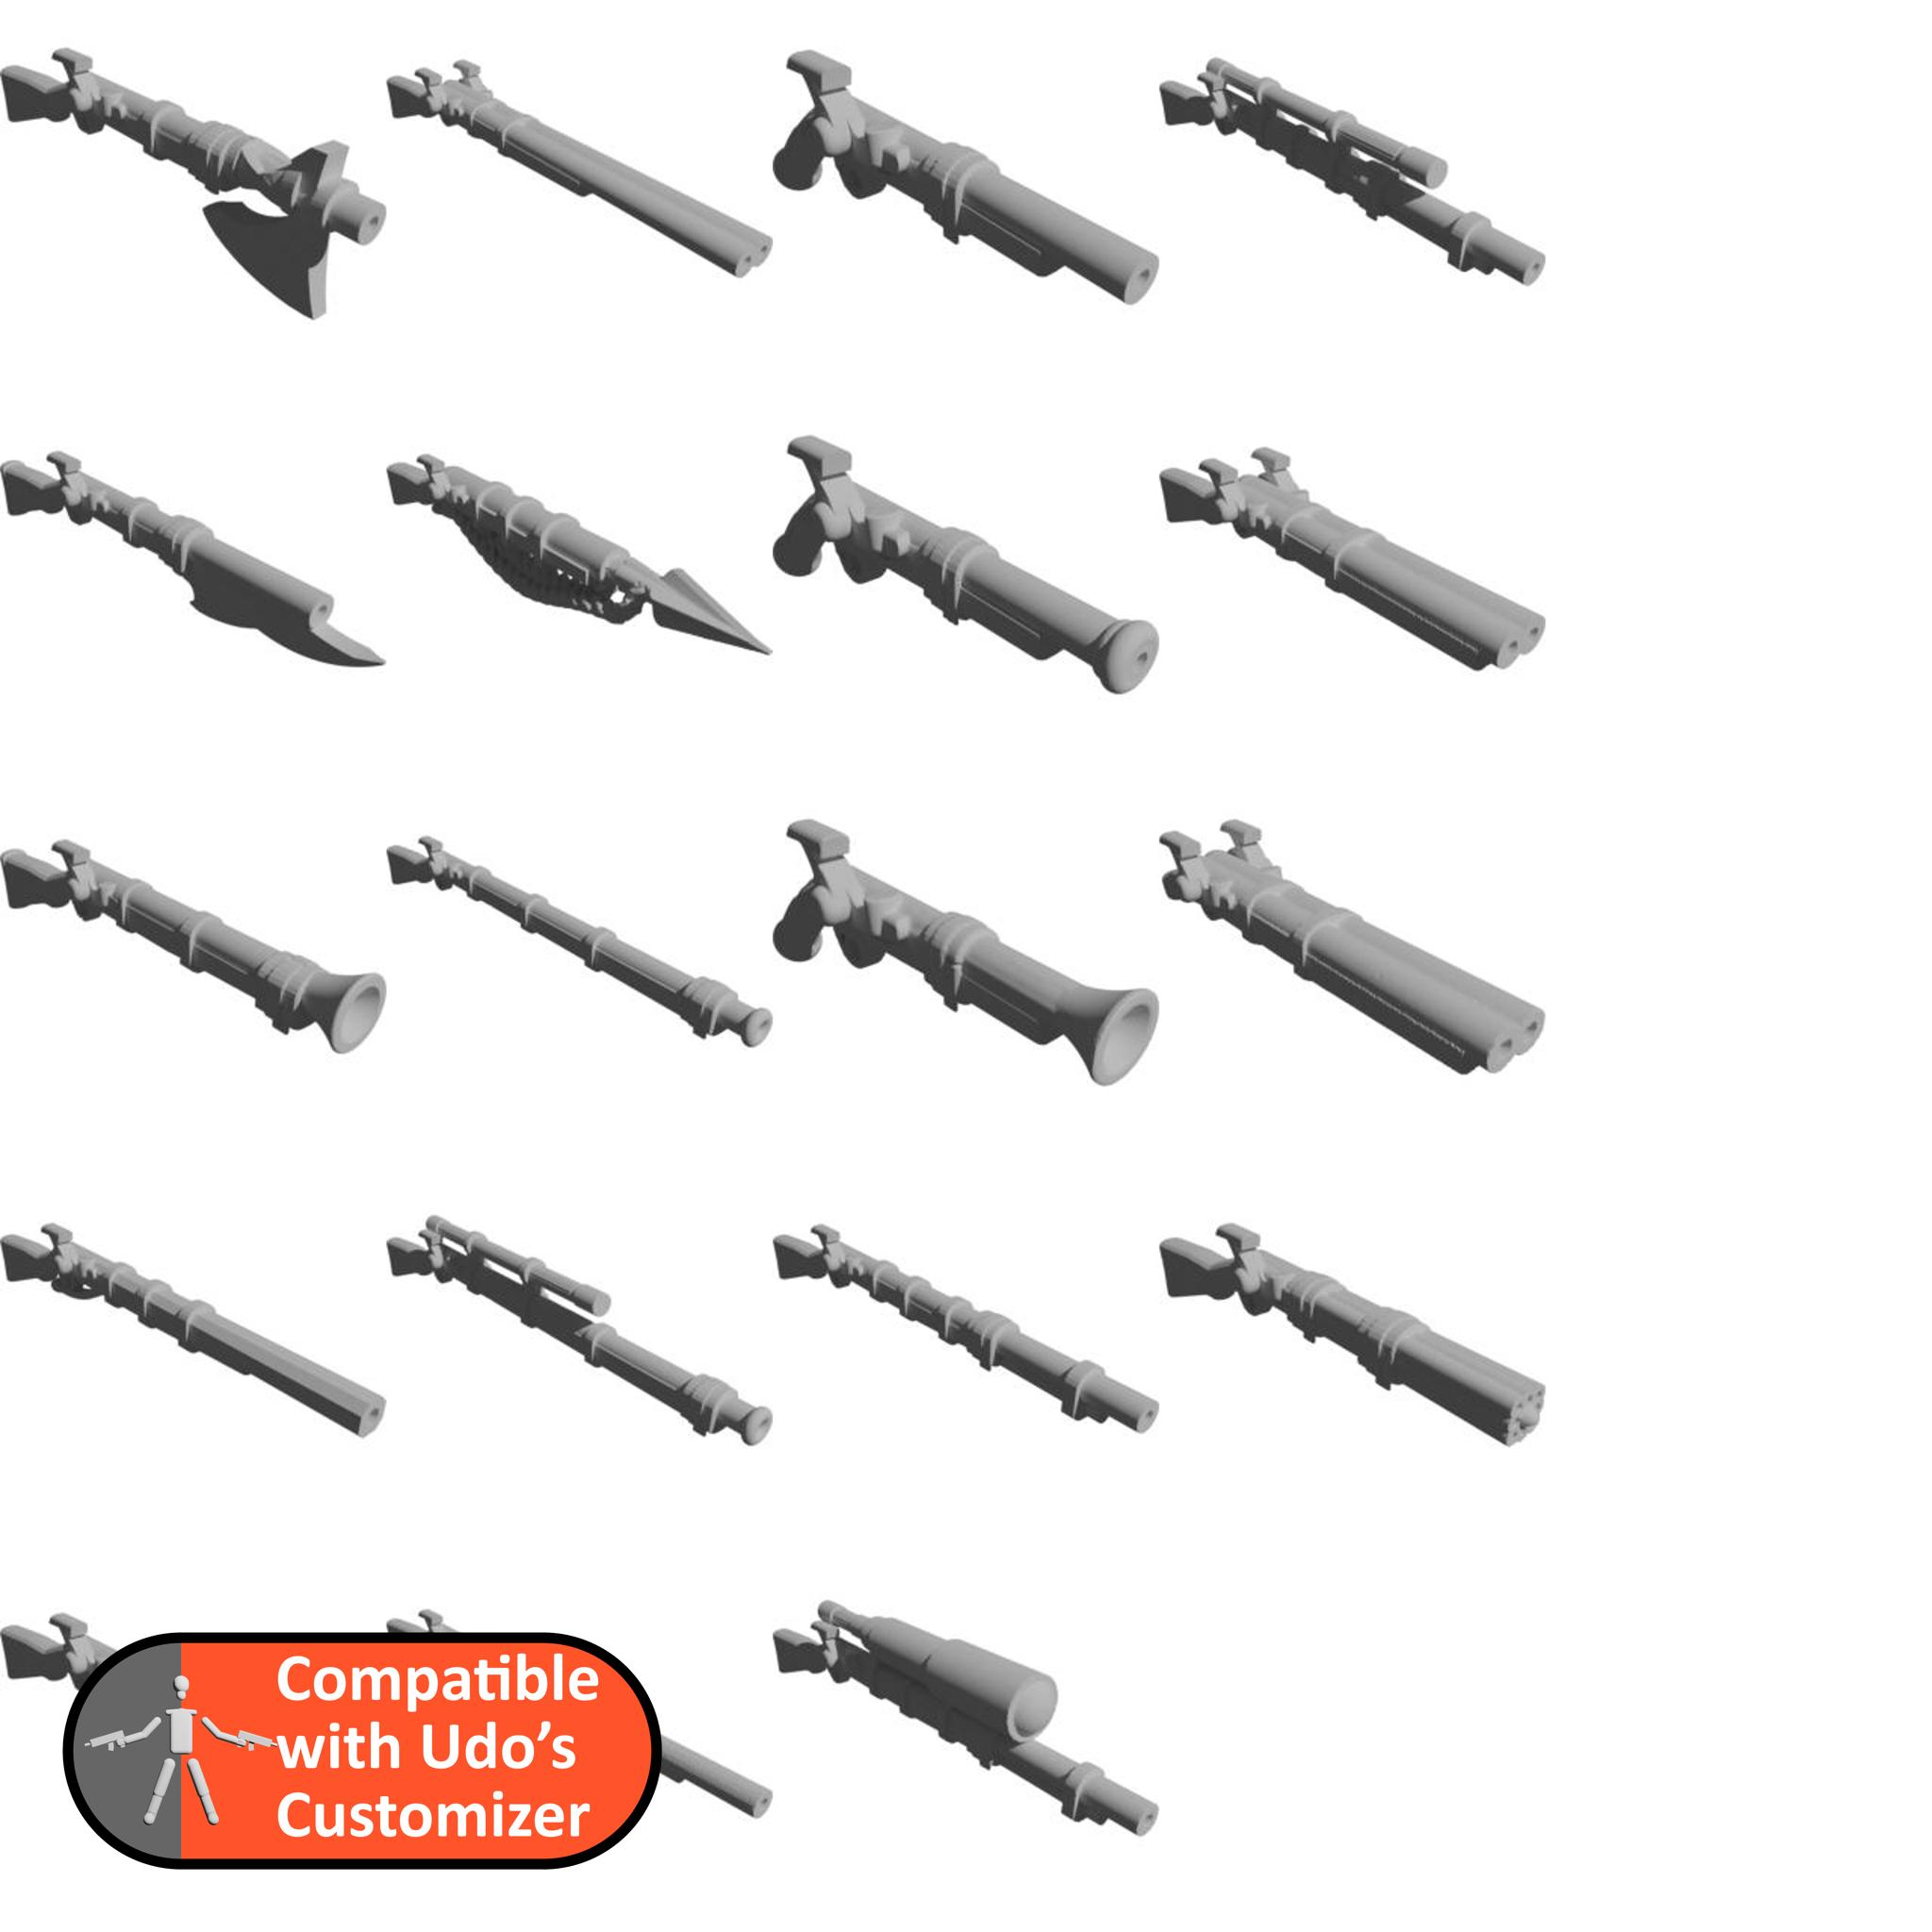
Musket Library
Muskets for the customizer
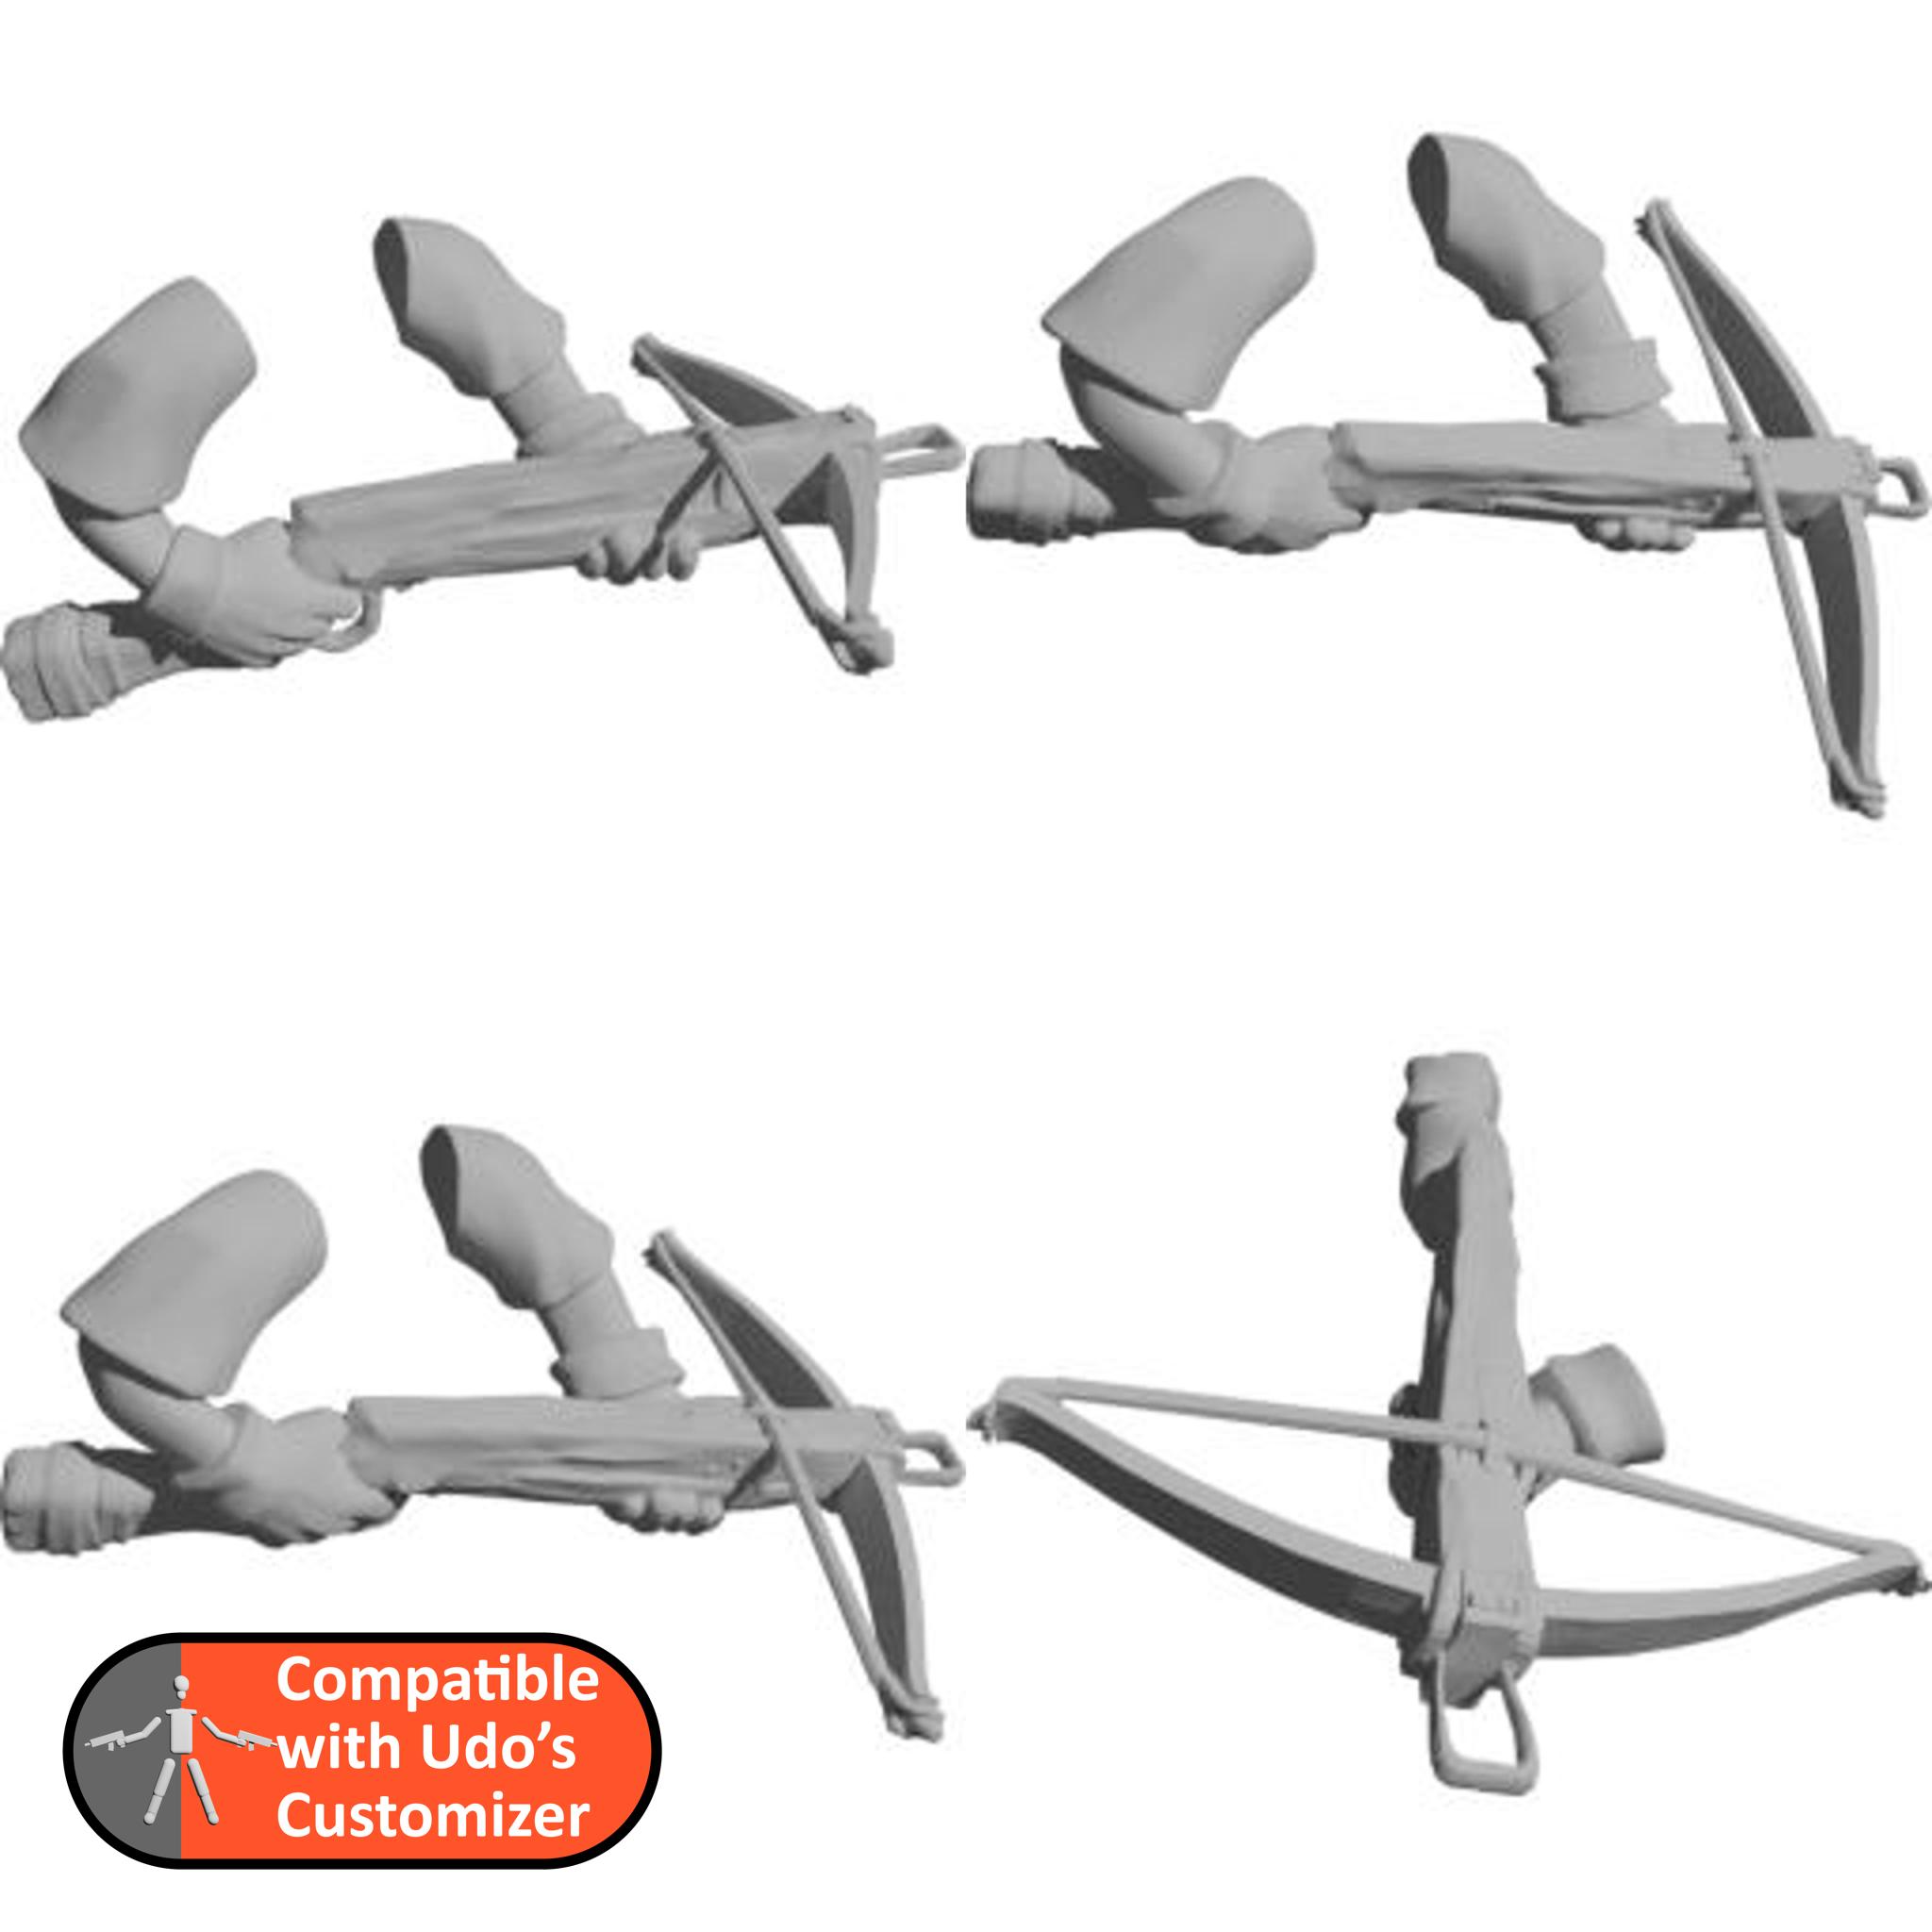
Crossbows Library
Crossbows for the customizer
Valandar's Player Characters #1
The awesome models from valandar now compatible in the customzier!
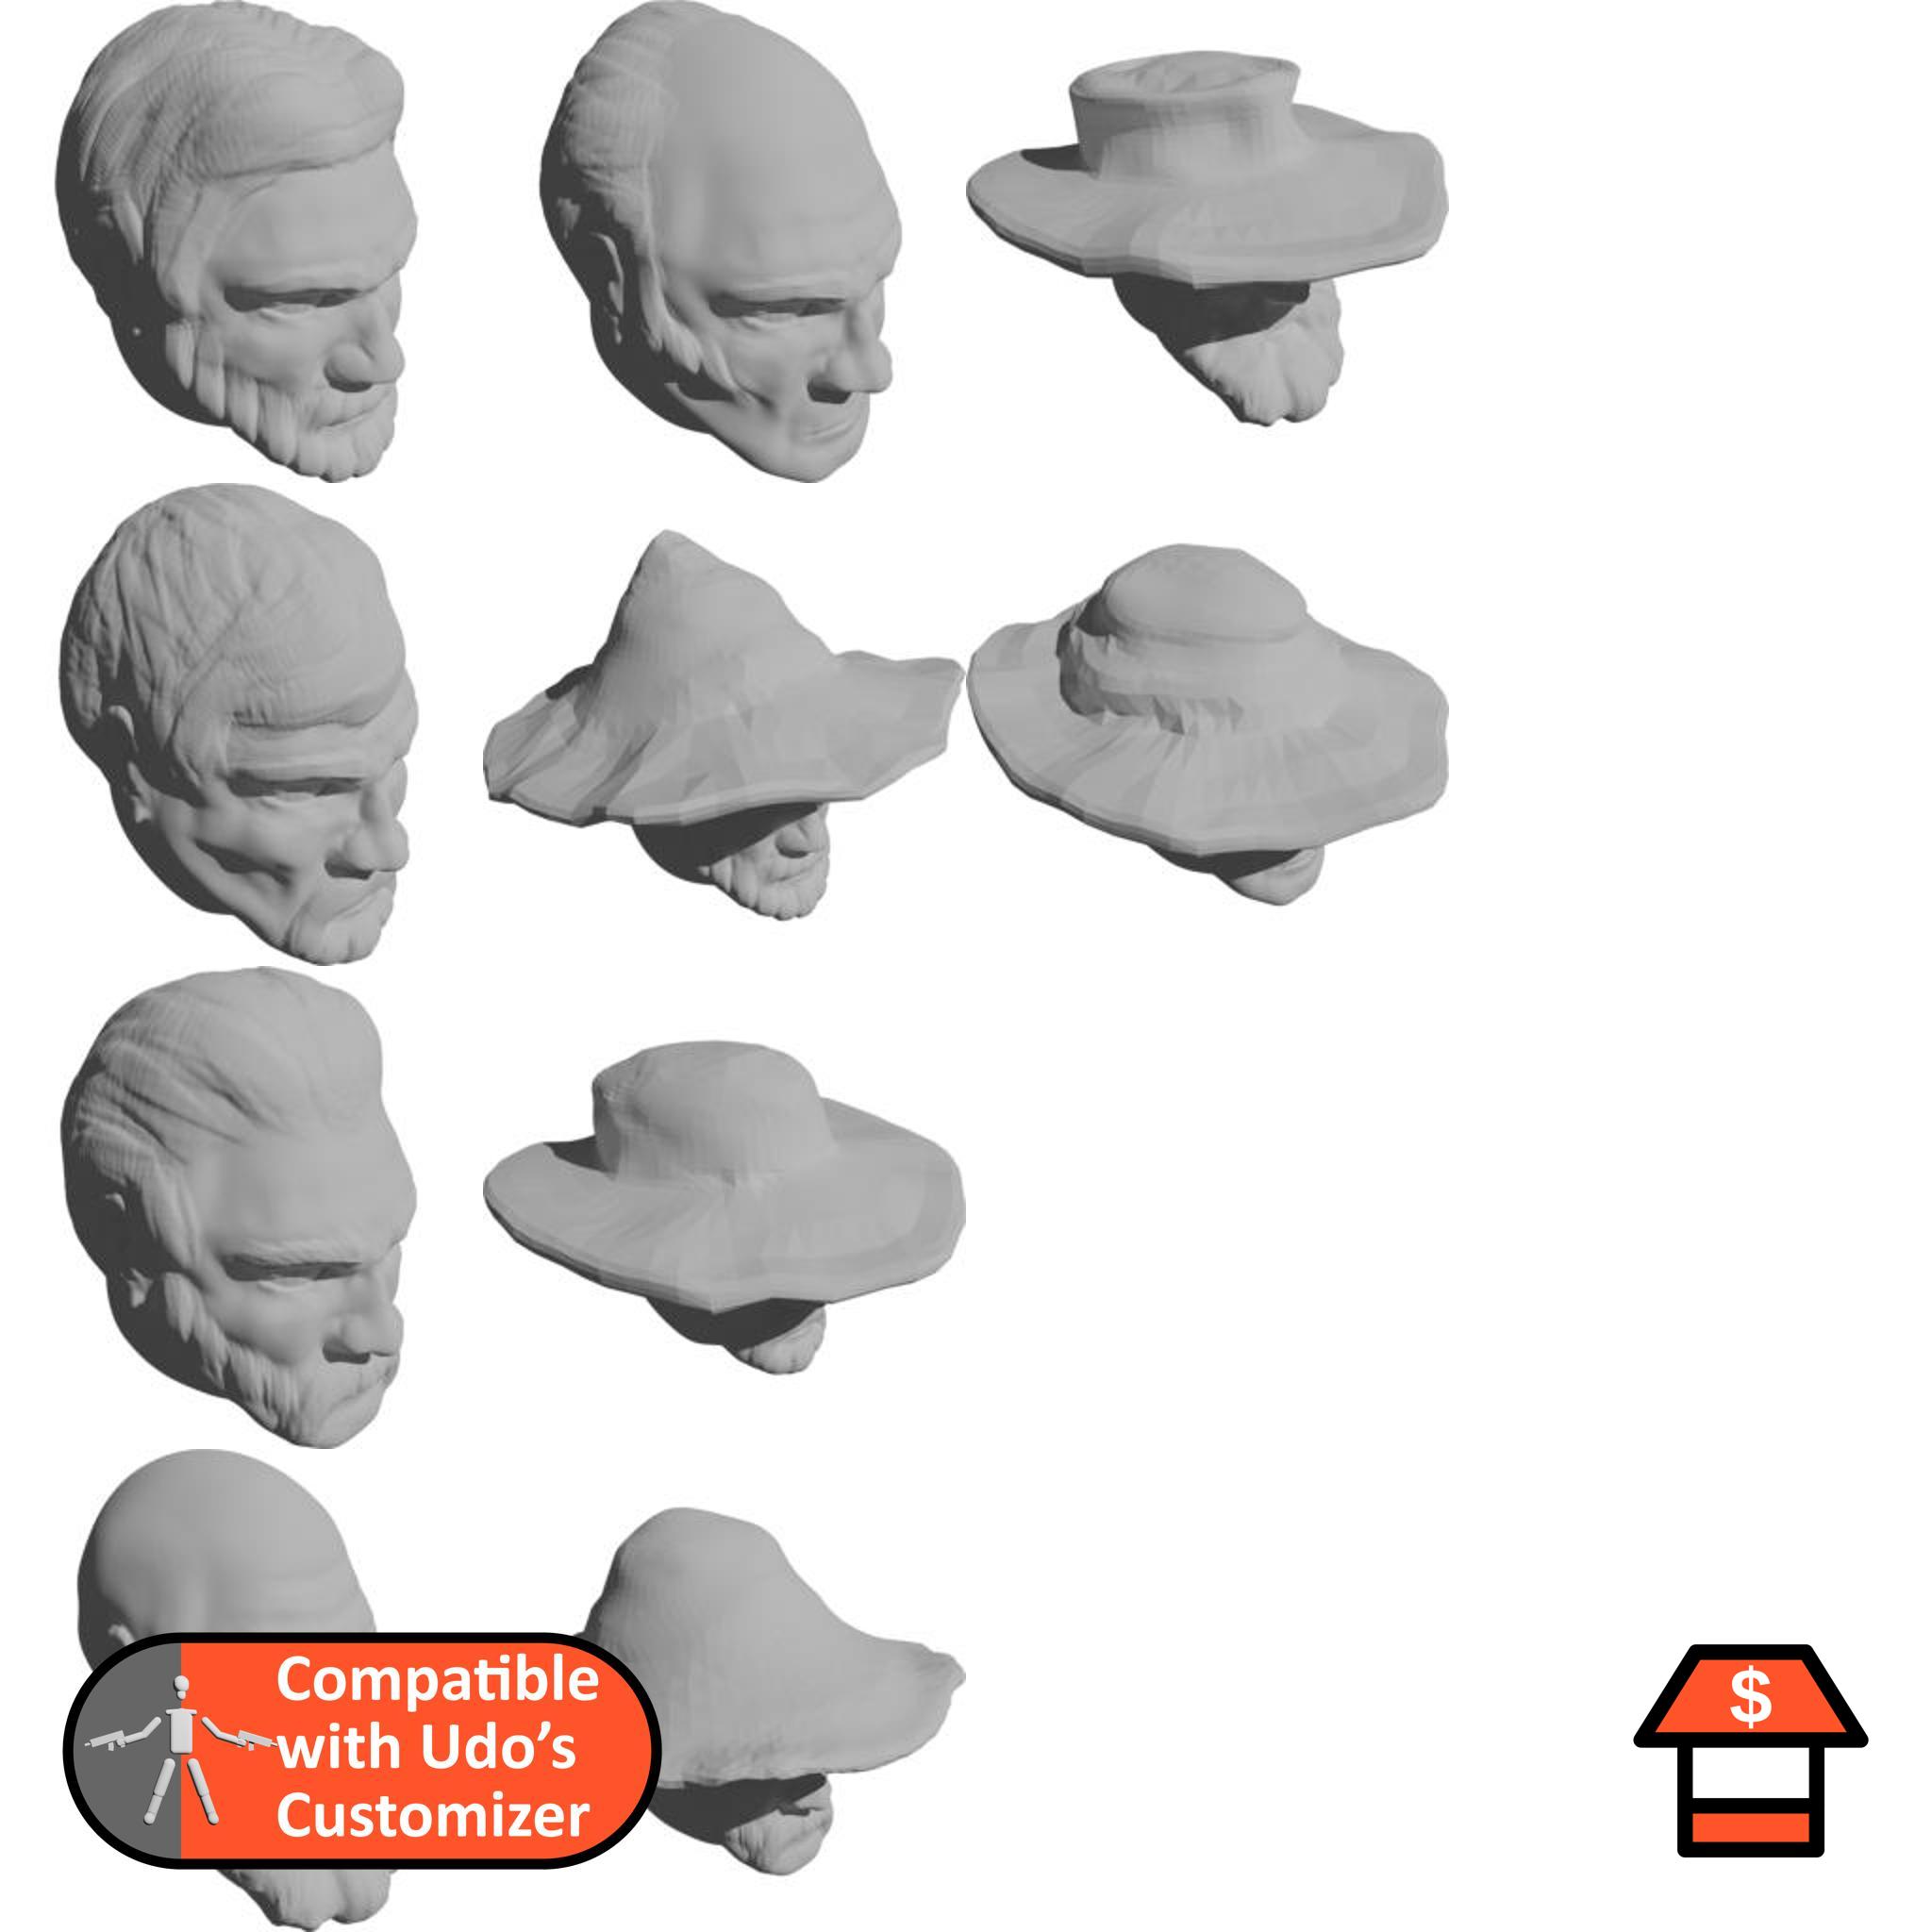
Farmer Heads
Some farmer heads for the customizer.
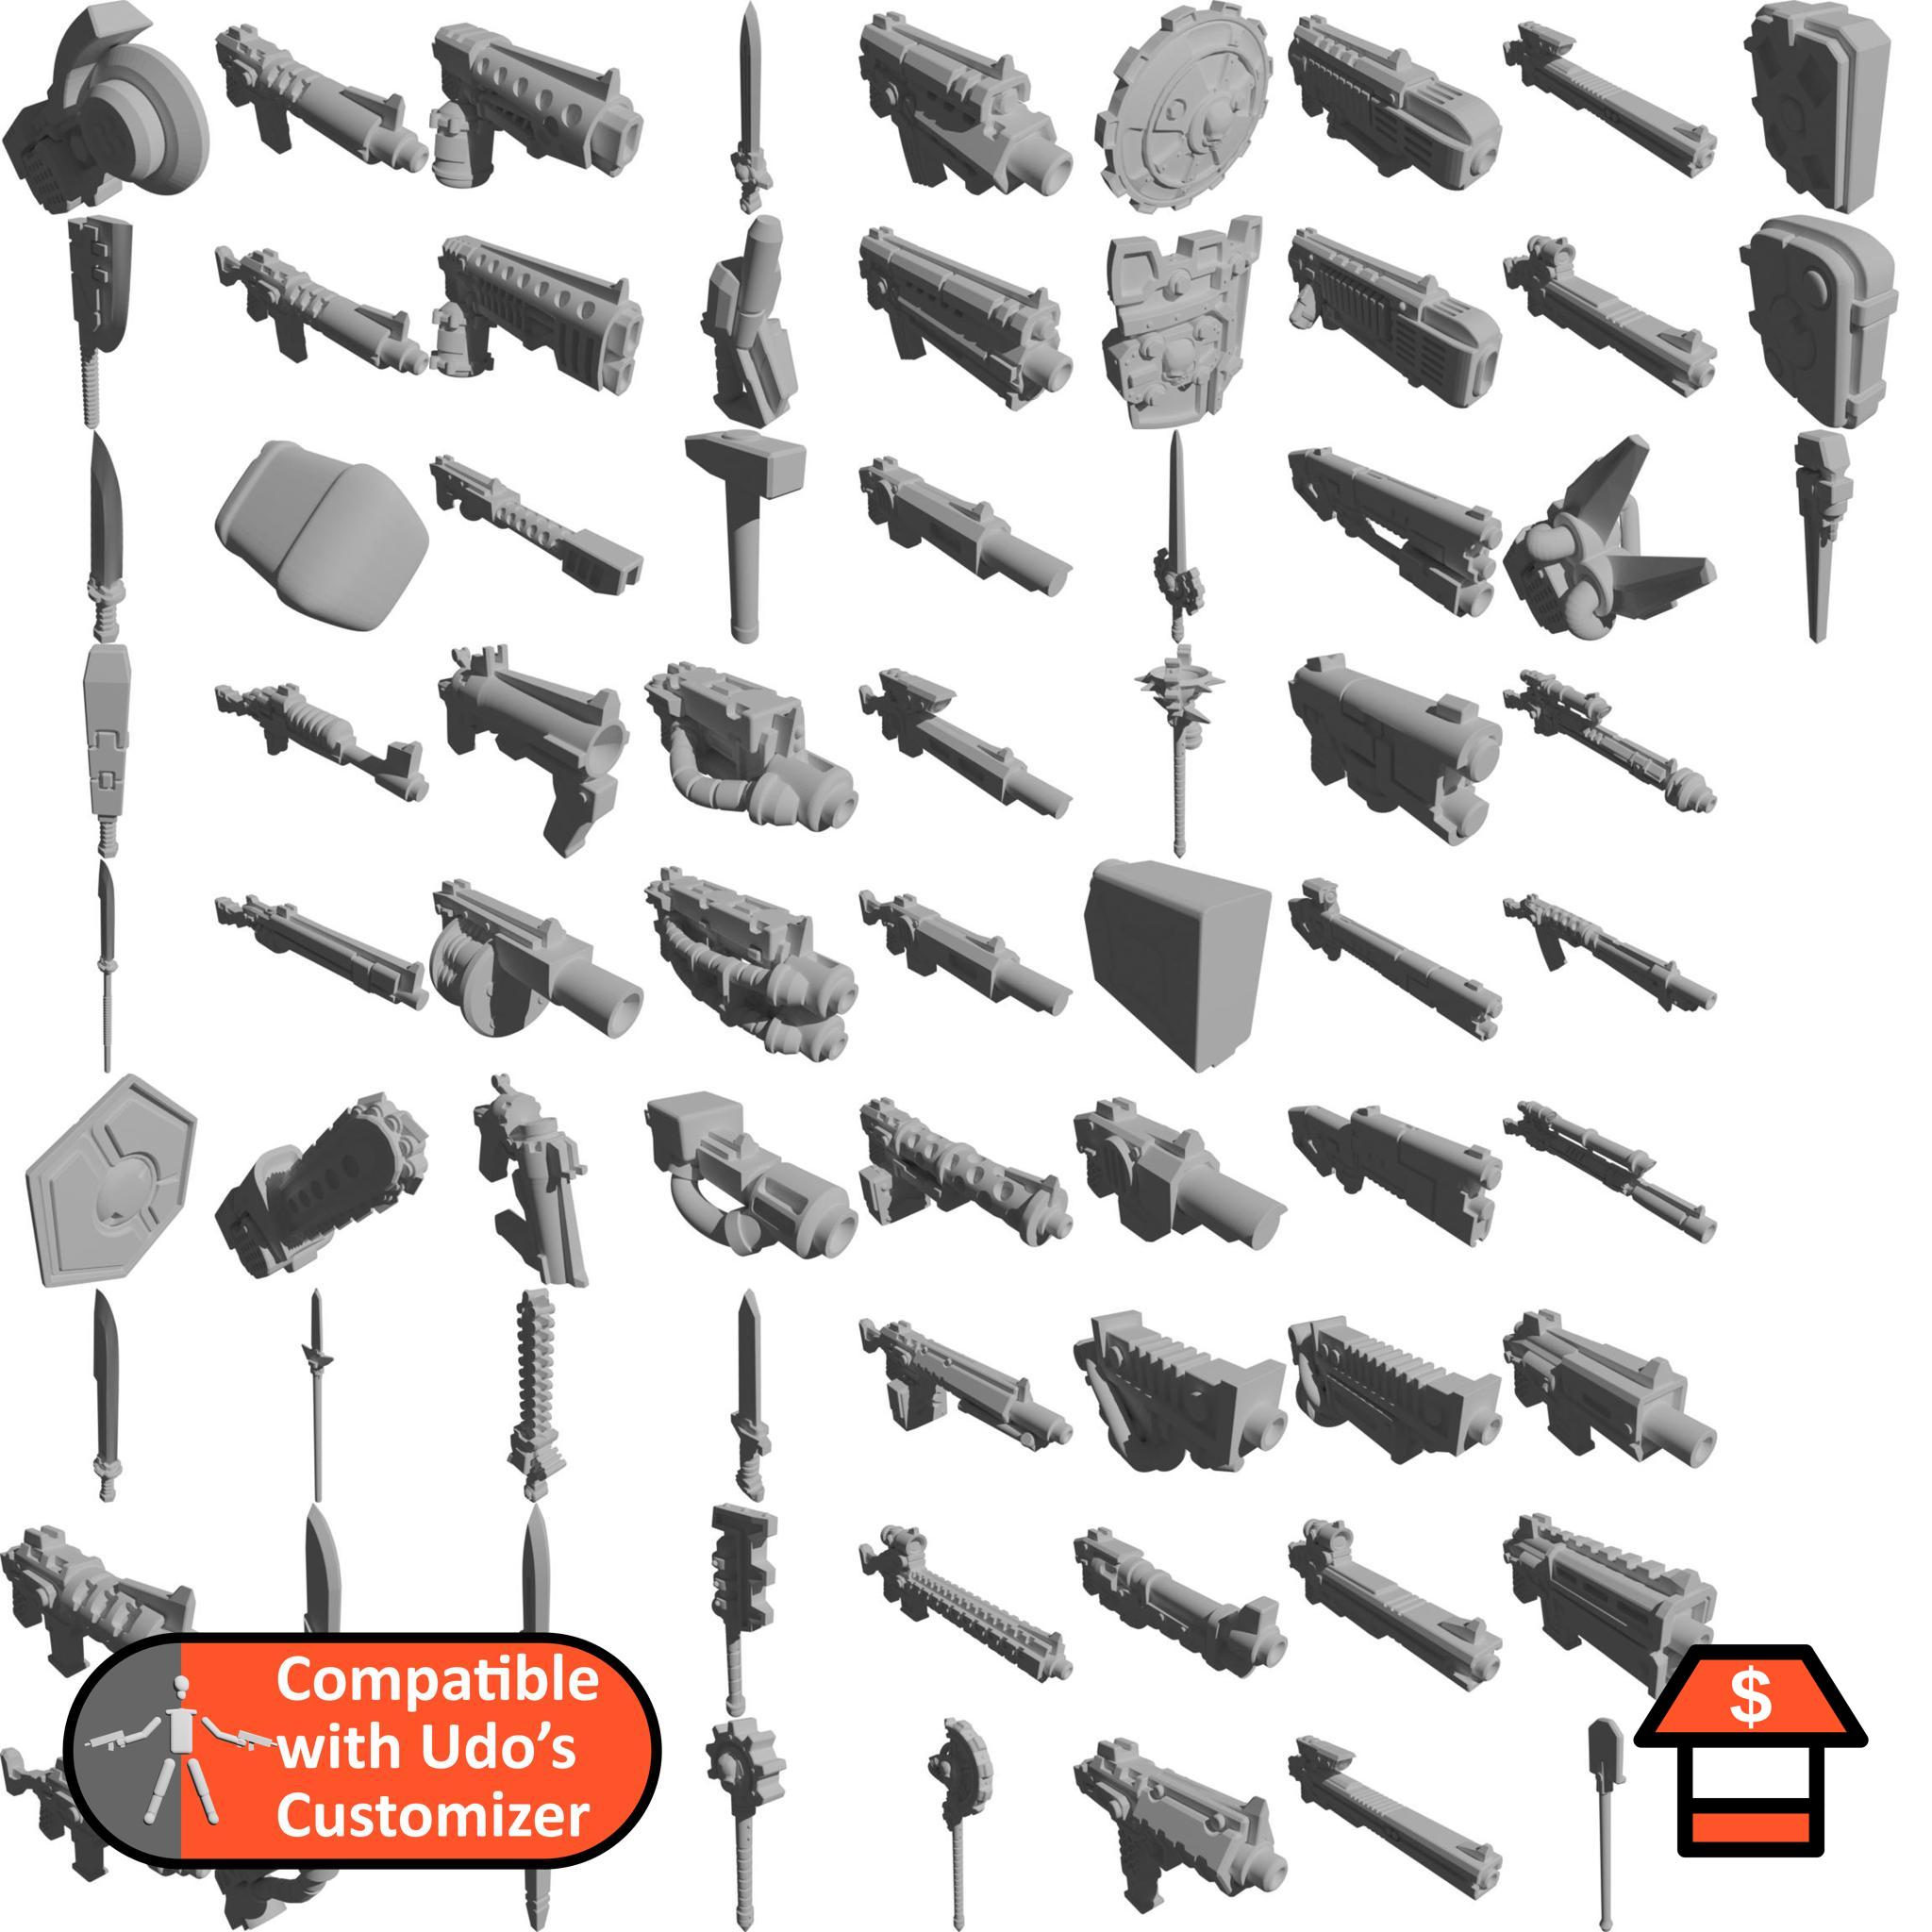
Dutchmogul's Fantasy Arsenal
A basic library of fantasy weapons.
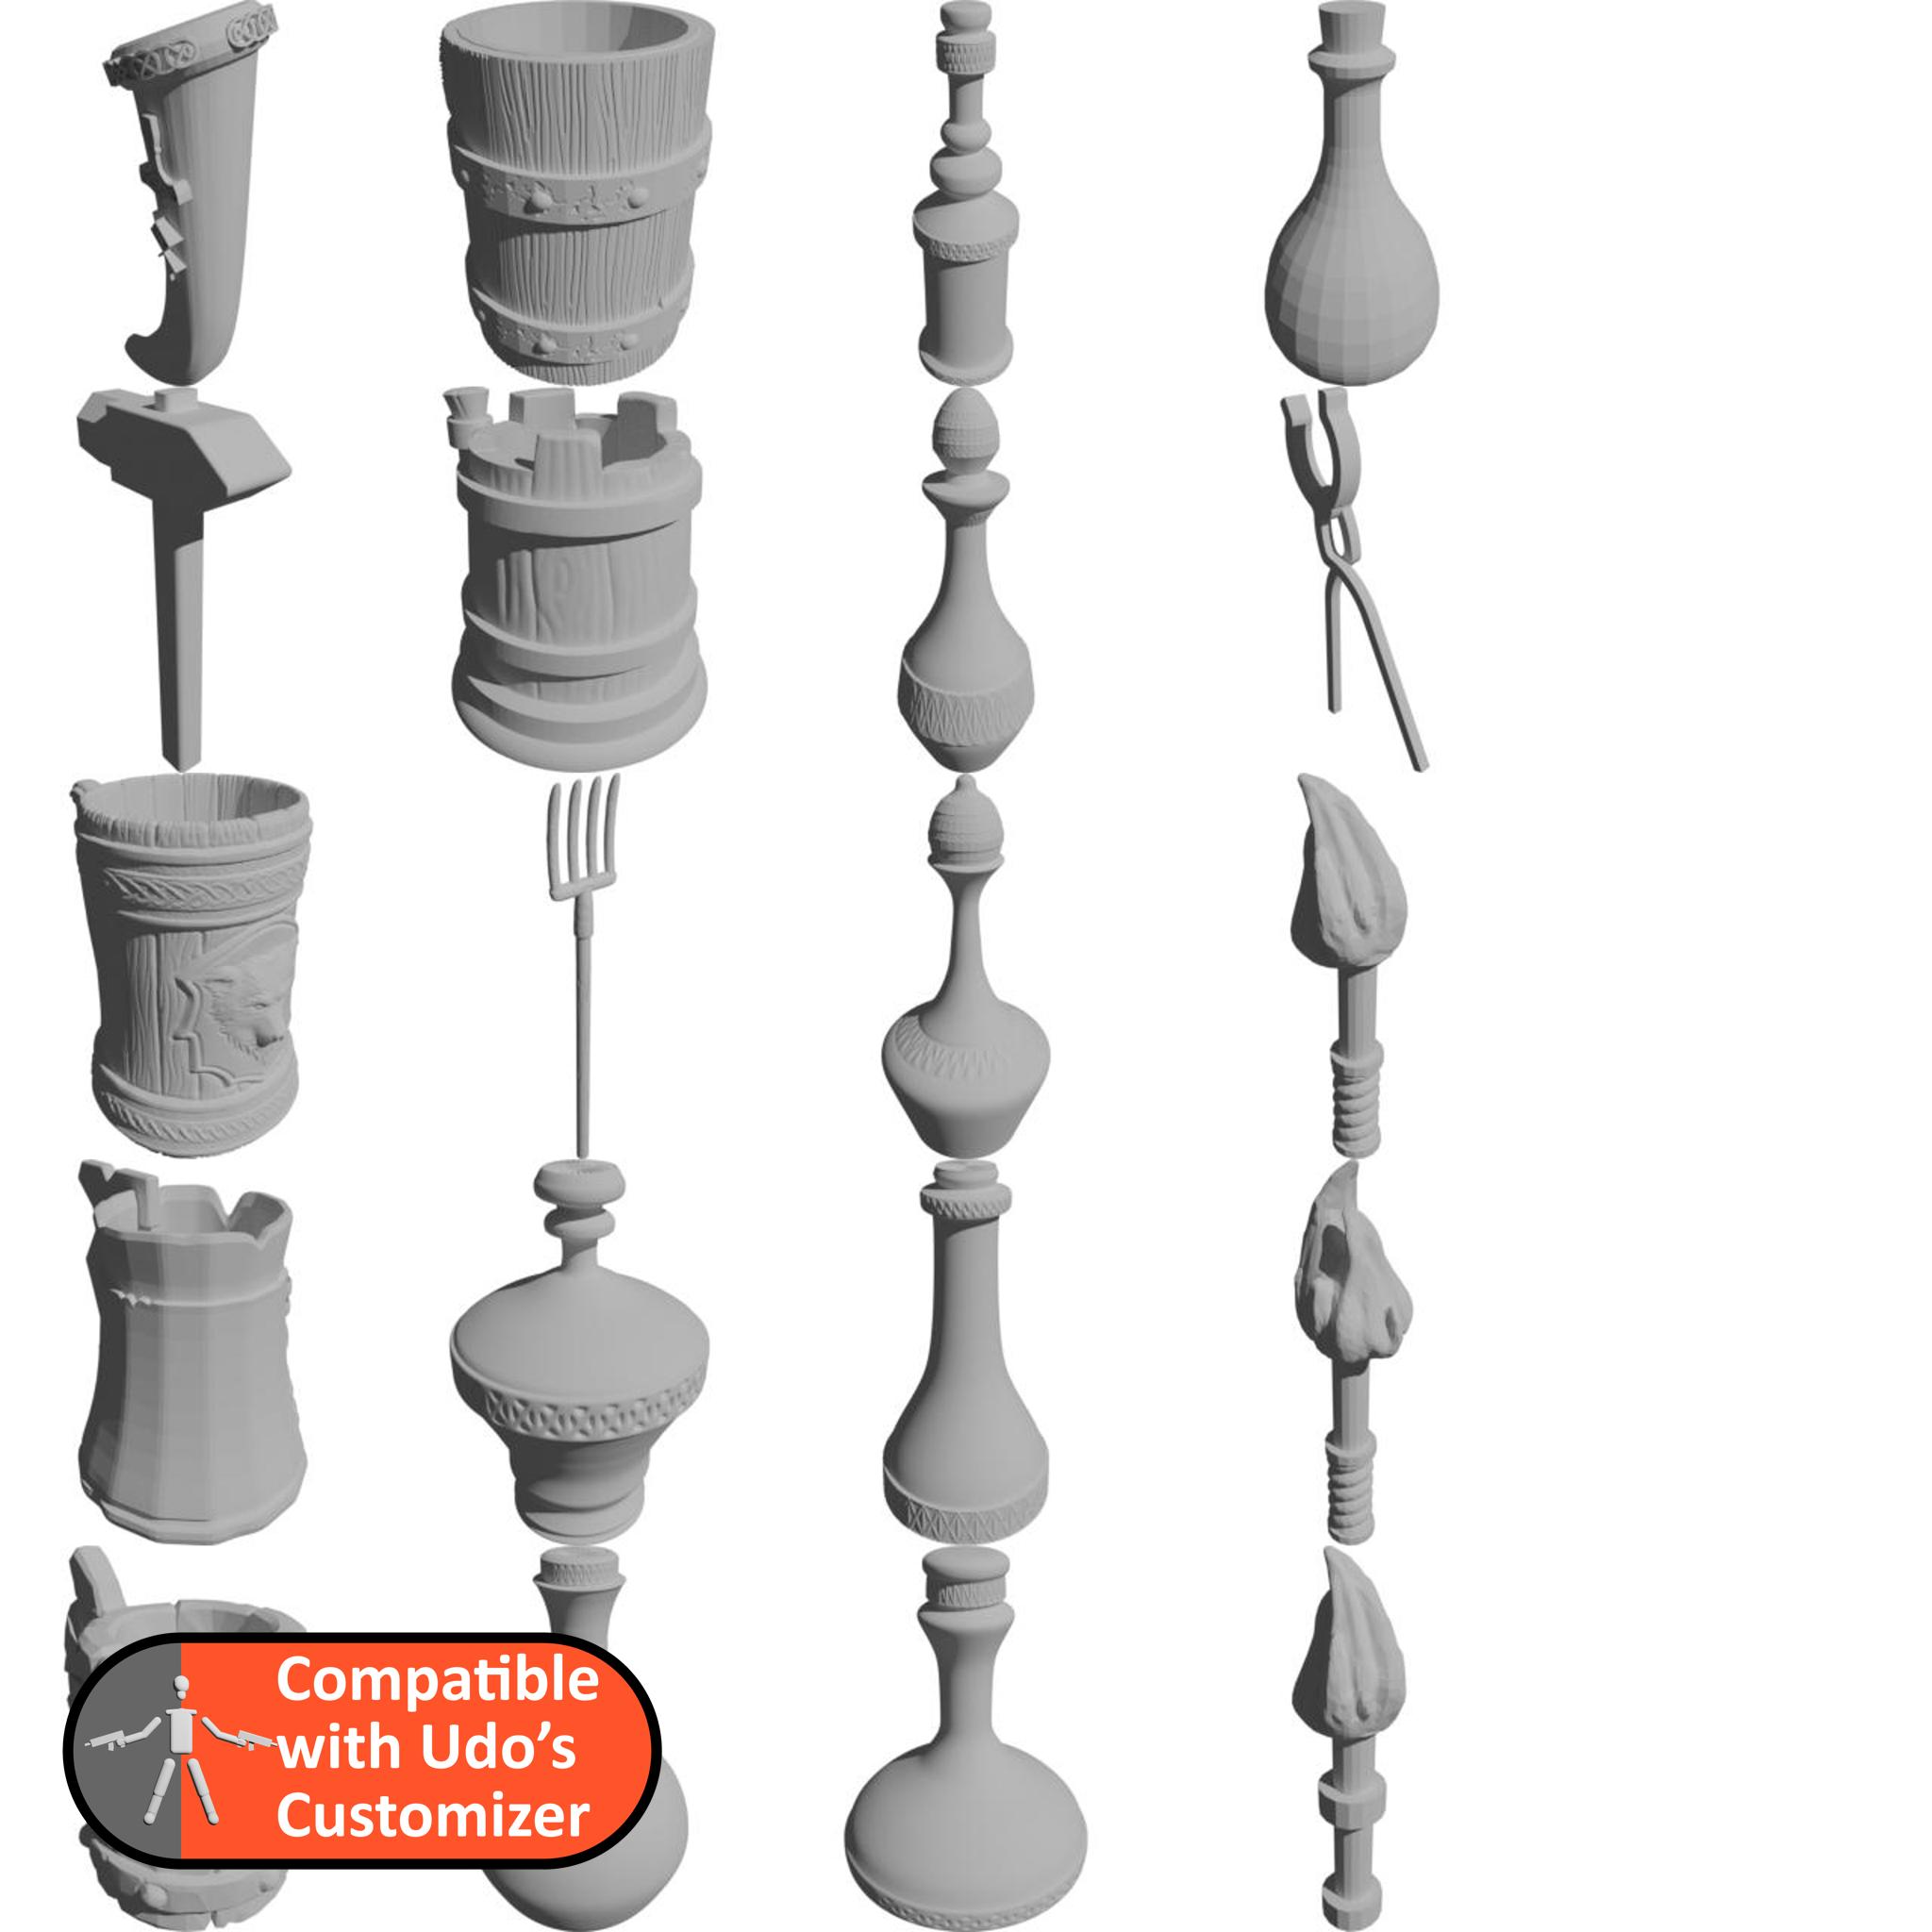
Fantasy Accessories
Accessories for your fantasy models.
Polearm Weapons
A wonderful library of medieval polearm weapons.
Skeletons
Several different skeletons mixed together in one library.
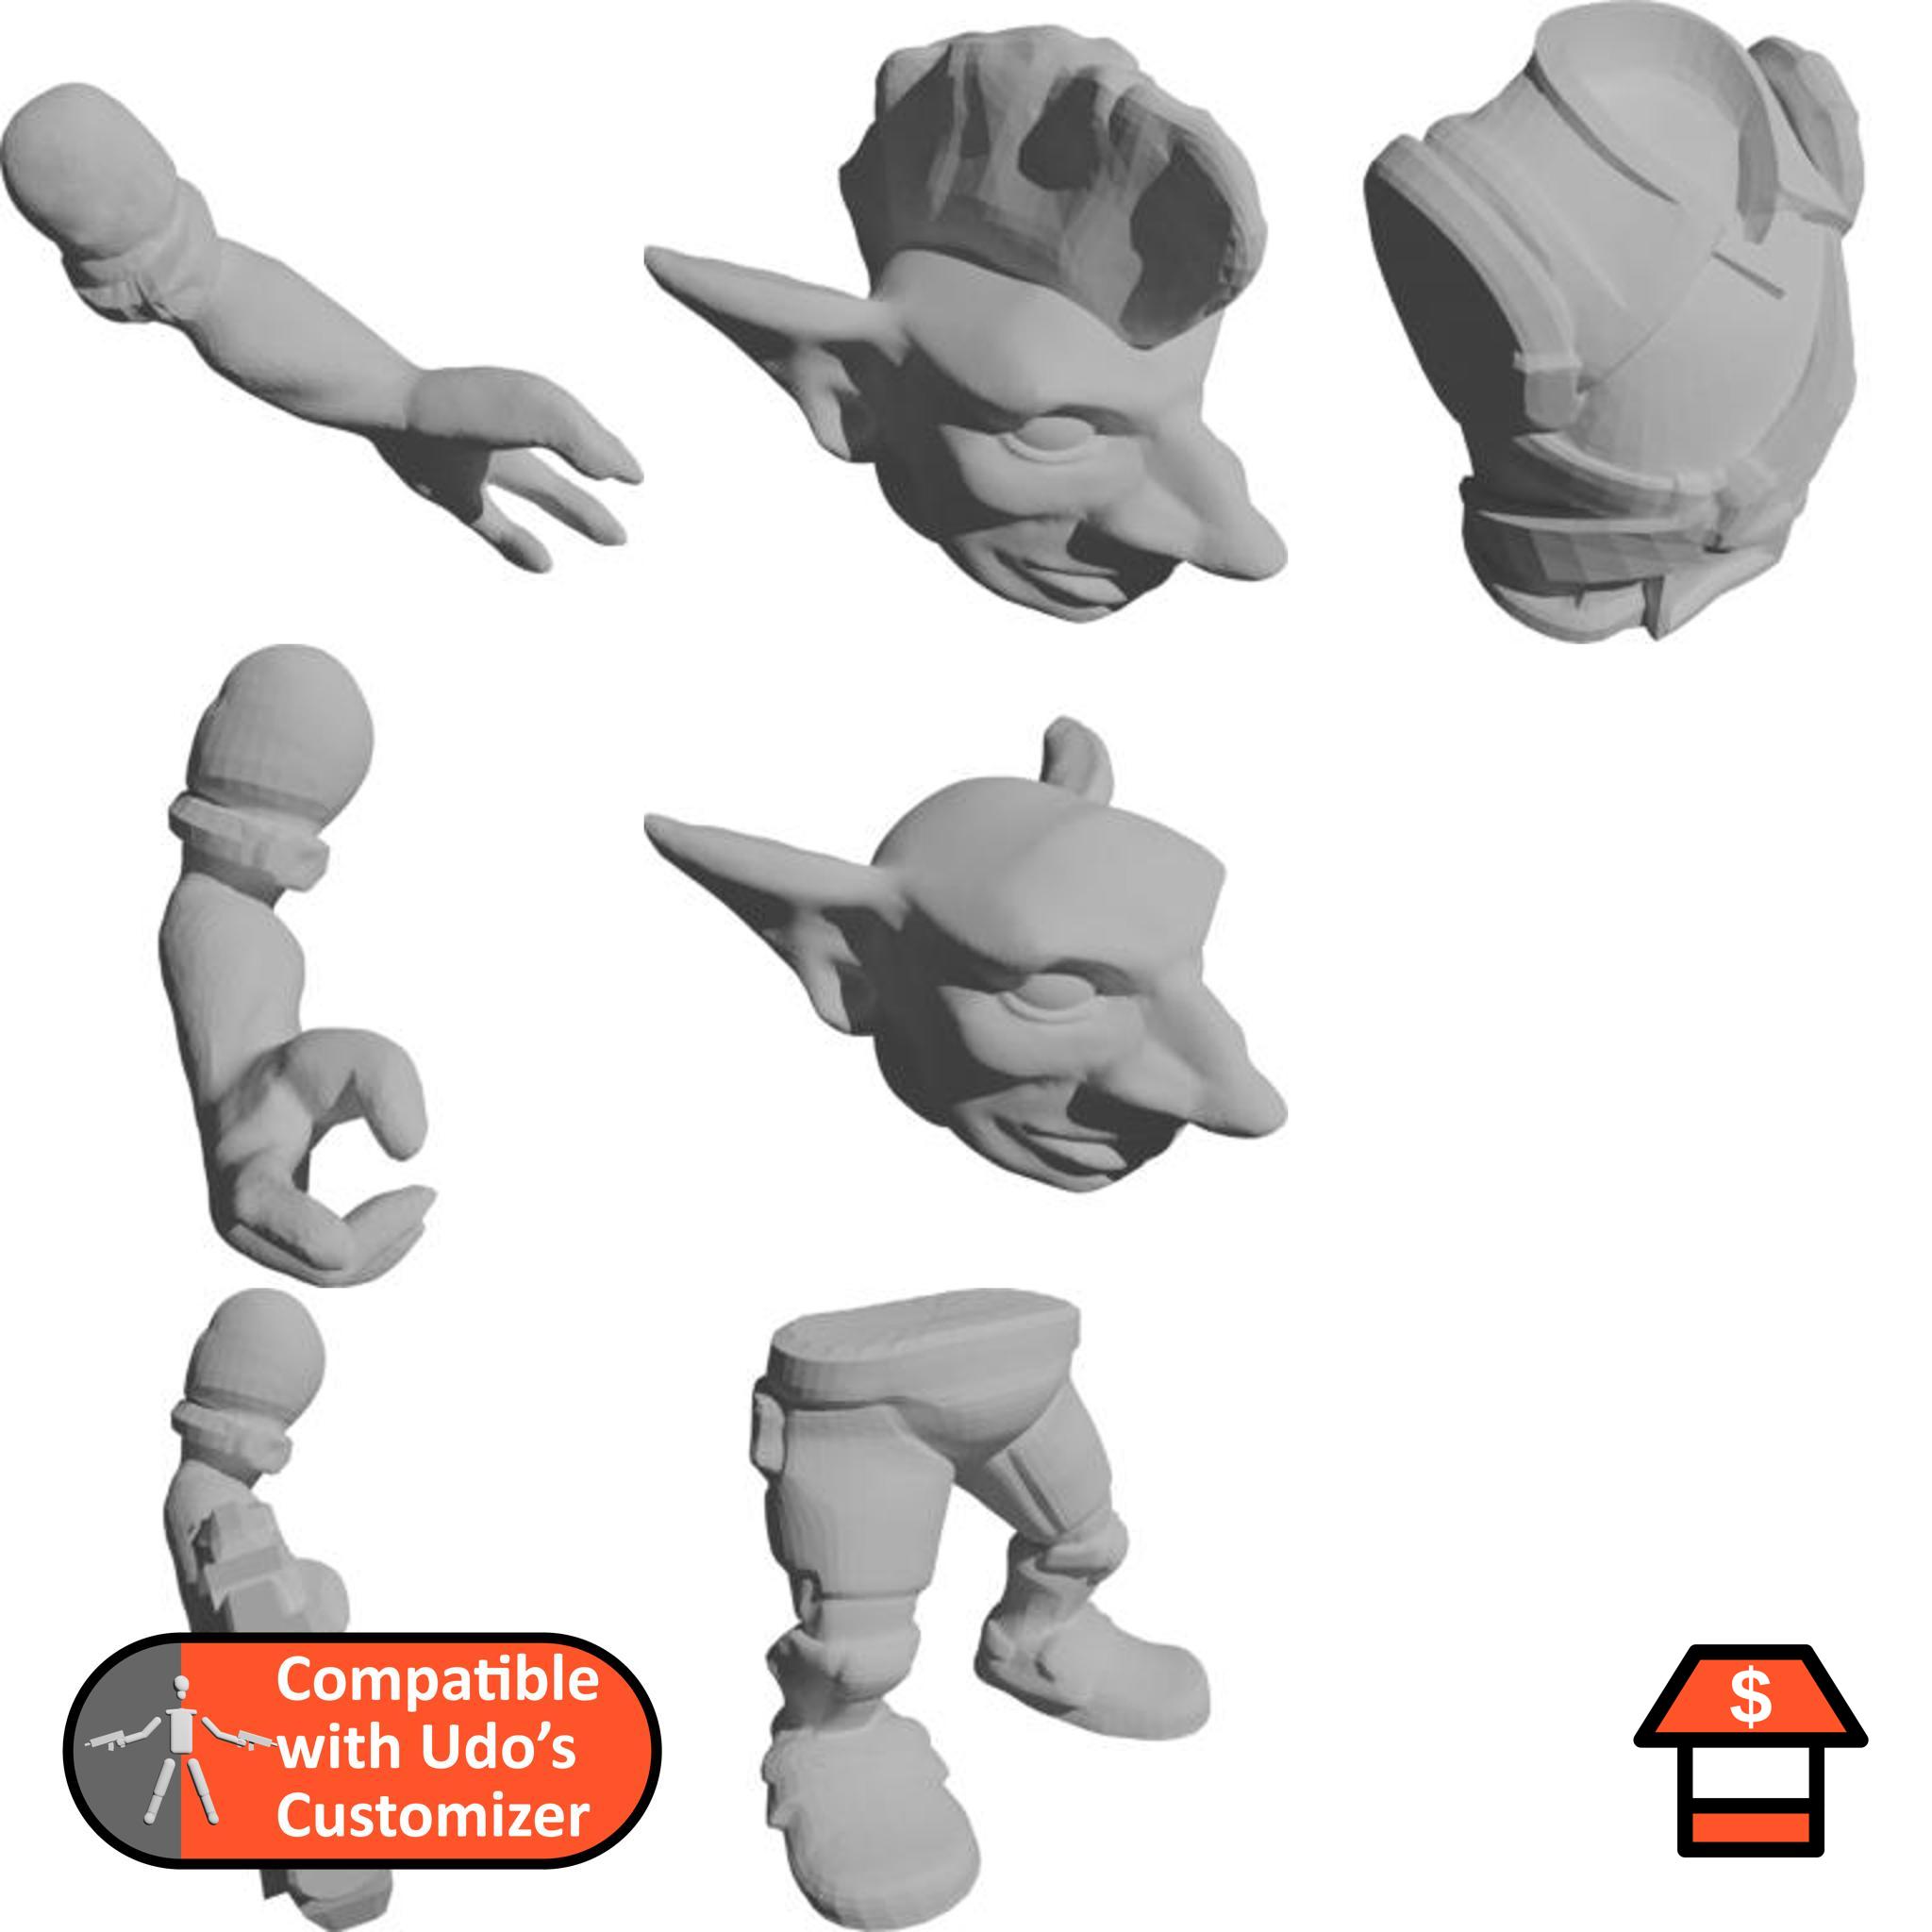
Space Goblins
They're sneaky, and they're coming from space!
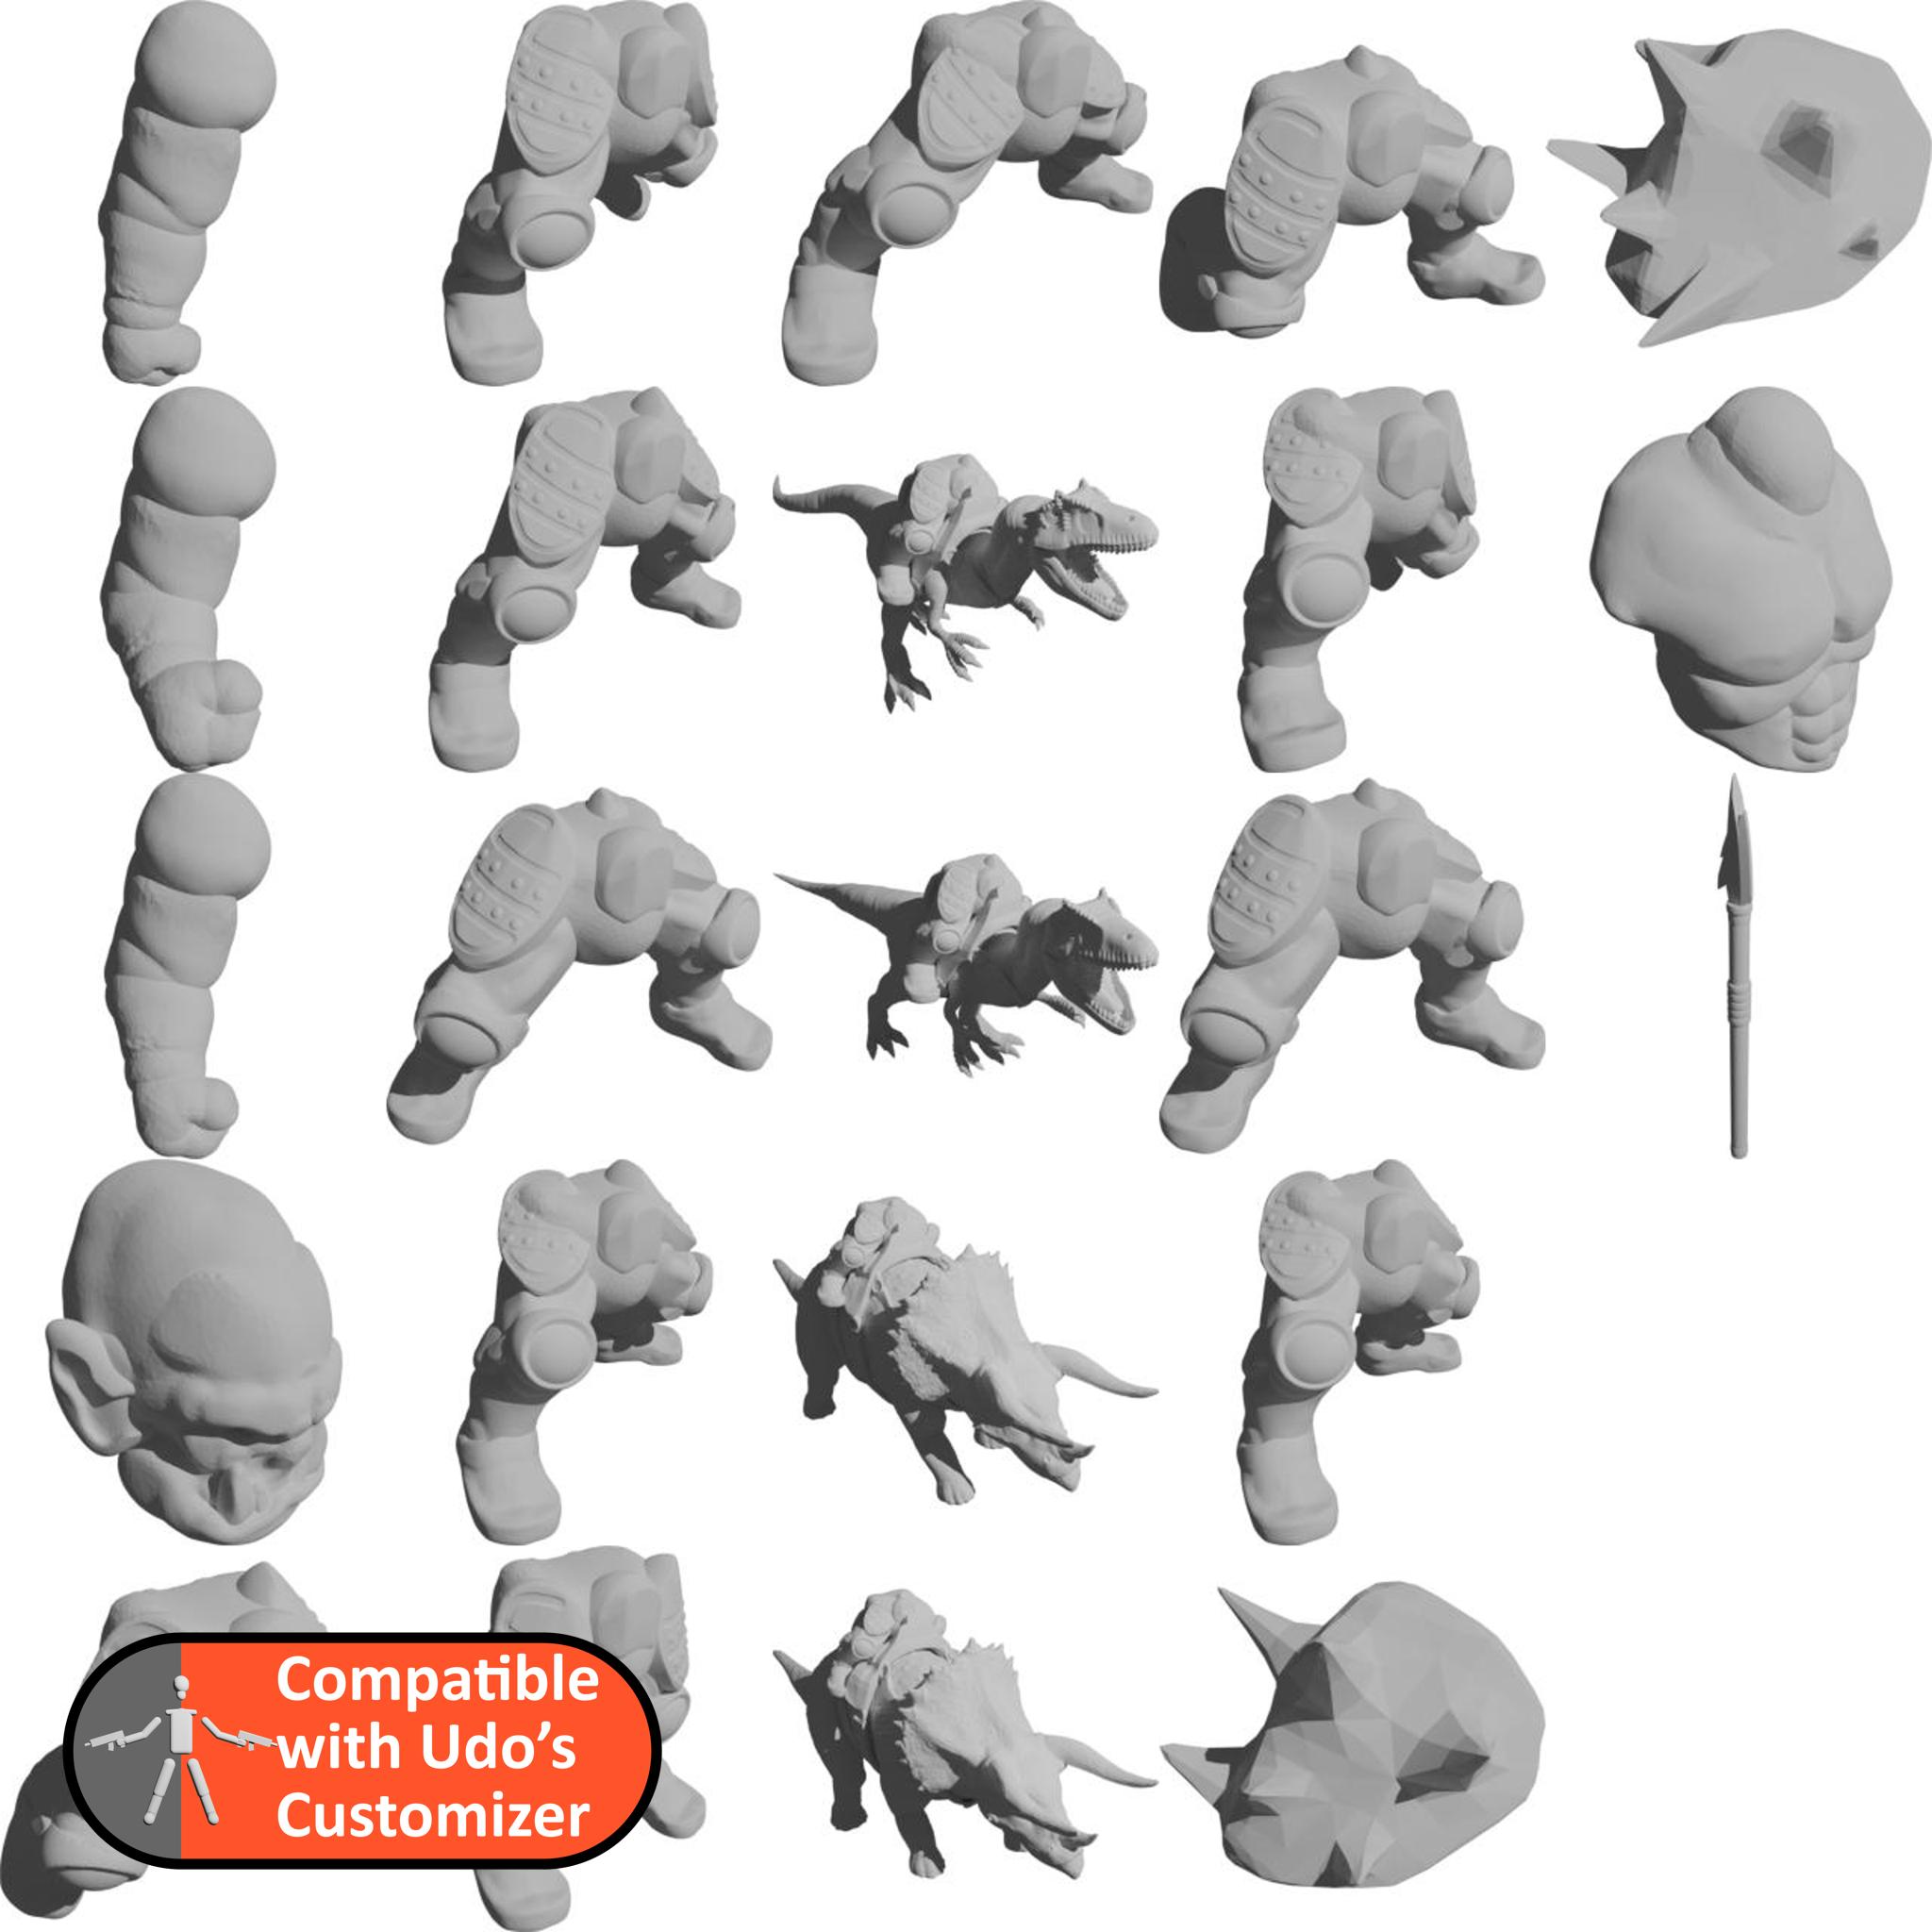
Fantasy Orks
Fantasy Orks, also with dinosaur mounts!
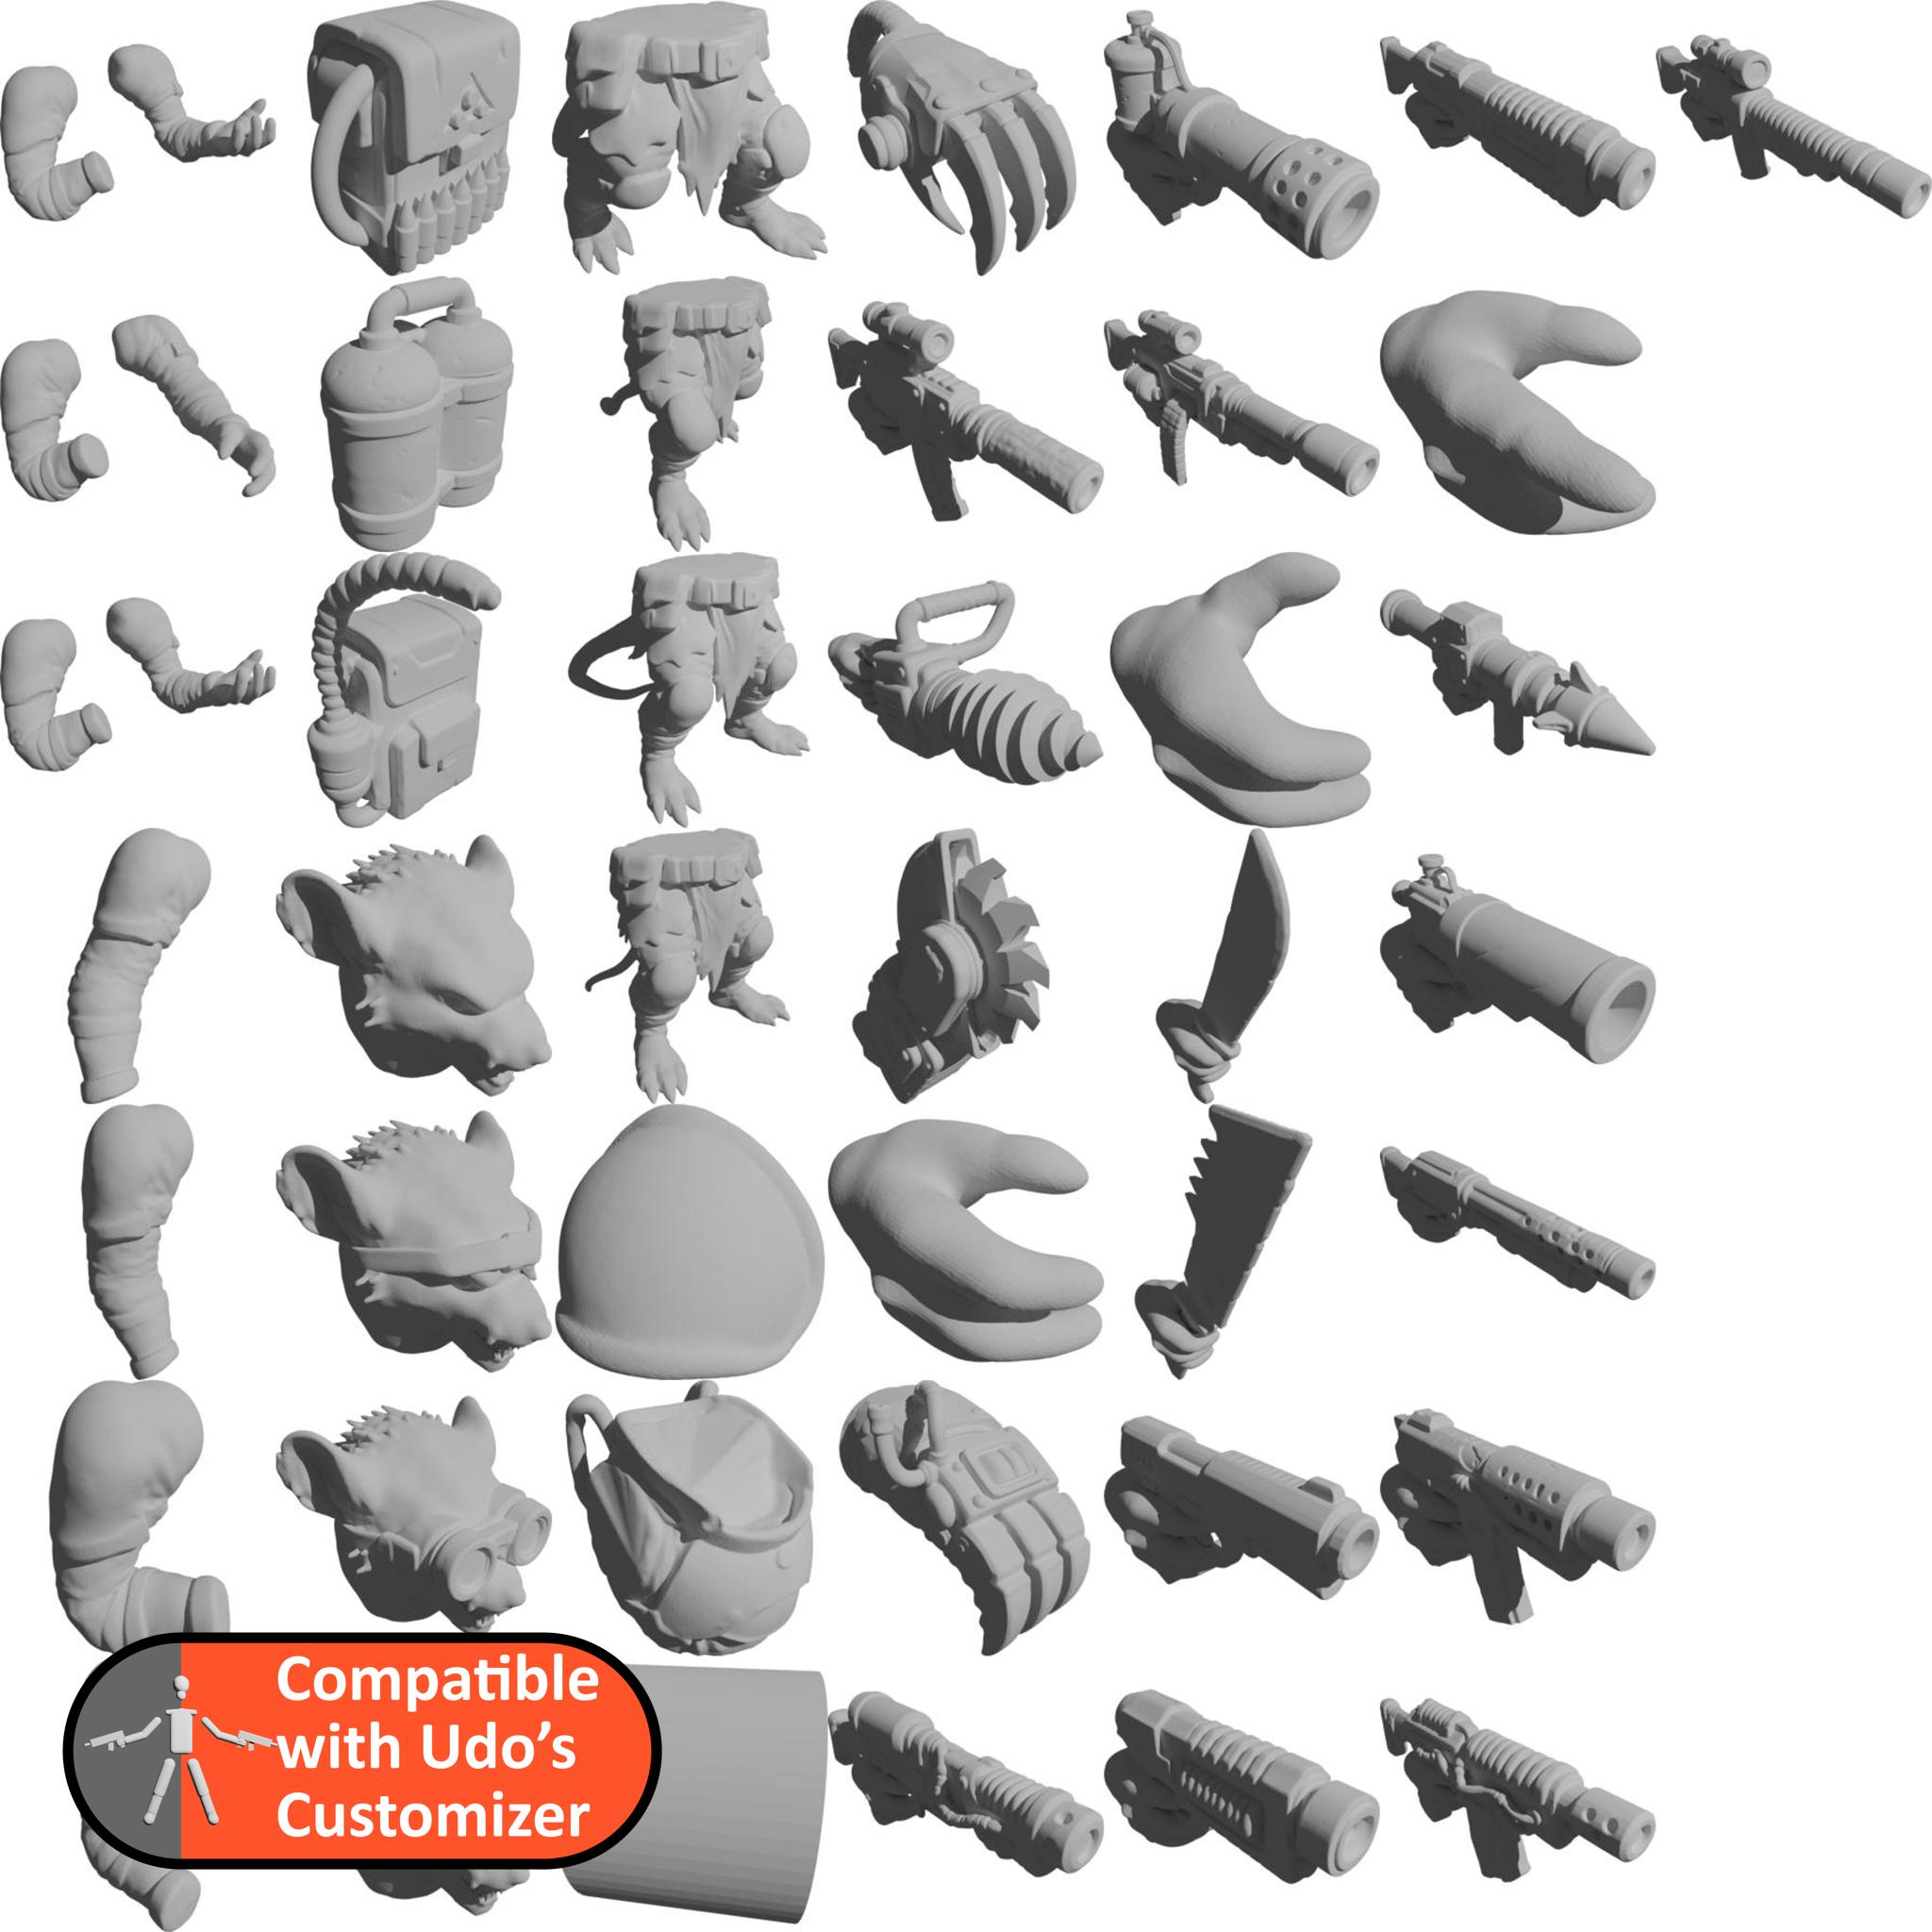
SciFi Rats
Rats! With melee and ranged weapons, ideal for Grimdark Future!
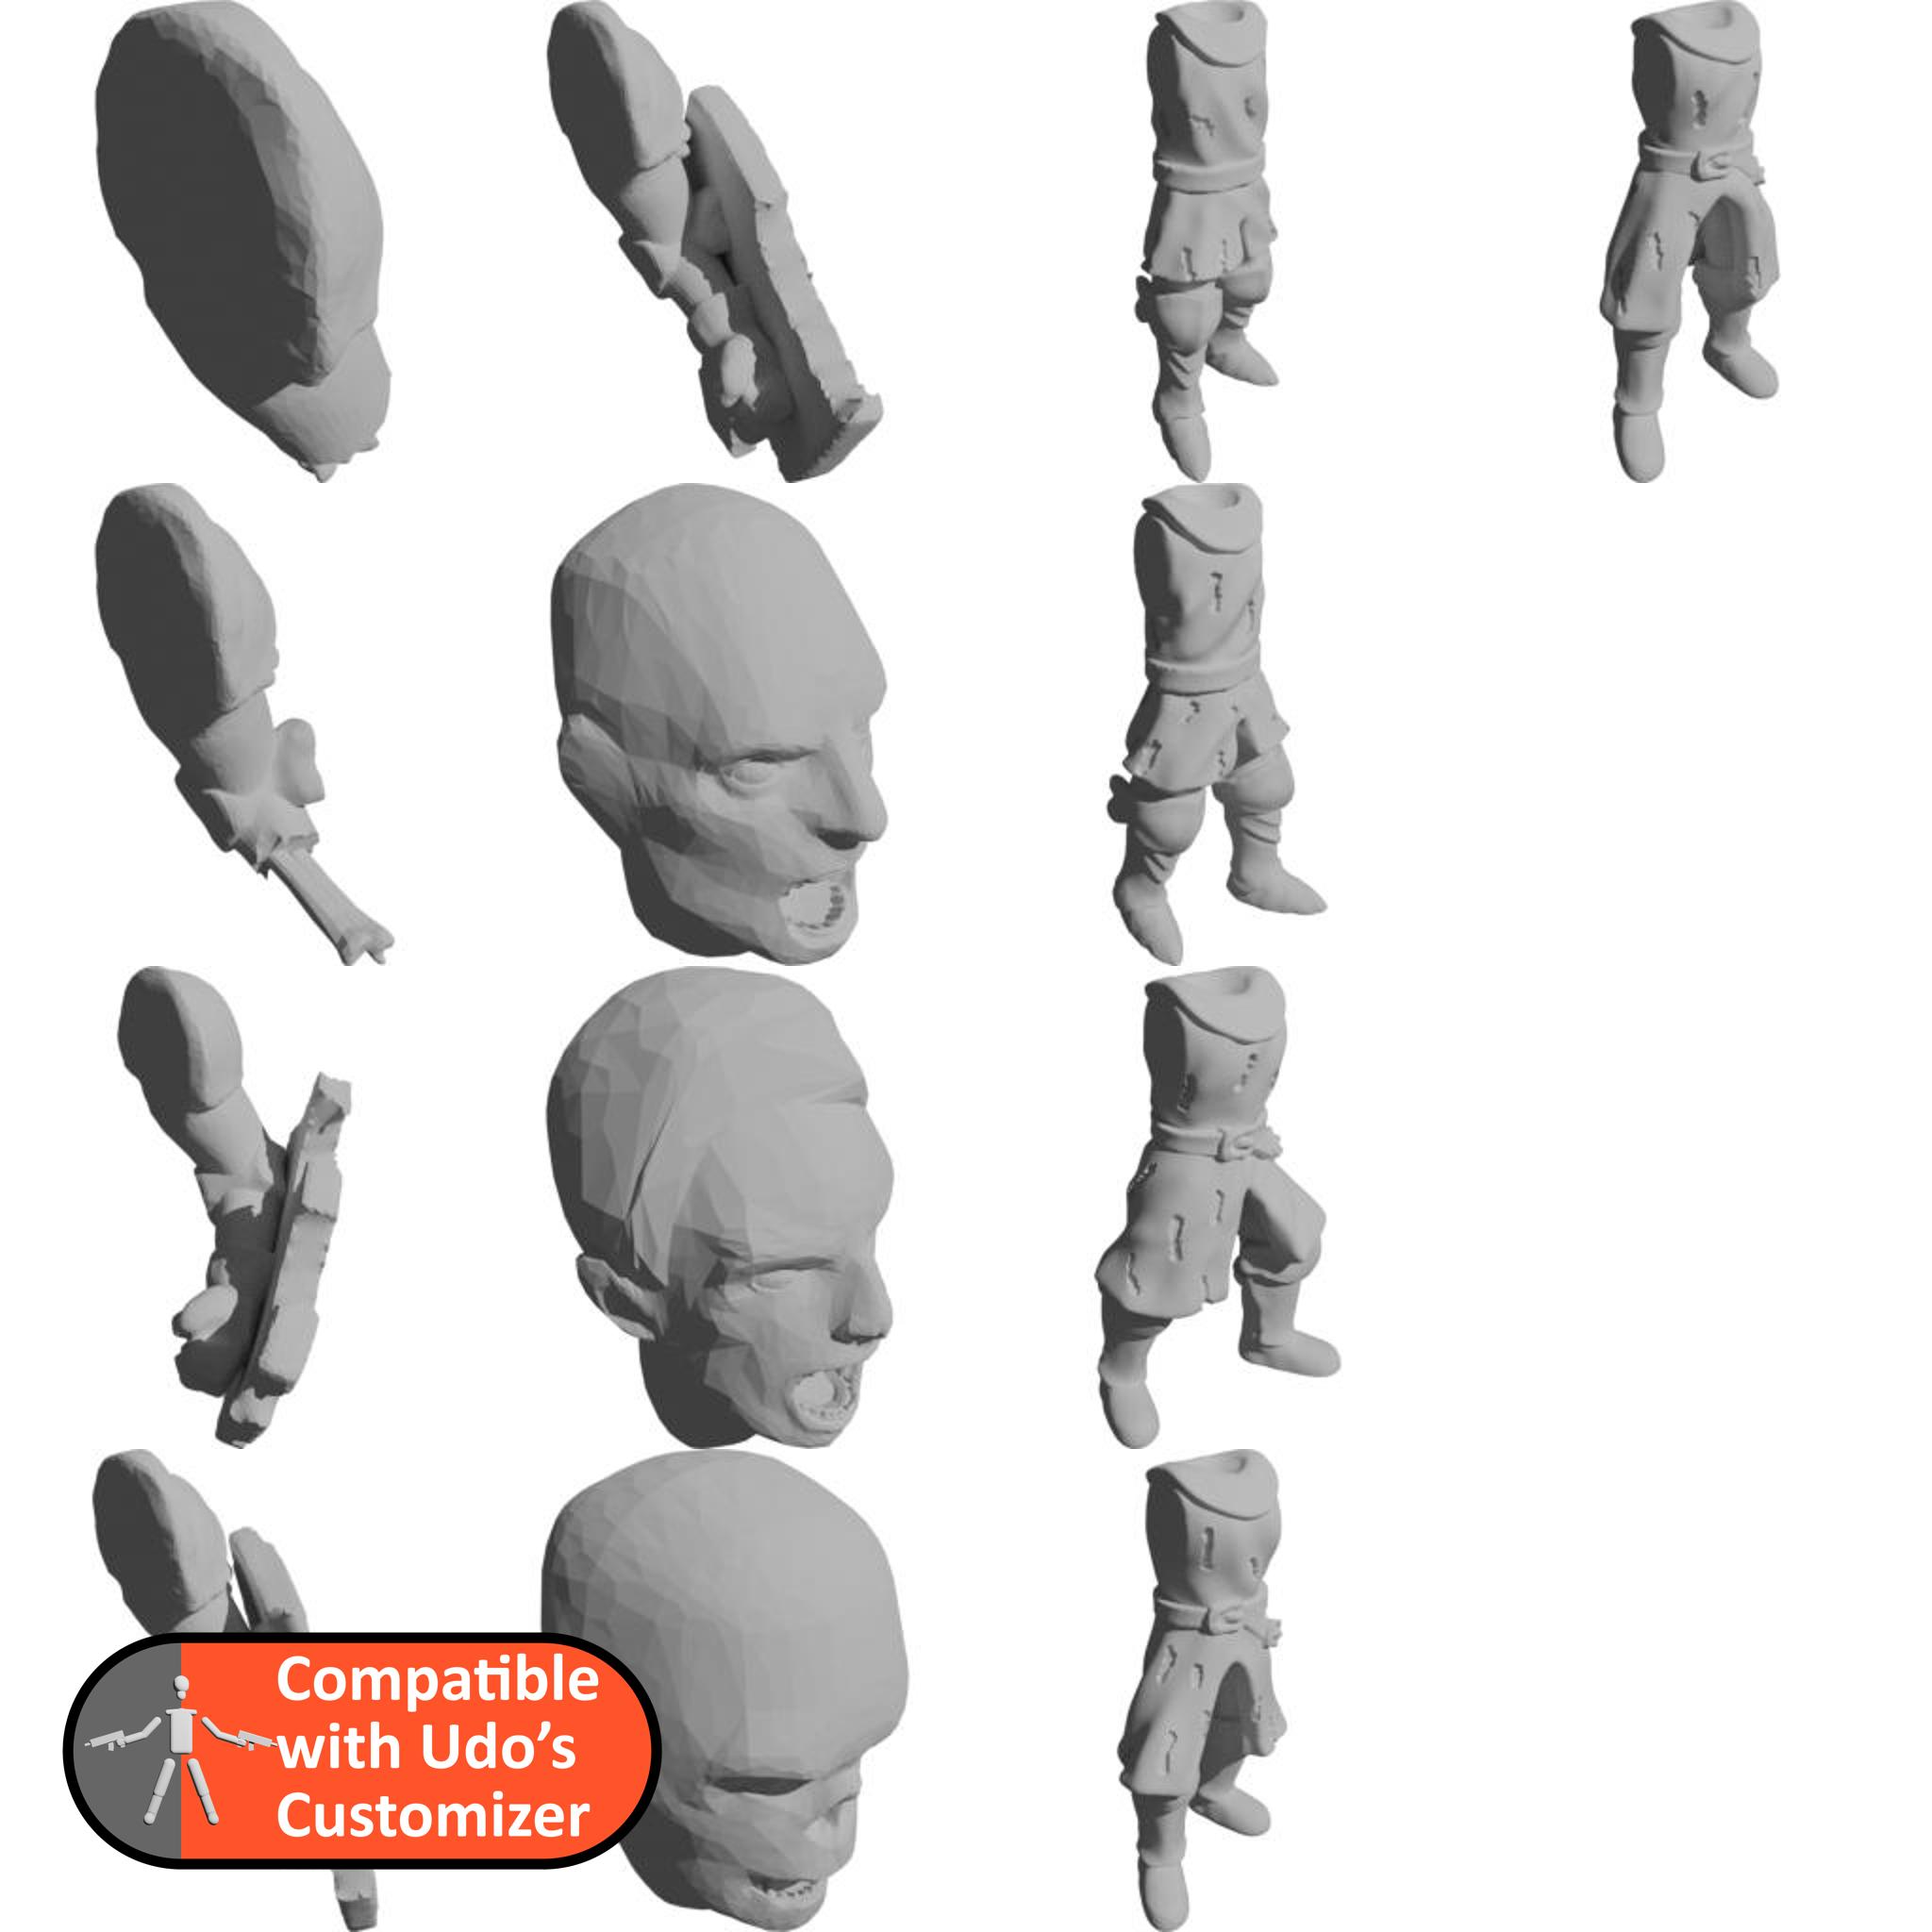
Medieval Zombies
A remix of the knights and some zombies to create medieval zombie knights.
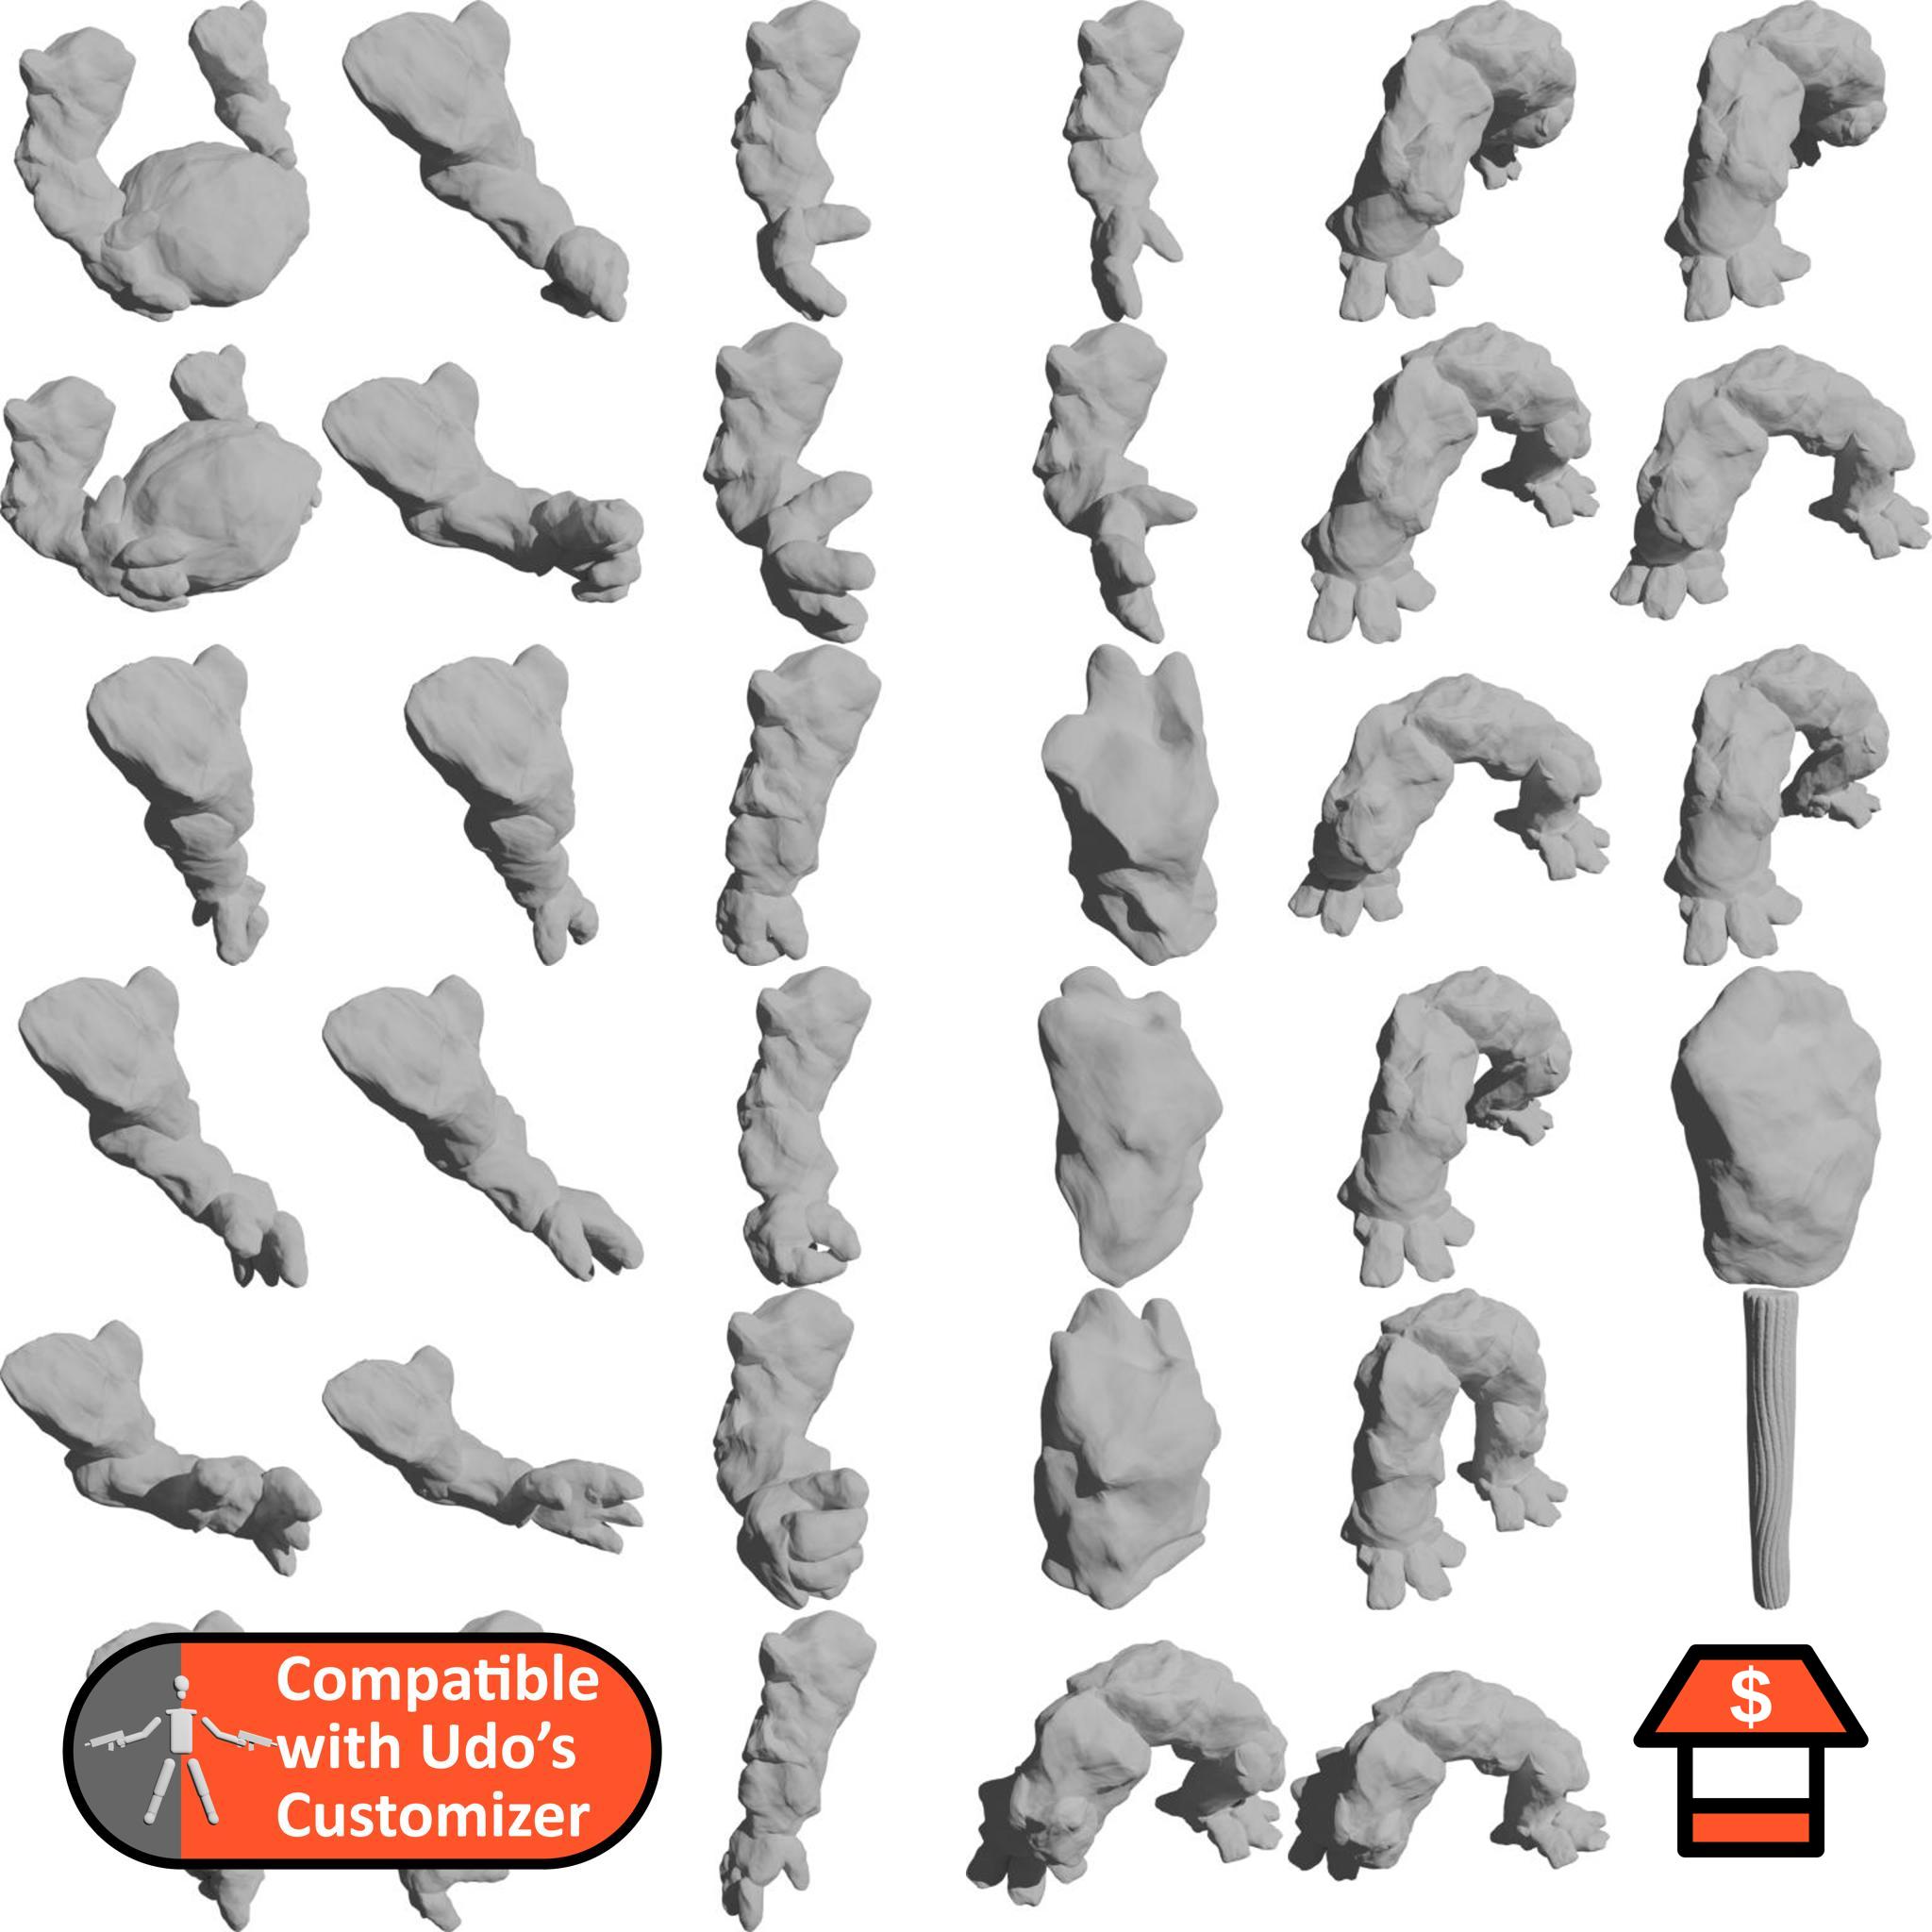
Stone Golems
Stone golem parts, including a tree trunk and big stones.
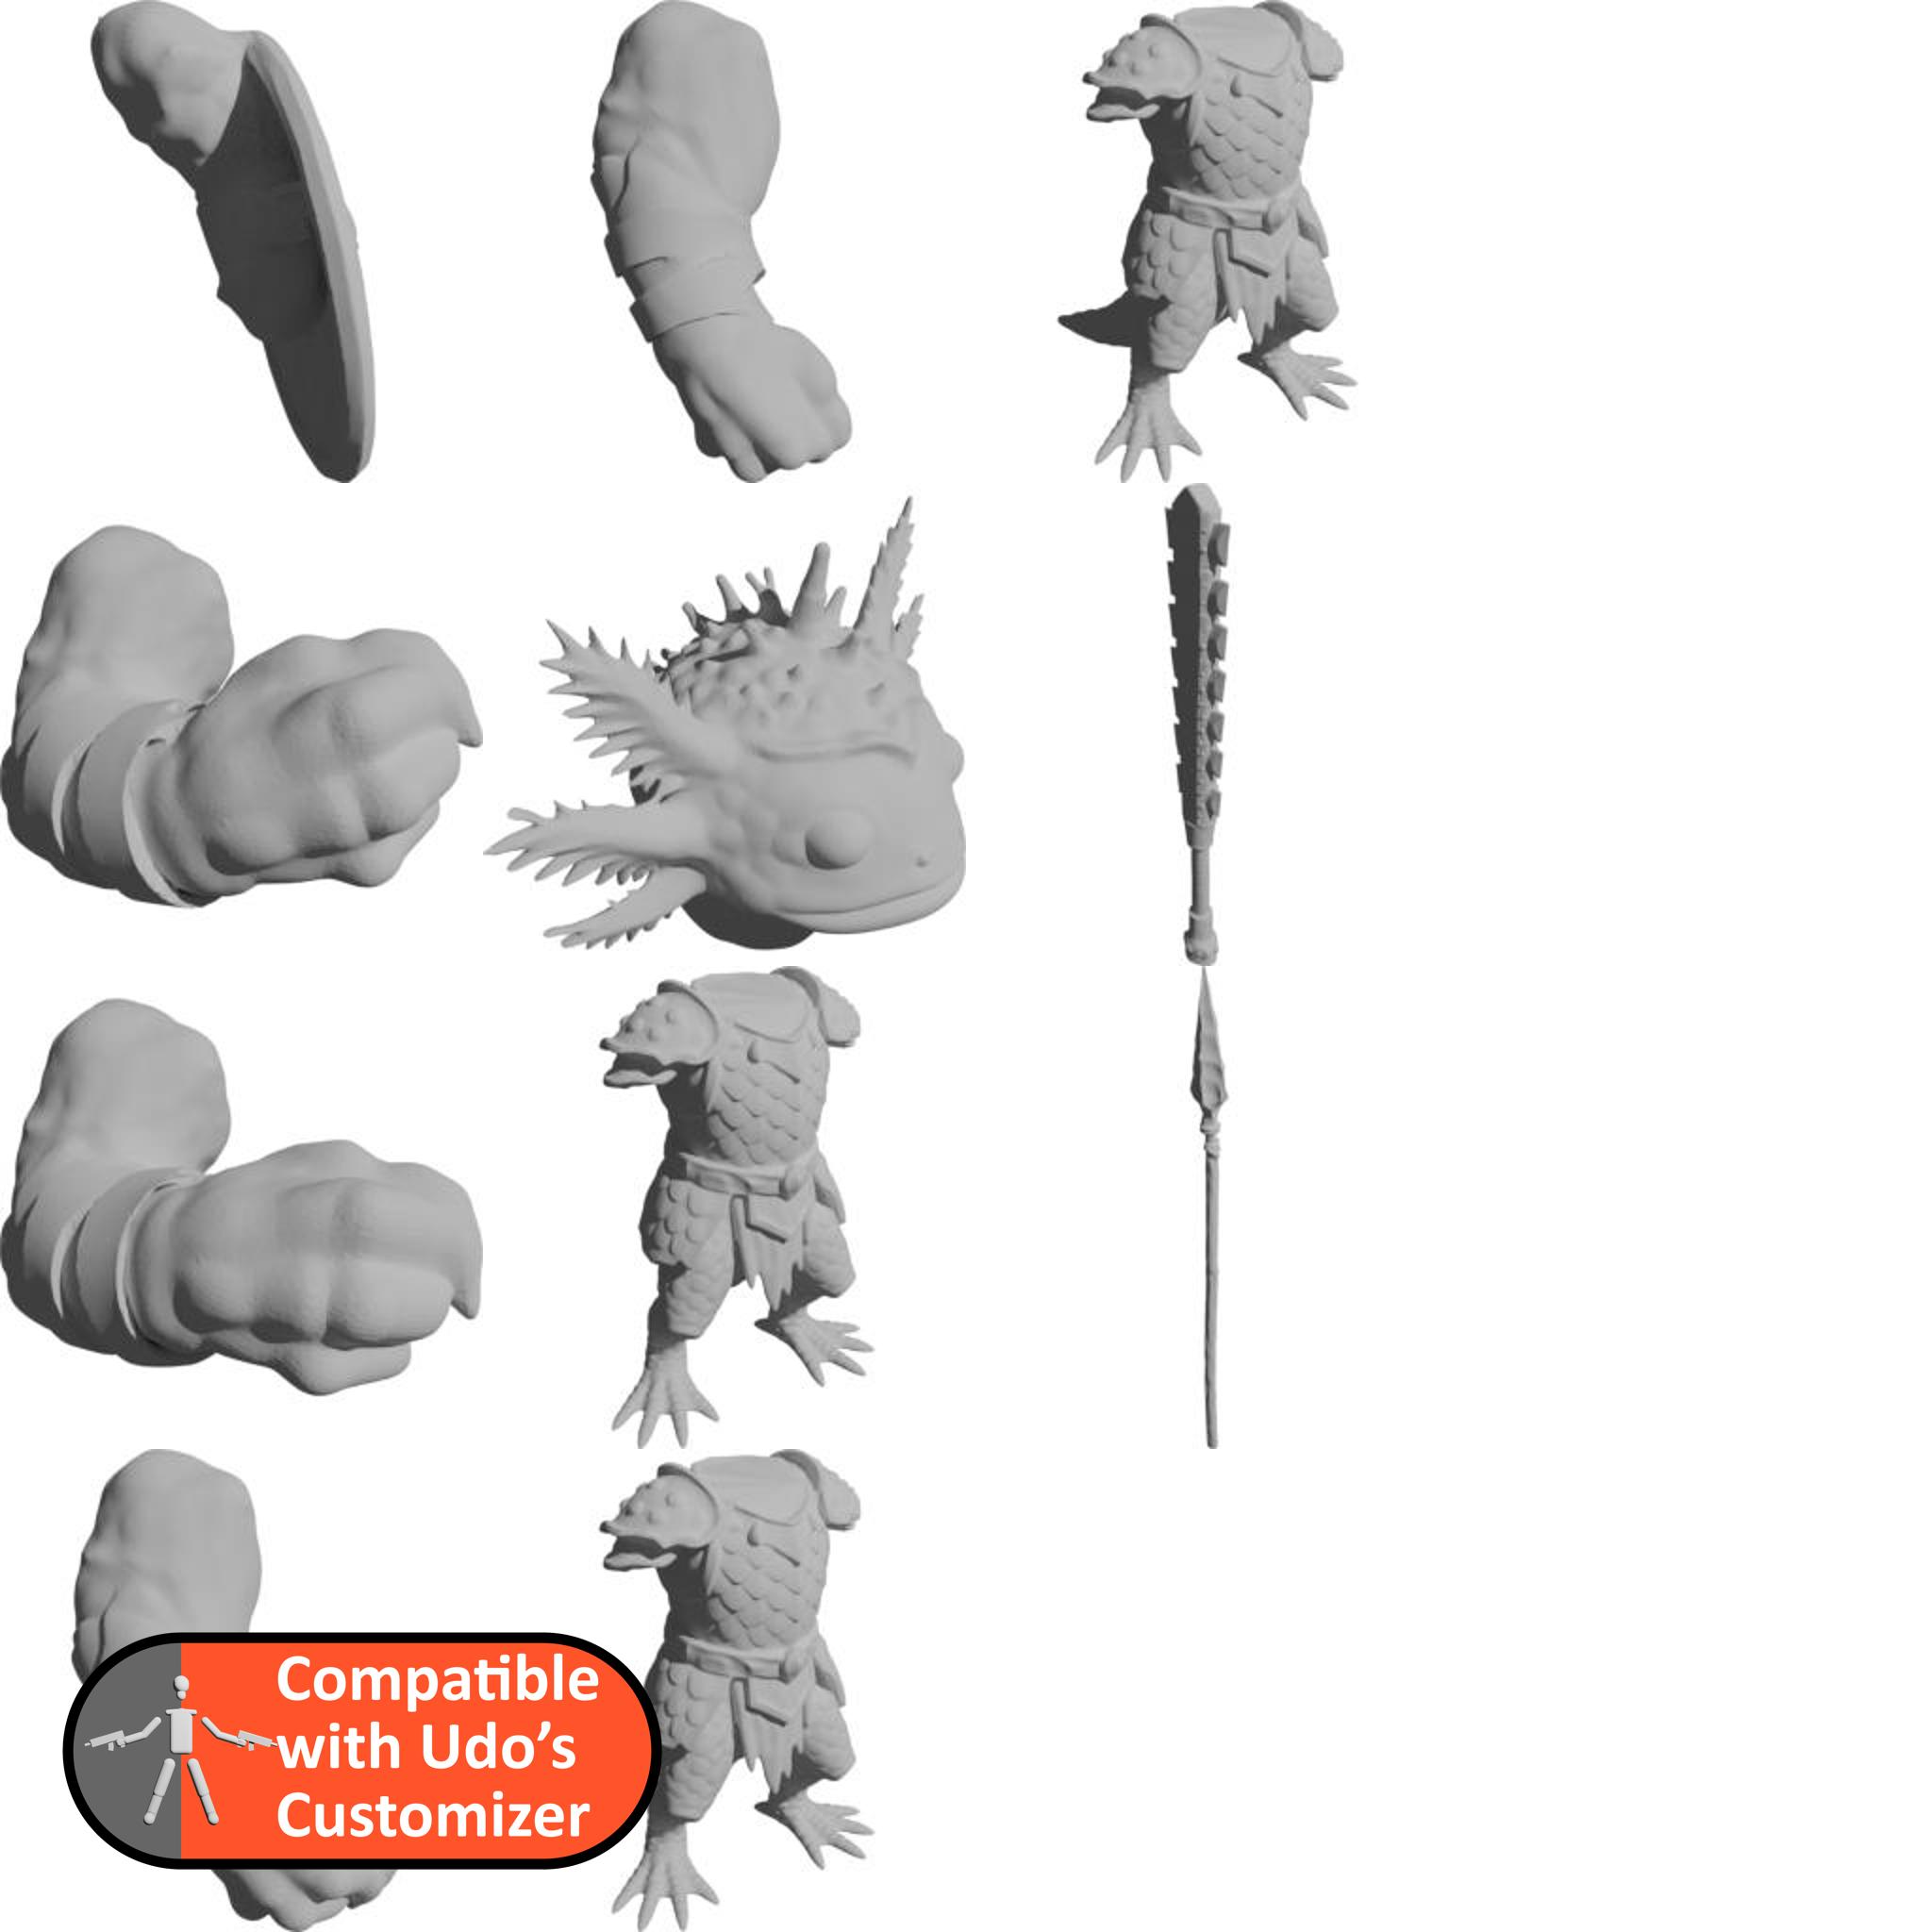
Axolotls
Axolotls for Age of Fantasy
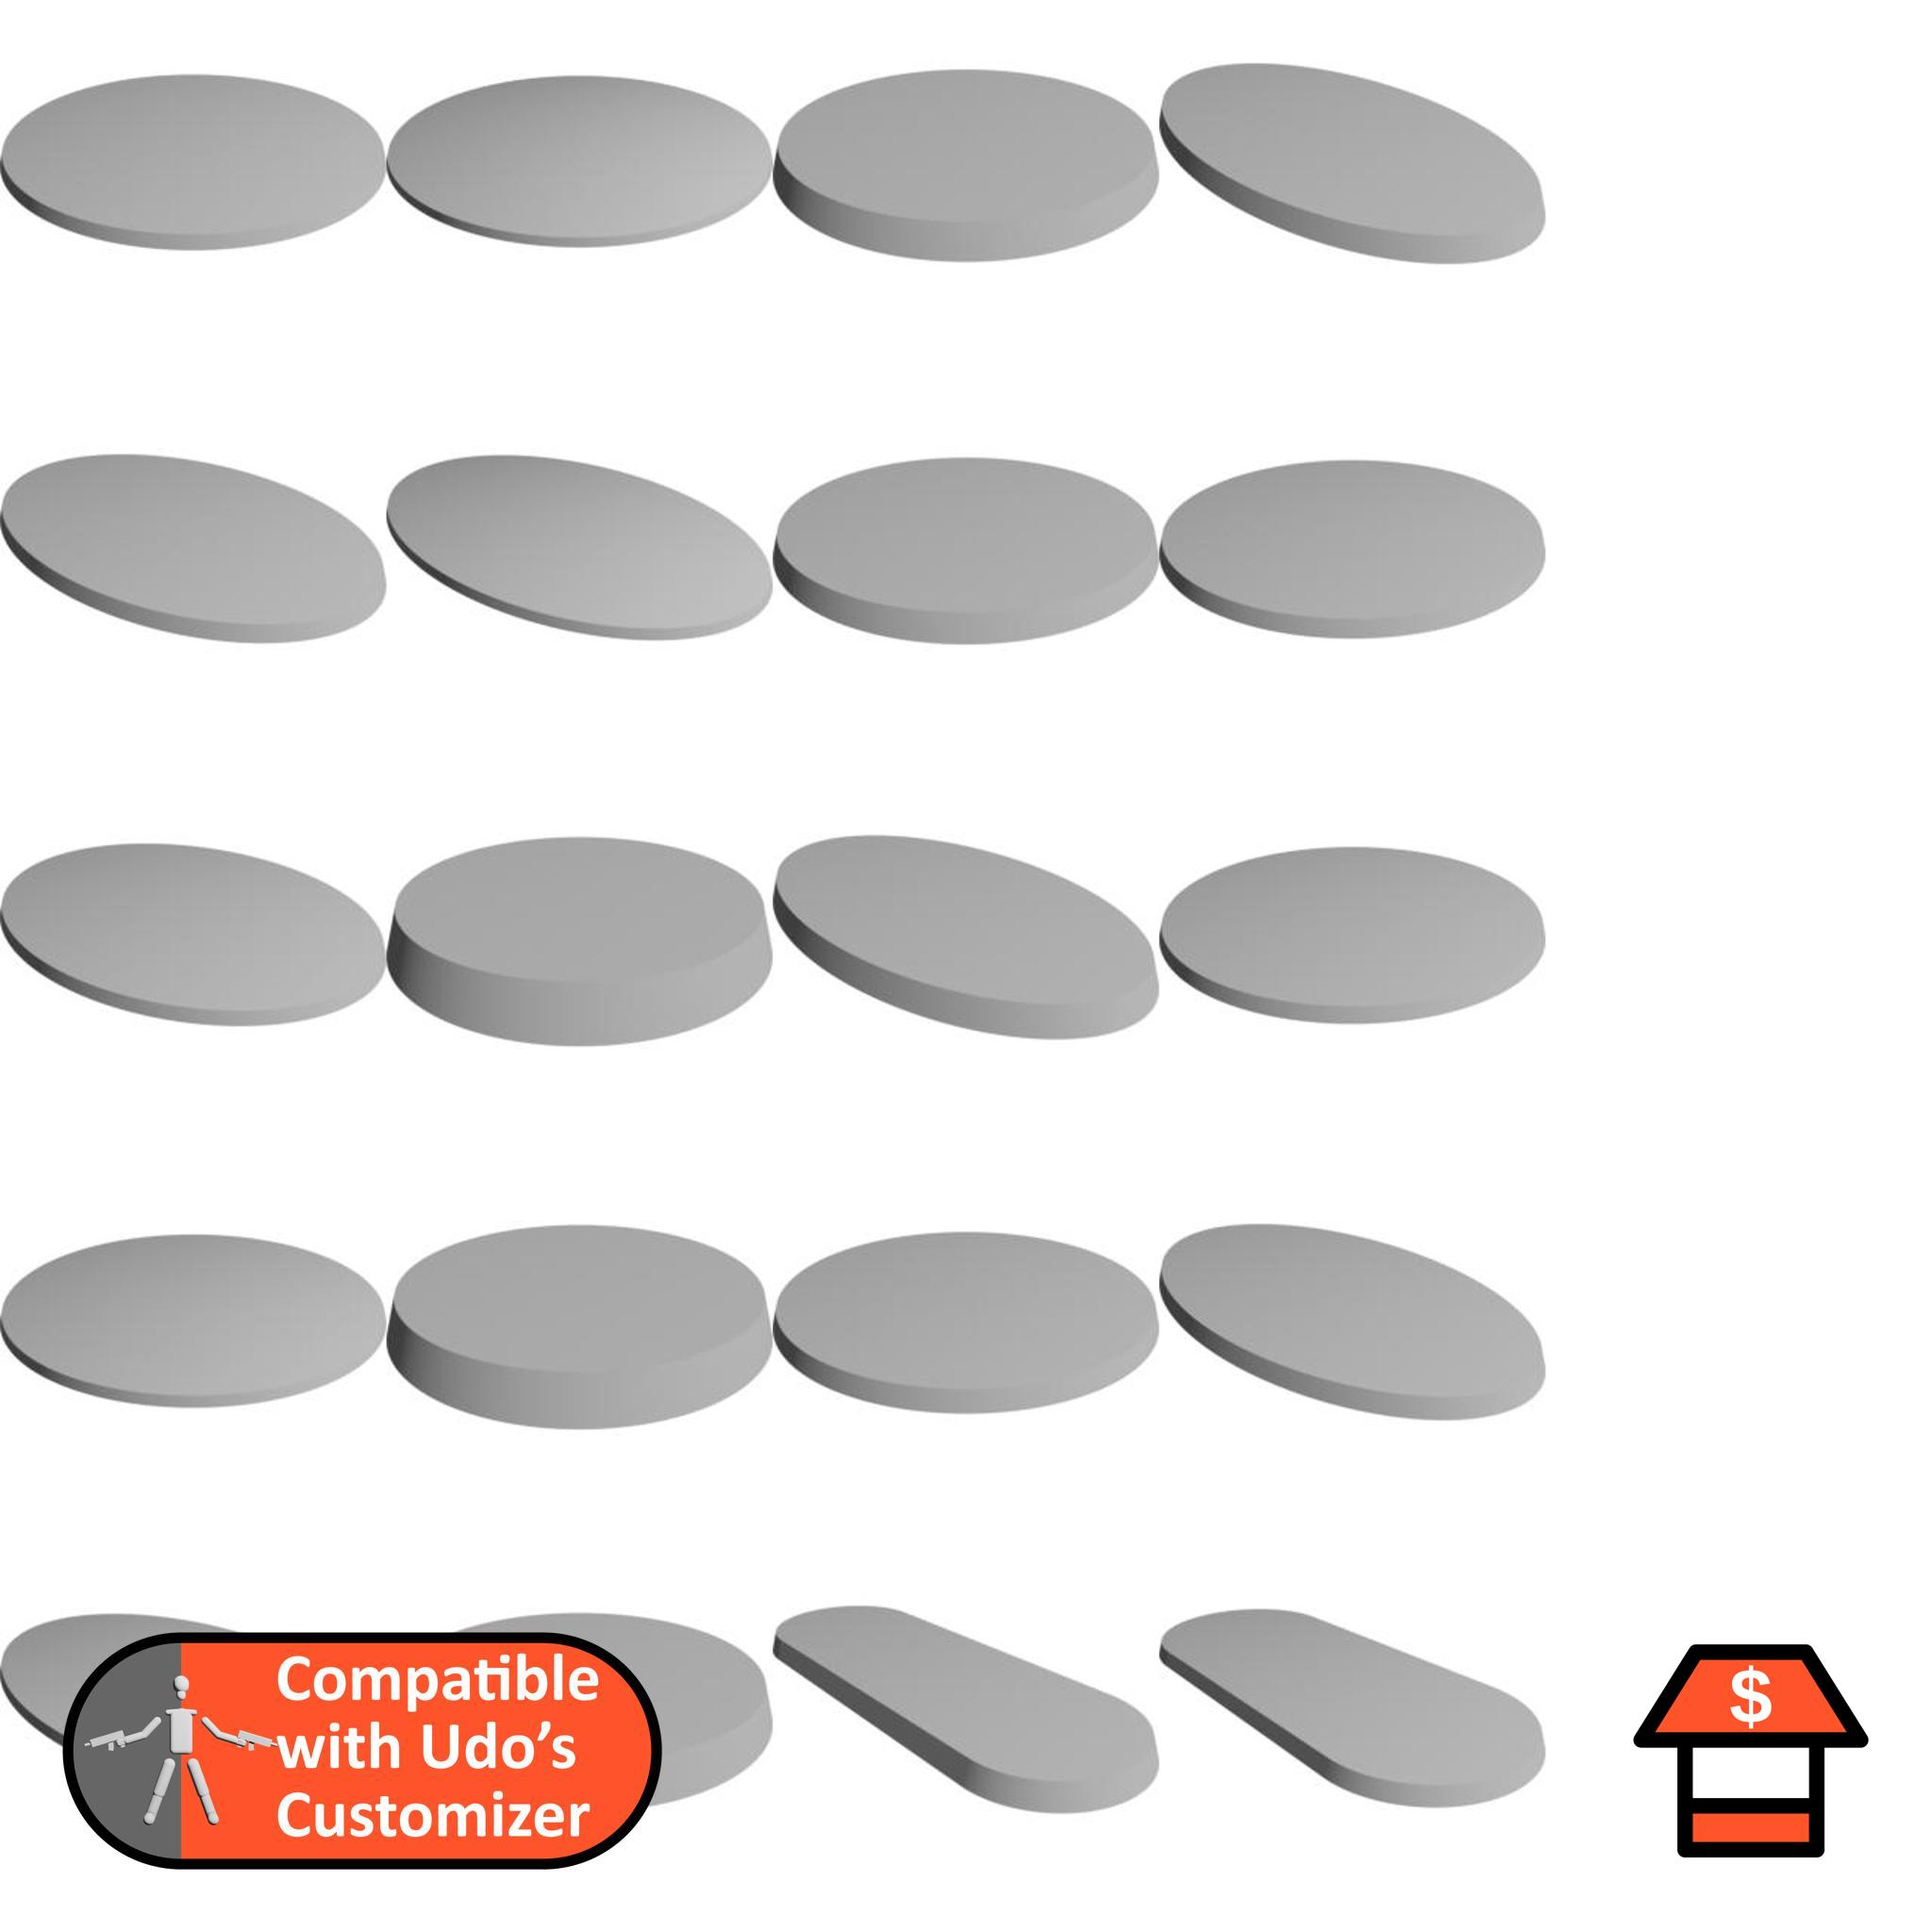
Round Bases
A set of the most important round bases for the customizer.
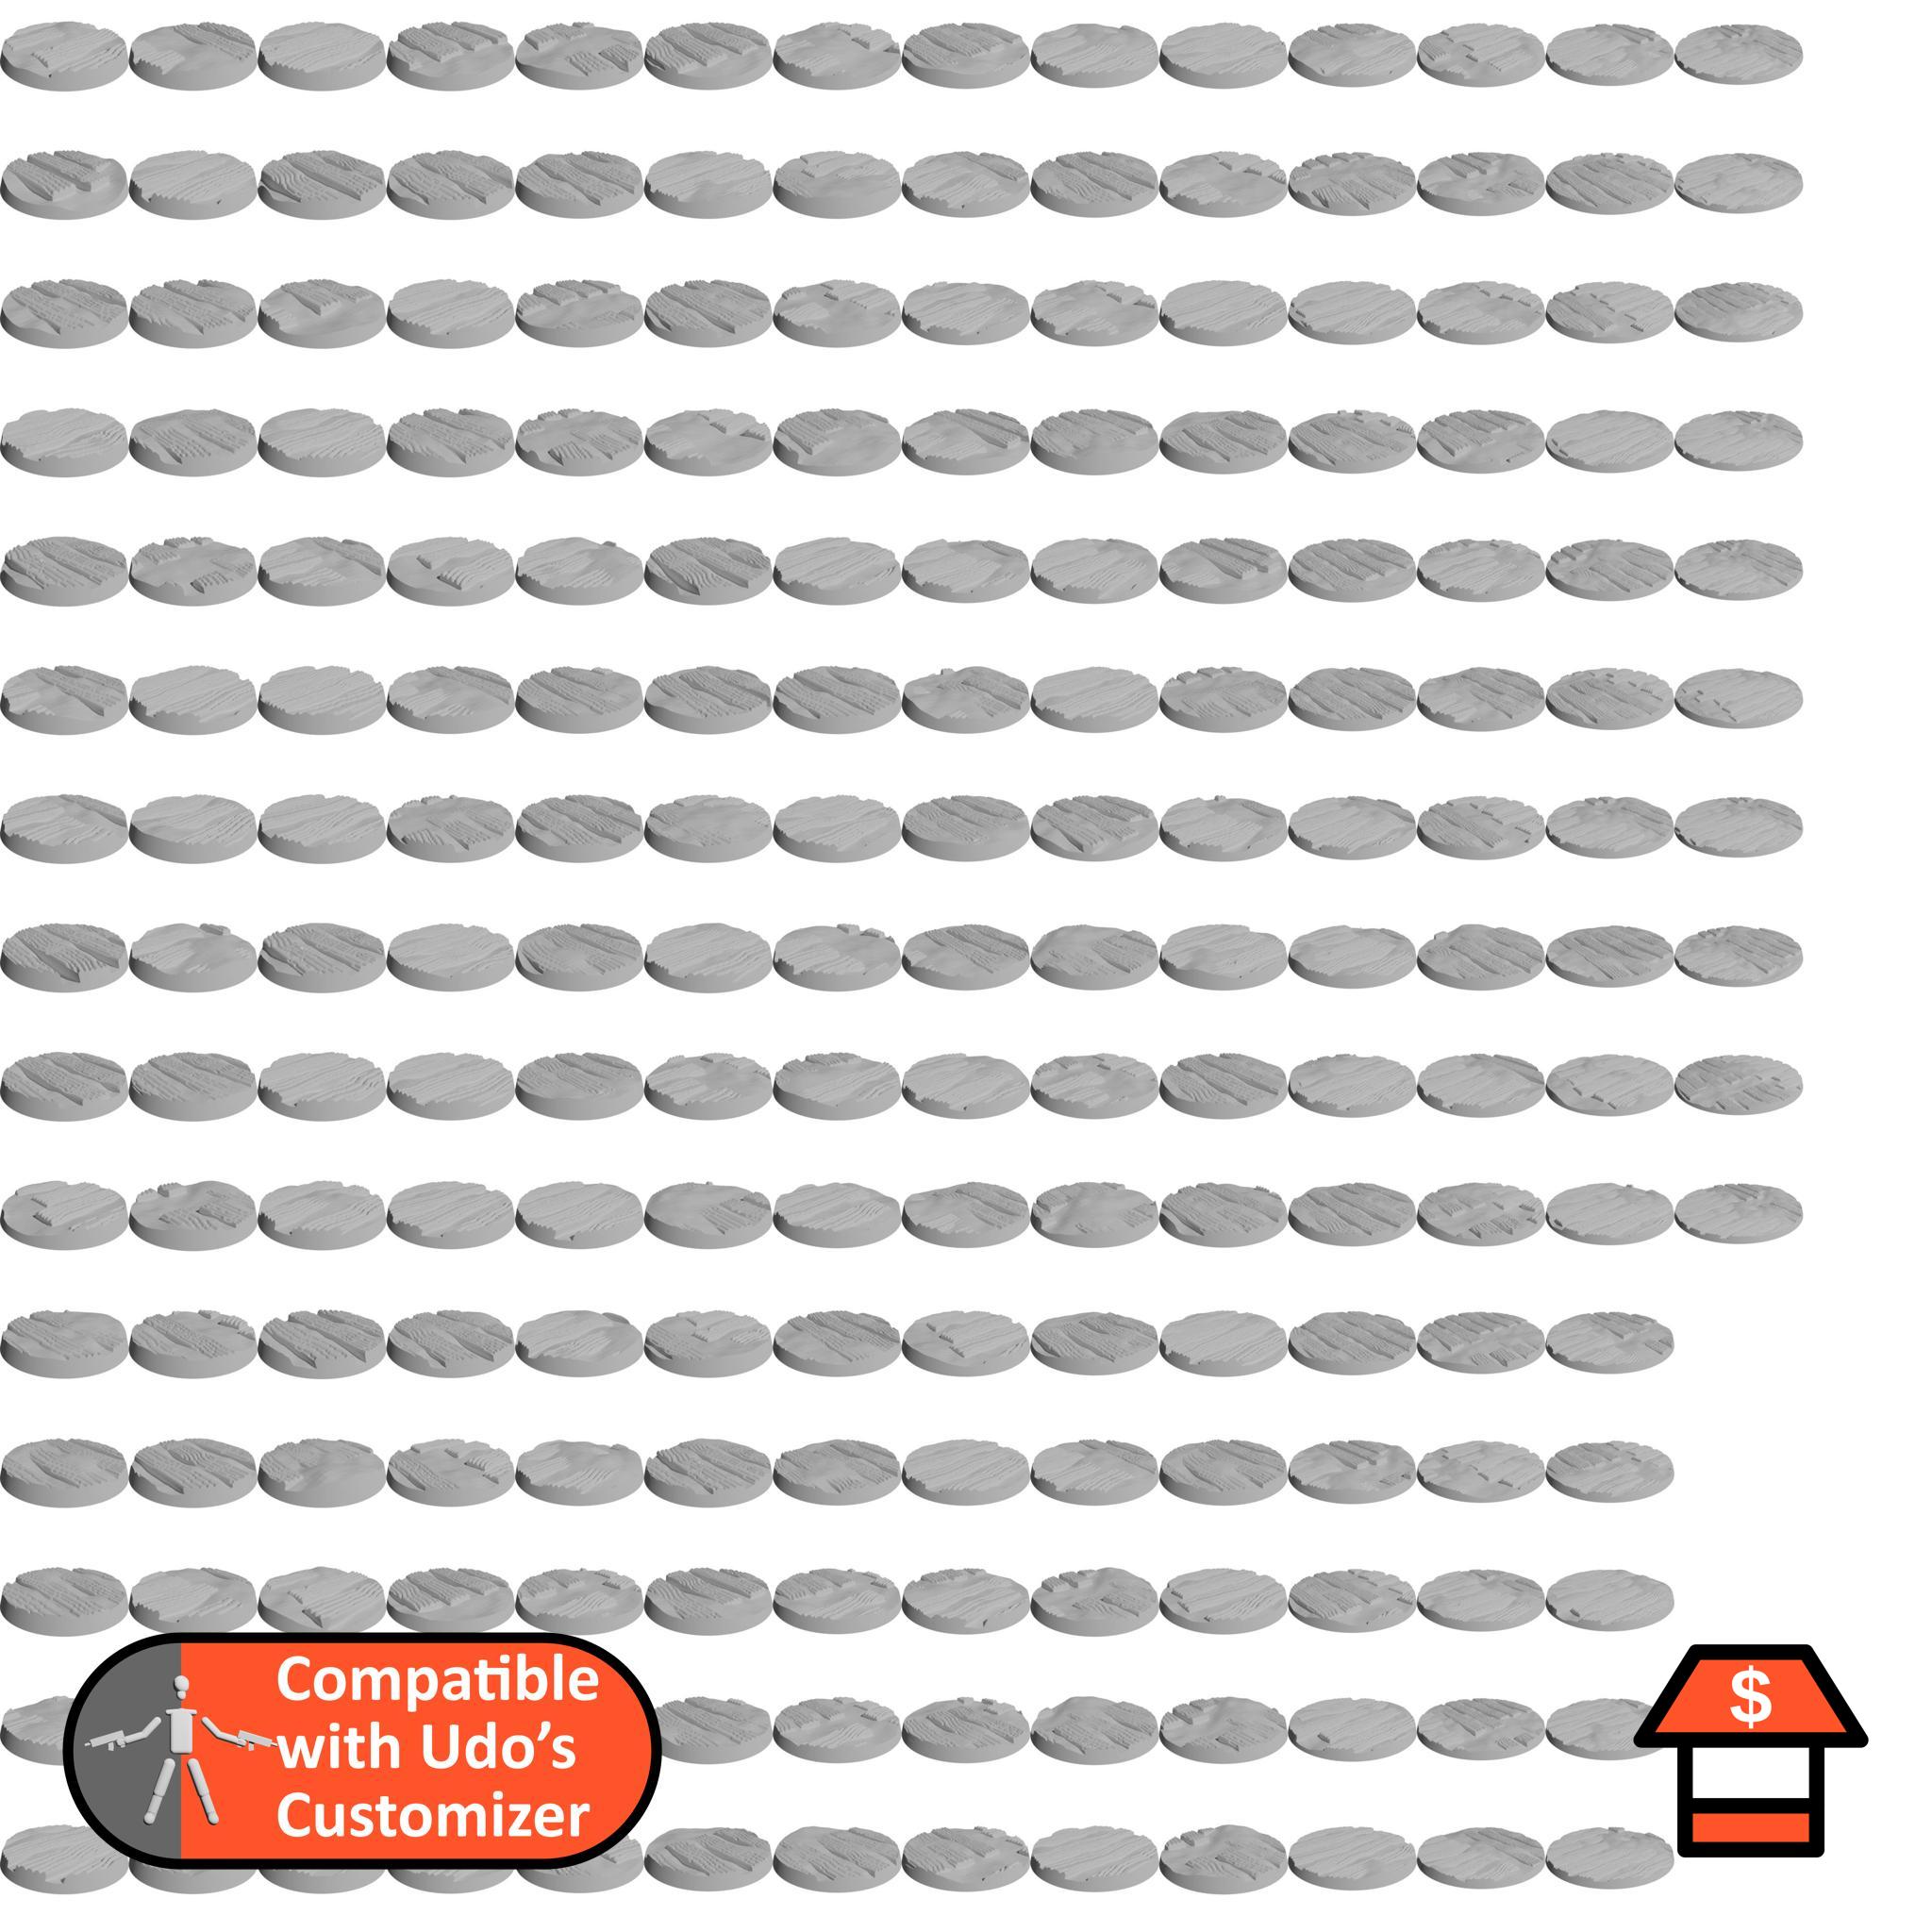
Sewer Bases
Sewer bases for your rats or any other army that perfers lurking around one level below.
Trench Bases
Trench bases that fit quite well to our trench terrain.
The Ugliest Library Ever
A stick figure that was created during production of one of my videos.
Adding your own Parts
If you are a designer yourself and want to make your parts compatible to the software, or you just found some good models
that you'd like to use in the customizer, you're in the right section. If you have any questions, or want your library added here, let me know:
info@udos3dworld.com
You can watch the video #3 from the above video section or follow the next steps here.
WHEN USING AUTODESK MESHMIXER, MAKE SURE THAT THE OPTION "Flip Z-Y axis on Import-Export" IS NOT CHECKED!.
In general, all parts need to be placed with their joint to the main torso at 0/0/0. For some parts, there are some extra steps
you need to take. Additionally, all parts need to be named with the correct prefix, e.g. "Head_MyOwnDesignedHead.stl".
Creating / preparing your library
After placing all parts and including the necessary config files, make sure to properly prepare your library!
The most important point is that there are
images for every part and every pose. For the parts, you can easily connect blender with the customizer and click on "Render Library Thumbnails", which will crate
thumbnails for every part that does not have them yet. Afterwards, you can use the "Render" feature to crate an image for every pose you added. Save the image with
the exact same name (except for the ending).
If you created this library from other people's designs, it is advised to include a "Sources.txt" file which holds
links to all sources you used, including the name of the creation and the name of the creator.
Now, zip up the whole folder and upload it to a platform of your choice,
with cults3d being suggested as you can upload zip files there.
Make sure to send me a link and a short descriptive text afterwards, so I can add you library to this overview. You can do this via e-mail or any other way you can contact me.
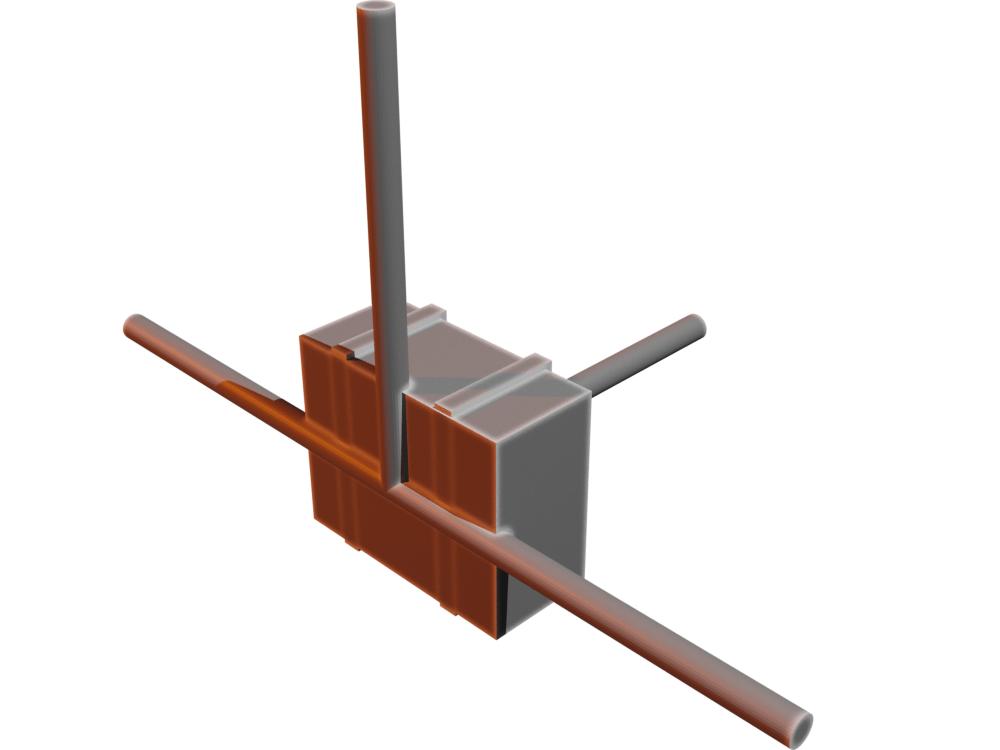
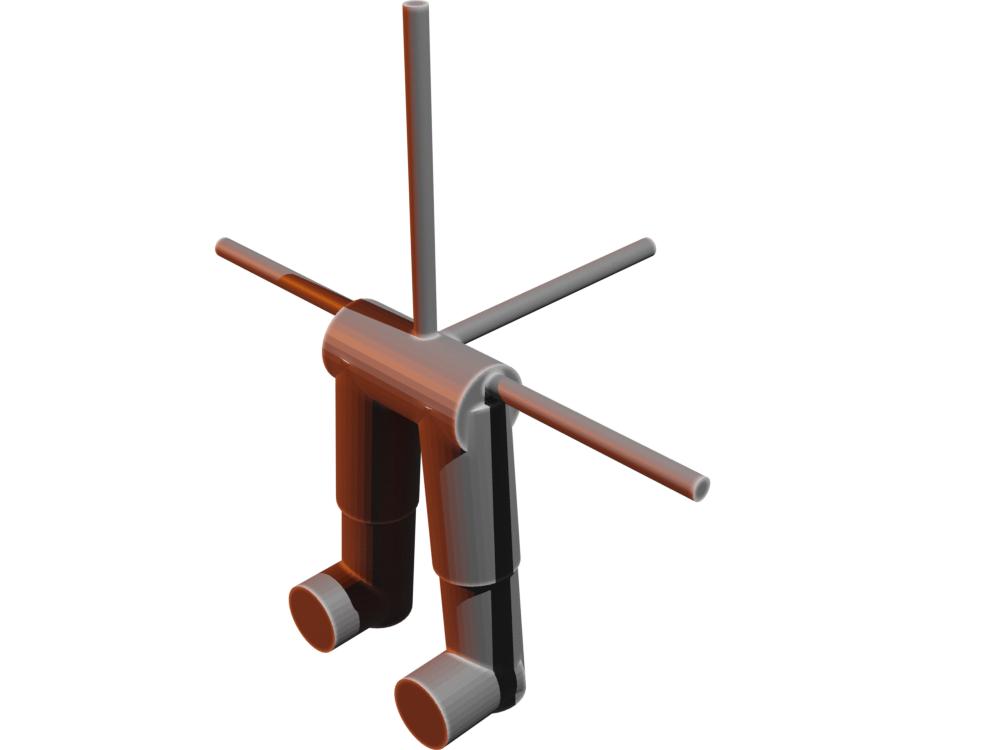
Arms
Arms are a bit more complicated to add.
Prefix: They consist of two prefixes, with the first being "ArmB_", "ArmR_" or "ArmL", depending on whether it's a single arm or both
arms in one model. Afterwards you have to specify if this model comes with a weapon attached "ww_", or without a weapon "wo_" or if the
hand is not attached to the arm, but the weapon "wh_". This leaves you with a prefix like "ArmB_ww_" for a two-handed variant including the weapon.
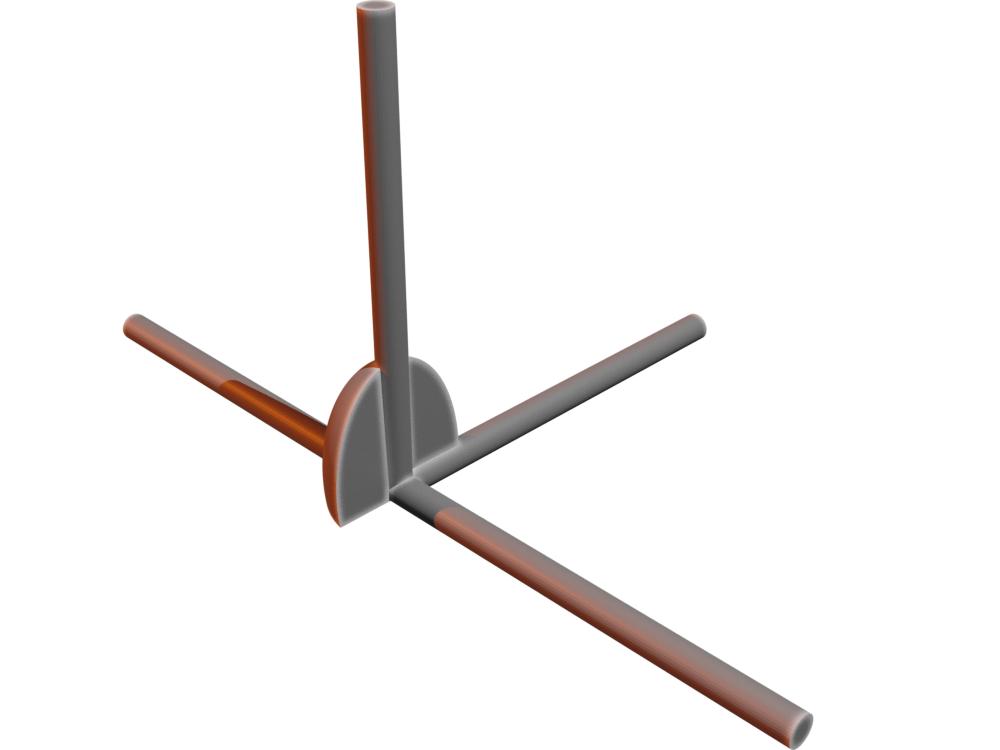
Place the centre shoulder joint at 0/0/0 or the centre of the two shoulders for a two-handed option at 0/0/0.
Additionally, you need to provide information on where the shoulder armour and, if applicable, the weapon has to be placed. Therefore,
a definition file is introduced with the following content. The file shall be named exactly like the model, but with .txt as ending. If the
tool cannot find such a file, it checks for an "ArmB_Default.txt" (or ArmR/ArmL) file in your library and if that also cannot be found, it uses default values:
The first two lines define where the shoulder armour has to be placed (for single handed variants, only include the fitting shoulder)
given as X, Y, Z, Rotation X, Rotation Y, Rotation Z.
In the above example, the right shoulder is placed ad X=-6.5, Z=-3.5, and is rotated around the Y axis by -5 degrees.
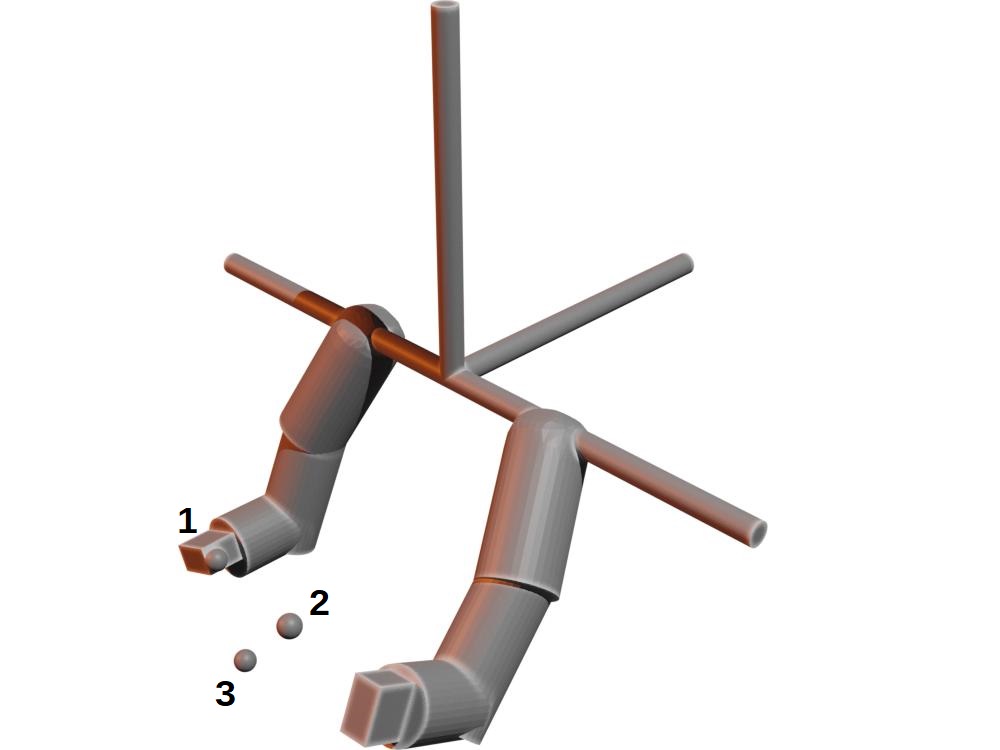
if you have a "wo_" or "wh_" variant, you also need to specify where the weapon is (don't include the next three lines for a "ww_"
variant). This is done by providing 3 points in space. The first point, in the line with "Weapon" it the connection point to the arm.
For a "wo_" variant, this is at the top of the closed fist, so the weapon has to be placed with the top of the grip centered around 0/0/0.
For a "wh_" variant, this is the centre of the connection between hand and arm.
The next two points define the direction, with the second point being directly along the front axis of the weapon (e.g. for rifles) and
the third one being directly downwards from the first point.
Weapon
Prefix: "Weapon_wo" for the hand attached to the arms, "Weapon_wh" for the right hand attached to the weapon or "Weapon_whl" for the left hand attached to the weapon.
For a "wo_" variant, the weapon has to be placed with the top of the grip centered around 0/0/0. For a "wh_" variant, the centre of
the the connection between hand and arm needs to be placed at 0/0/0.
Shoulder Armour
Prefix: "Shoulder_".
Place the lower inner corner of the inner shoulder piece at 0/0/0. Since the shoulder parts are usually quite extravagant and do not
always comply to these shapes, the best practice here is to load an existing shoulder armour piece and place the new one at the exact same position.
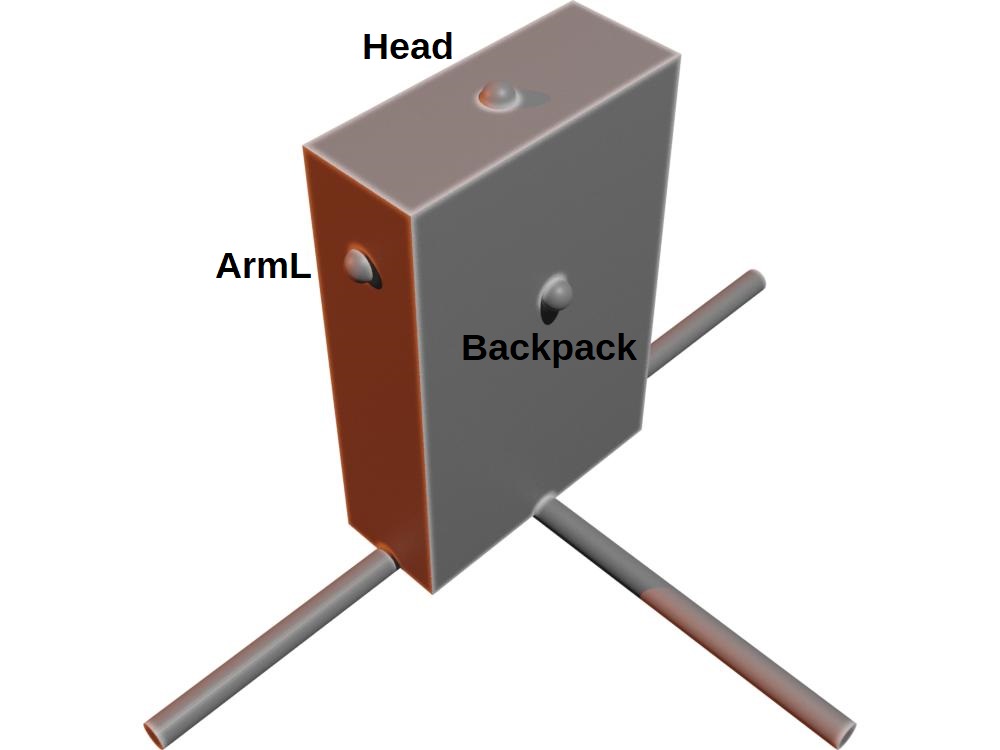
Torso
Prefix: "Torso_".
Place the centre of the hip at 0/0/0. This is already sufficient for the legs, for the other parts (head, arms, backpack), this has
to be defined in a torso definition file. Again, the tool checks first for a file named equally to the stl file, then for a "Torso_Default.txt"
file and if that cannot be found, it uses default values. A torso definition file looks like this:
Head 0,0,10 ArmR -6,0,7.95 ArmL 6,0,7.95 Backpack 0,6.8,7.1
Each line defines the exact position of where the parts need to be placed. Make sure that the head point is not defined at the bottom of the hole for the head, but in the centre.
Backpack
Prefix: "Backpack_".
Place the centre of the connection to the main body at 0/0/0.
Head
Prefix: "Head_".
Place the centre of the neck at 0/0/0.
Legs
Prefix: "Legs_".
Place the centre of the hip at 0/0/0.
Licensing
If you want to publish a library made from existing parts, please make sure that the license of all source files allows this!
Paid models usually do not permit this. When uploading everything as a .zip archive to a hompage like cults3d.com, make sure to set the license so
that it fits even the most restrictive license of the source files and to include the "Compatible with Udo's Customizer" badge so everyone can directly
see that your library is compatible. If you create models with the customizer, make sure to add the "Created with Udo's Customizer" badge to the images.