Udo's Wargaming Simulator
Quick Start
Let's imagine you want to play a quick tabletop wargame without big preparation. Let's do this!
Preparation
First, we need to create a game. On the main page of the Wargaming Simulator, simply select any map you like (most of them are either 72x48" or 48x48"), an click on "Create New Game". On top of the game, there is a link you can now share with your opponent.
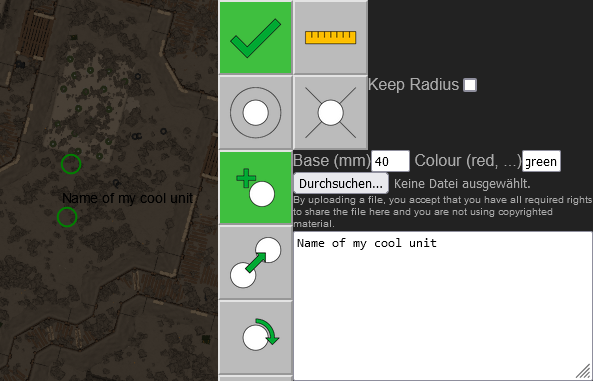
The second part of our preparation would be to add our army. Click on the add button, select a base size and type in the name of the unit in the large text area. Click on the battlefield to add the units, and once you have all of them, click the accept button. Be aware that you can only add one type of unit at once and need to do this process again for every different unit or base size. If you want, you can also select a .png image to upload for the unit, but this step is not necessary (but makes playing much nicer).
Playing The Game
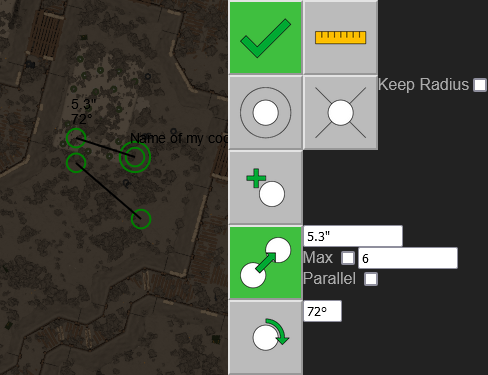
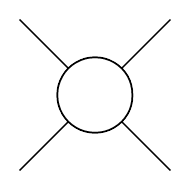
In tabletop wargaming, most of the time, you need to move something, measure, roll some dice, and remove stuff. These functions are described below in detail. Let's imagine we want to move our model, measure the distance, roll some dice, and if successful, remove the enemy model: Start by clicking on the move button, then select the model you want to move, click on the destination and hit accept. The distance is displayed on the top text field, and you can limit this which makes it much easier to move exact distances.
To now measure a distance, click on the ruler, select your model, select the target, and it will display the distance in the text field.

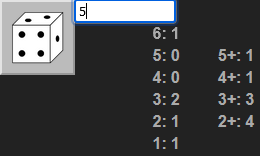
If you want to roll some dice, put in the number of dice you want to roll and click on the dice button. The results will then be listed.
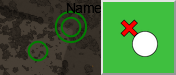
If the attack succeeded, you possibly want to remove the enemy. Click on the remove button, select all units you want to remove and hit accept.
And that's it! If you want to add markers, you can do it the same way as you would add a unit.
All Functions
Simply click on two points on the battlefield to know the distance. When clicking on a base, the shortest distance will be taken, not mid to mid.

Click anywhere to draw a radius (that you can specify in the text entry) around a point or unit. If it's around a unit, the radius will be measured from the outline of the base. You can keep the last radius shown, which makes it handy for other functions (e.g. move out of a 12" radius of a model, ...).
Comparable to a radius, you can draw arcs from the base, to determine if something is rather in the front, back, ... You can either have them 45° or defined by the base shape (so a rather wide base will have a larger fron arc that side arc).
To add a model, simply select a base size, colour, description and image. The image needs to be in .png format. Click on the battlefield to add all units you want. You can only add one image at once, so you need to click accept when you want to add other units.
Select a model and click on the destination. You can do this multiple times and then move all of them at once. If you want the model to not rotate at all, you can select parallel. By selecting a maximum movement distance, you can easily move exact distances or limit the movement based on the unit's stats.
Select a model and click where you want the unit to face. You can limit rotation to a certain angle (which is useful for regiment based games).
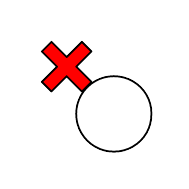
Select all the models you want to remove and hit accept.
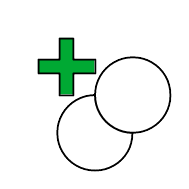
To duplicate models, select a base model and click on the battlefield to add copies. You can only copy one base model, clicking on an existing model will reset all placements.
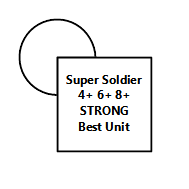
You can edit the description of a model. The first line will be displayed on the battlefield as the name. You can add some functions here to influence the displaying of the image: #norotation# will keep the image in the same rotation unless you explicitly select rotate. #scaf3.0# sets a scale factor for the image - if you have an image with a huge border (possibly due to a large weapon), this image would be scaled so that the whole image fits the base. If your model only takes half of the required space (and only a weapon is sticking out), you could use a scale factor of 2.0 to make the model appear larger.
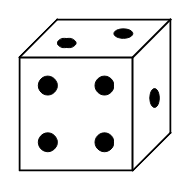
Type in the amount of dice you want to roll and hit the button to roll them. You can also click on the results to roll this exact amount of dice (e.g. to re-roll all 5+ rolls).
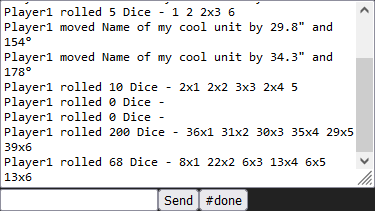
In the chat window, all actions are logged (so you can't cheat). You can also chat here, write what the next roll is for, ...
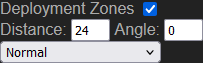
You can display different deployment zones. Simply select which type you want and specify the distance and angle, if applicable.
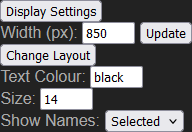
In the display settings, you can set the width of the battlefield, to fit your screen. You can also decide to have all buttons below or next to the screen by clicking "Change Layout". Changing the text colour may help if you have a dark battlefield. This will change the colour of the text but also measurements, radii... If you want to have the name of units displayed all the time, never, or only if selected, you can set this in the Show Names drop down menu.
How to upload your whole army with one click
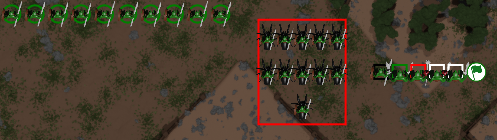
Uploading your whole army is really easy and makes it much easier to prepare your list offline and then just upload it with one click. Click on Upload whole army and then select all images and the ArmyList.txt file at once, and hit upload.
Instead of doing all this yourself, you could use some default images - check out the Army Creator: Army Creator
Prerequisites
- Your army list, named exactly ArmyList.txt.
- At least one image per unit as a .png file.
Preparation: Army List
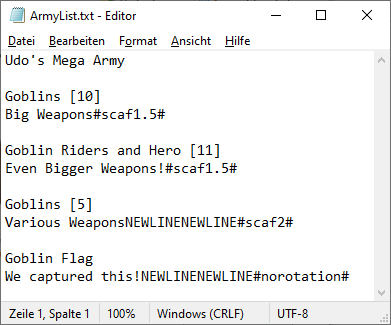
The army list for games from onepagerules can be exported by clicking Share as text and then pasting it into the text file. If you want to use another tool, or even another game, you need to create this file yourself:
Name of your army

blank

Unit 1

Unit 1

blank

Unit 2

Unit 2

blank

...
Note that for each unit, you have two lines, and each third line is kept blank. Whatever you have in these two lines will be put into the description of the unit. If the unit has more than a single model, it is suggested to note this by having [10] in the first line, so the upload knows how many models to place. For regiment-based games, where the boss is part of the unit, it is suggested that the two lines for the boss are merged with the lines for the unit by hand, so it can be deployed as one big unit. Make sure to adapt the number in the brackets for this (so a 10-model unit plus a hero should have a [11])! Please also be aware that you can only take a single image for every model inside a regiment, so also for the hero.
Preparation: Image Files
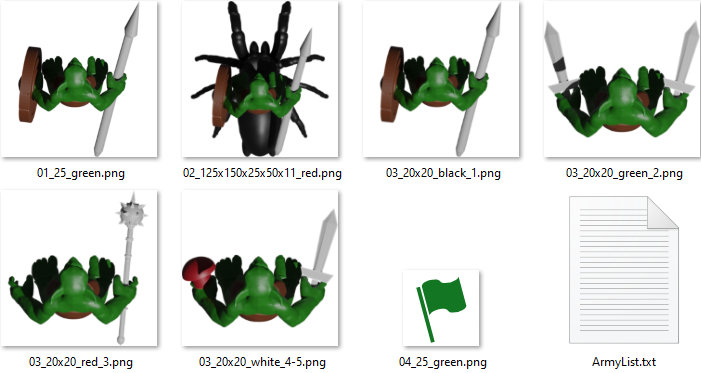
Each image needs to be named NUMBER_BASESIZE_BASECOLOUR.png, and alternatively it can also specify for which models inside a unit it shall be applied: NUMBER_BASESIZE_BASECOLOUR_MODELNUMBER.png. This could look like this:
- 01_25_red.png - the first entry of your ArmyList.txt will have red 25mm bases.
- 03_20x20_green.png - the third entry of your ArmyList.txt will have green 20x20mm bases.
- 02_32_black_1.png, 02_25_blue_2-3.png, 02_25_grey_4-10.png - the second entry of your ArmyList.txt will have a black 32mm base, two blue 25mm bases and the other 7 models will have a grey 25mm base.
- 01_100x80x20x20_green.png - the first entry of your ArmyList.txt will be a regiment of 5x4 models with green 20mm bases each.
- 09_125x150x25x50x11_green.png - the nineth entry of your ArmyList.txt will be a regiment with 11 models - 2 full rows of 5 models and one single model in the last row, all of them with green 25x50mm bases.
Extras
You can add certain keywords in the text file, to improve your army:
- NEWLINE: Creates a newline. Can be used multiple times: NEWLINENEWLINE.
- #scaf2.0#: Defines the scale factor for the image (e.g. if an image has a quite big white border).
- #norotation#: This image will not rotate when choosing move, only when rotated explicitly.
Example